Using Omniverse™ Flow#
Getting Started#
To start using Omniverse™ Flow, the omni.flowusd extension must be enabled. Make sure omni.flowusd is enabled in the Window->Extensions window.
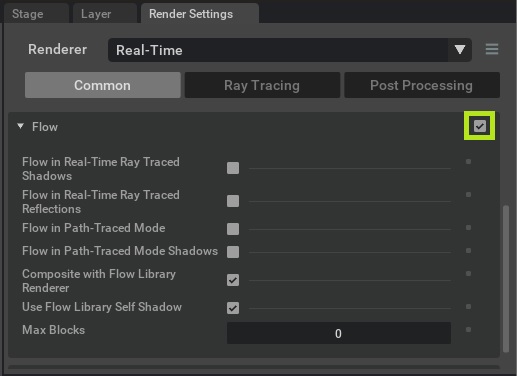
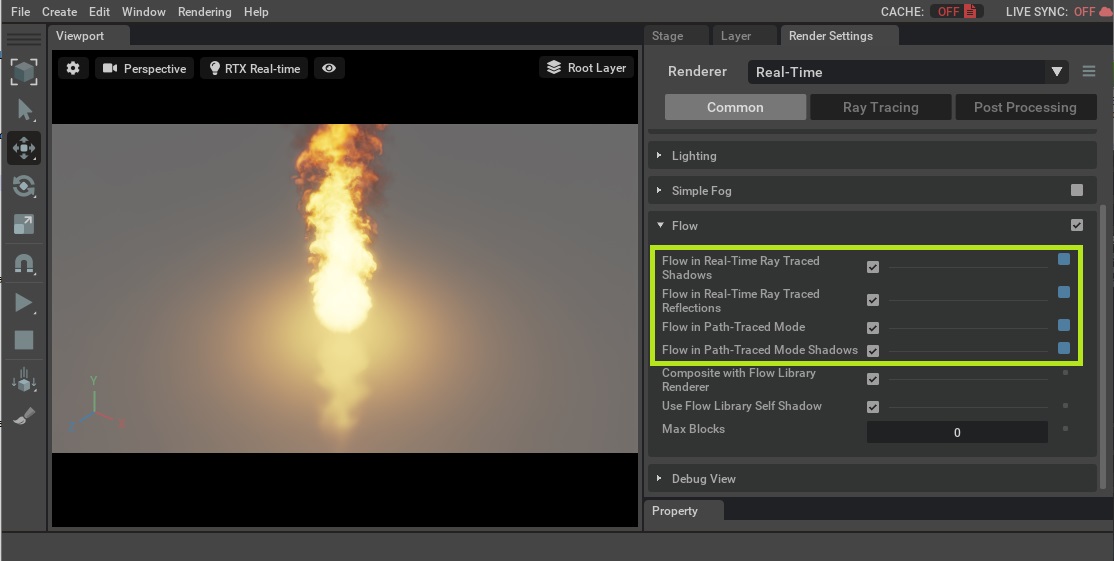
Flow must also be enabled in the RTX renderer. It is enabled automatically if Flow objects are created from the menu.
To manually enable Flow in Common Render Settings:
Presets#
Presets are the fastest way to get a working Flow effect. They can be created from a Preset window opened from Window->Simulation->Presets.
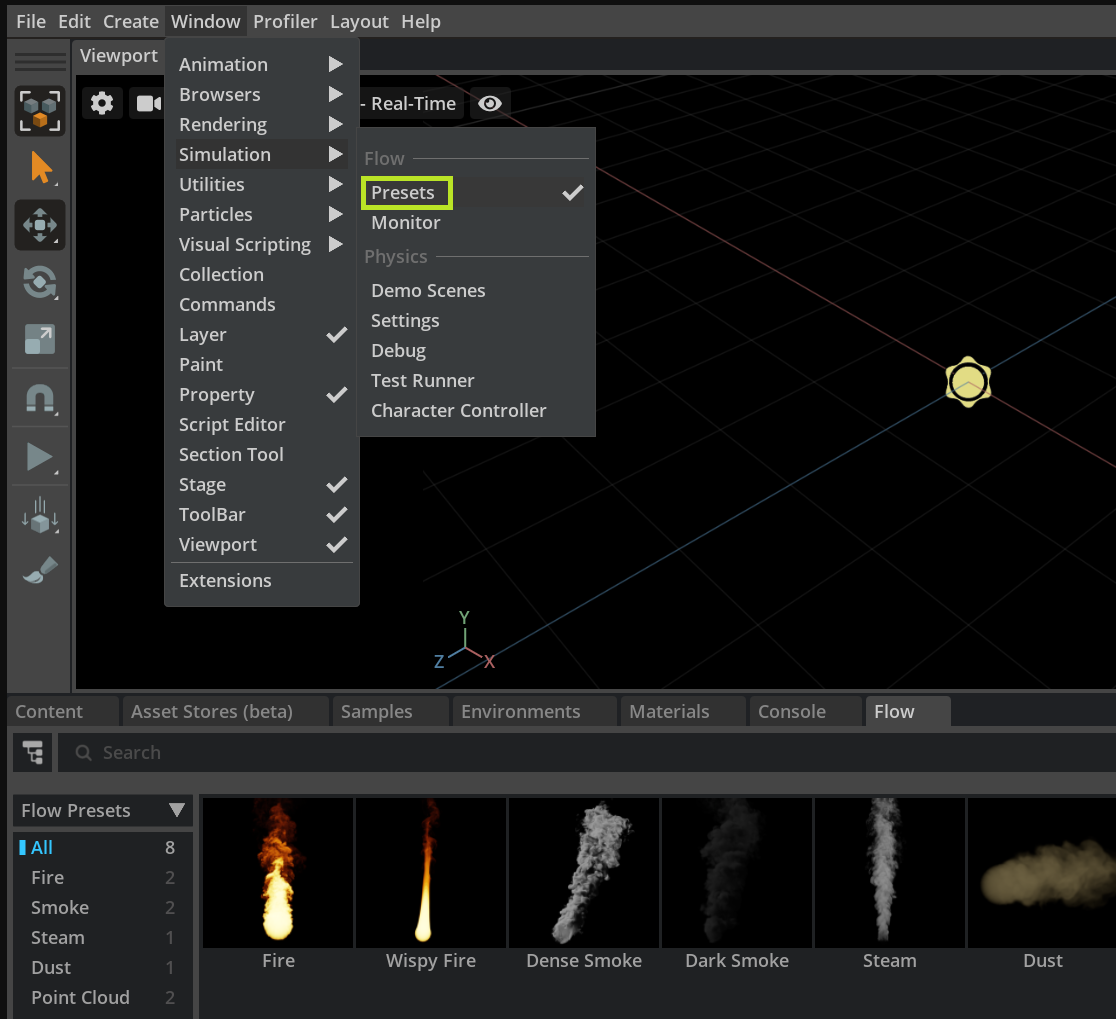
There are multiple options how to add Flow preset to the stage:
In Create 2022.2 (omni.flowusd 0.1.0):
Drag and drop the preset to the viewport
Double click the preset
In Create 2022.3 (omni.flowusd 0.3.0 and higher):
Drag and drop the preset to the viewport which will add a payload to the stage under the default primitive
Double click on the preset will open the original preset file saved in the extension folder
Right click the preset and select Add to Stage->
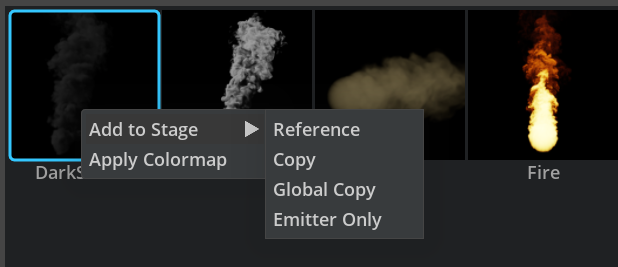
Reference
Adds a reference to the stage under the Xform currently selected in the stage
Copy
Adds a copy of preset’s xform under the Xform currently selected in the stage
Global Copy
Creates a preset under the default primitive in the global layer 0. Only adds an emitter under the selected Xform if the preset already exists. Emitters placed on the same layer share the other Flow properties
Emitter Only
Only adds preset’s sphere emitter to the stage
Press Play to begin simulation.
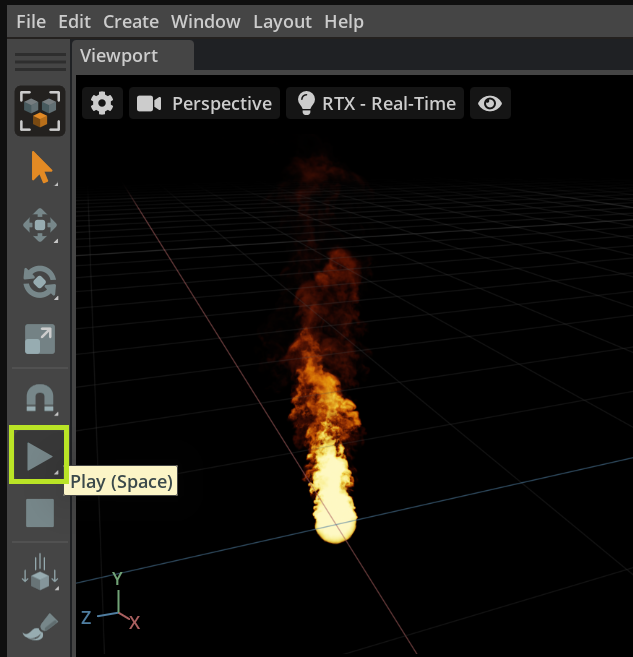
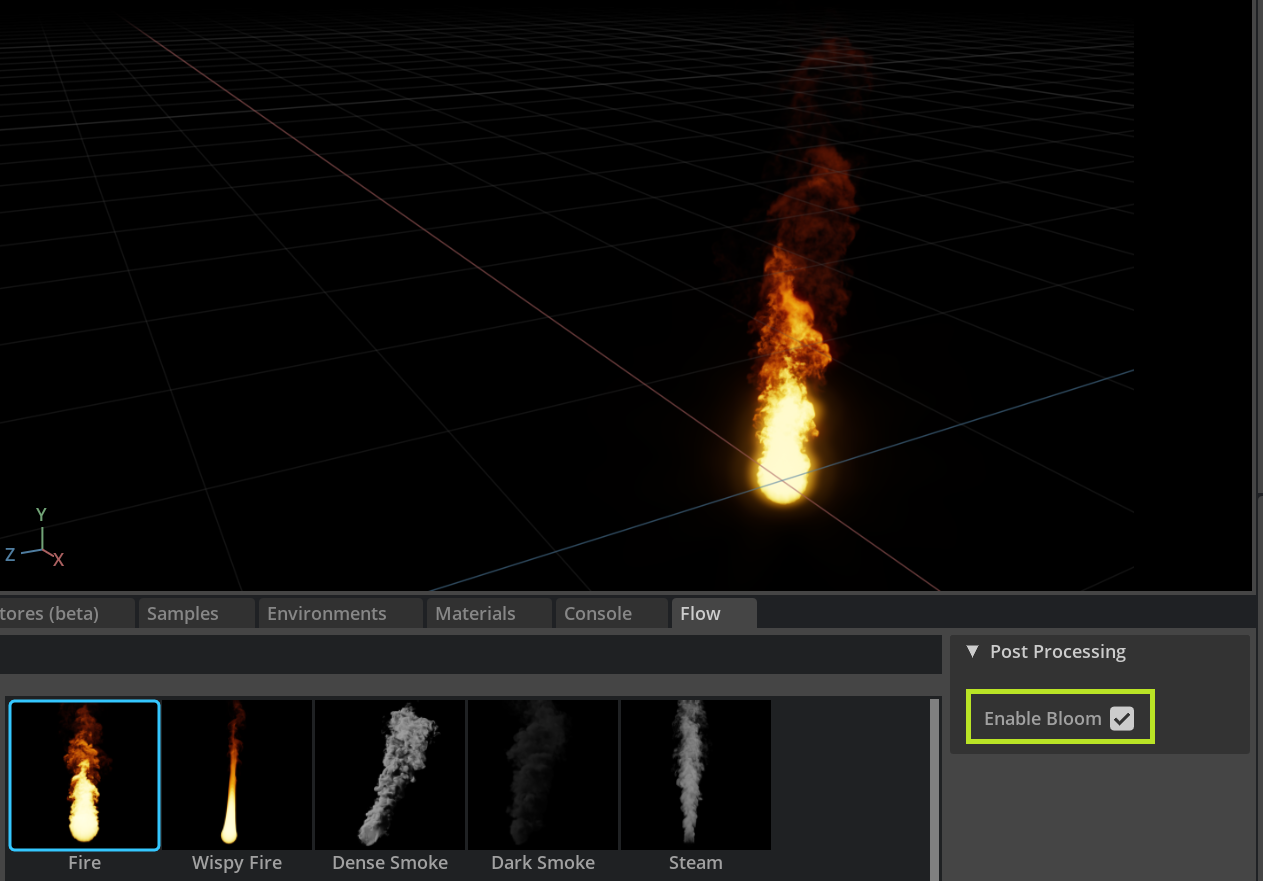
In Post Processing in Presets window the bloom can be quickly enabled to make fire appear bright.
Transforms#
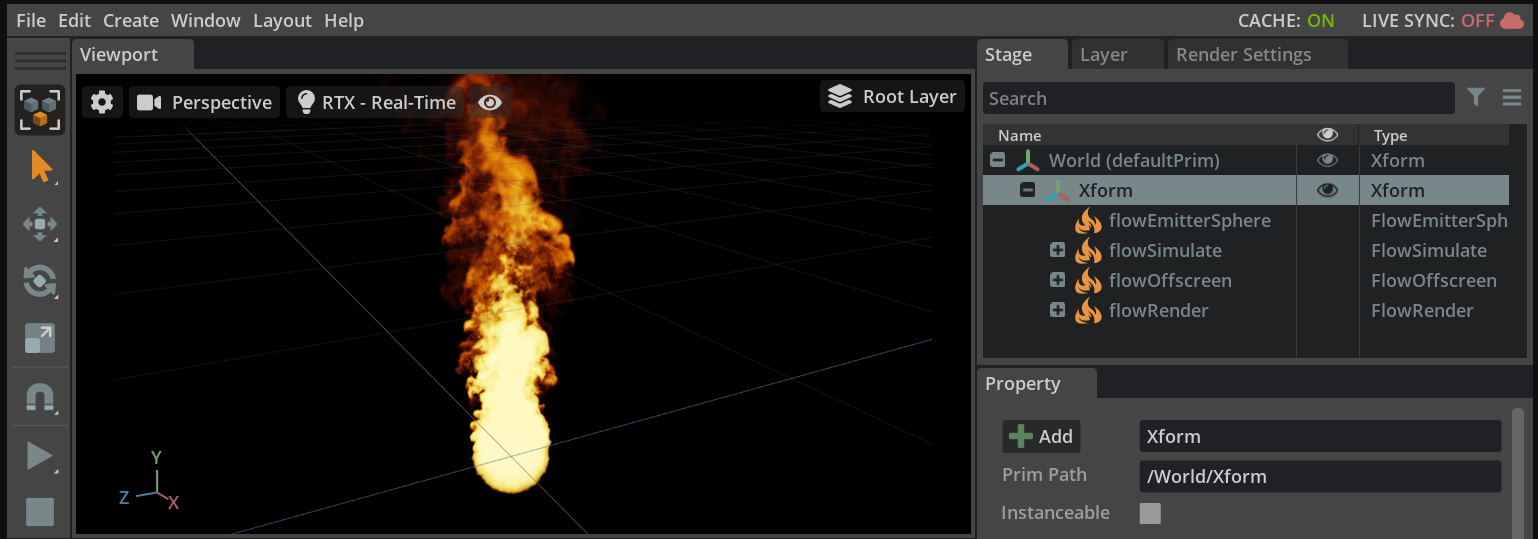
To move Flow emitters easily, make the Flow emitter prim a child of an Xform.
Render Settings#
For more light interaction, the following render settings can be enabled. Can also enable bloom and indirect diffuse GI.
Manual Setup#
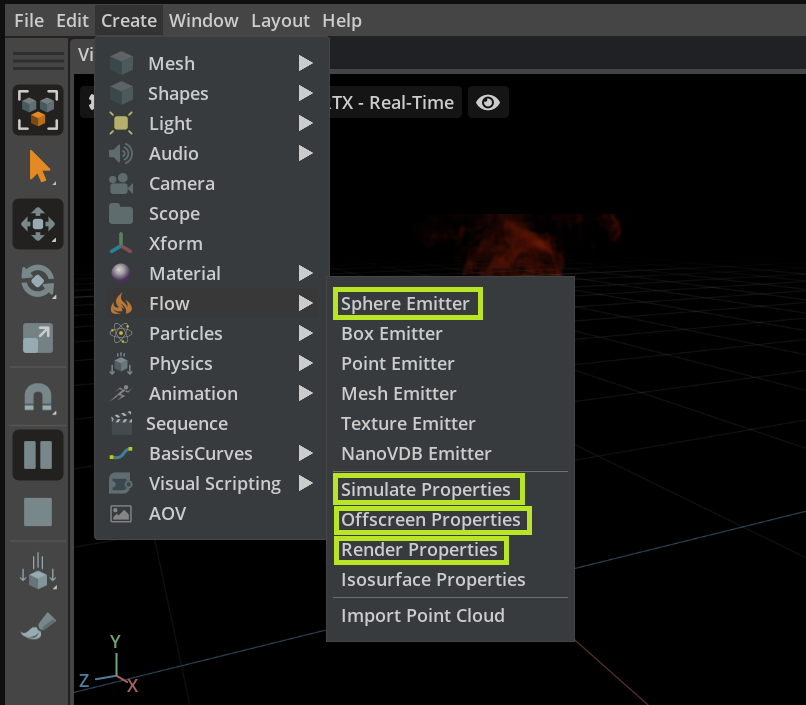
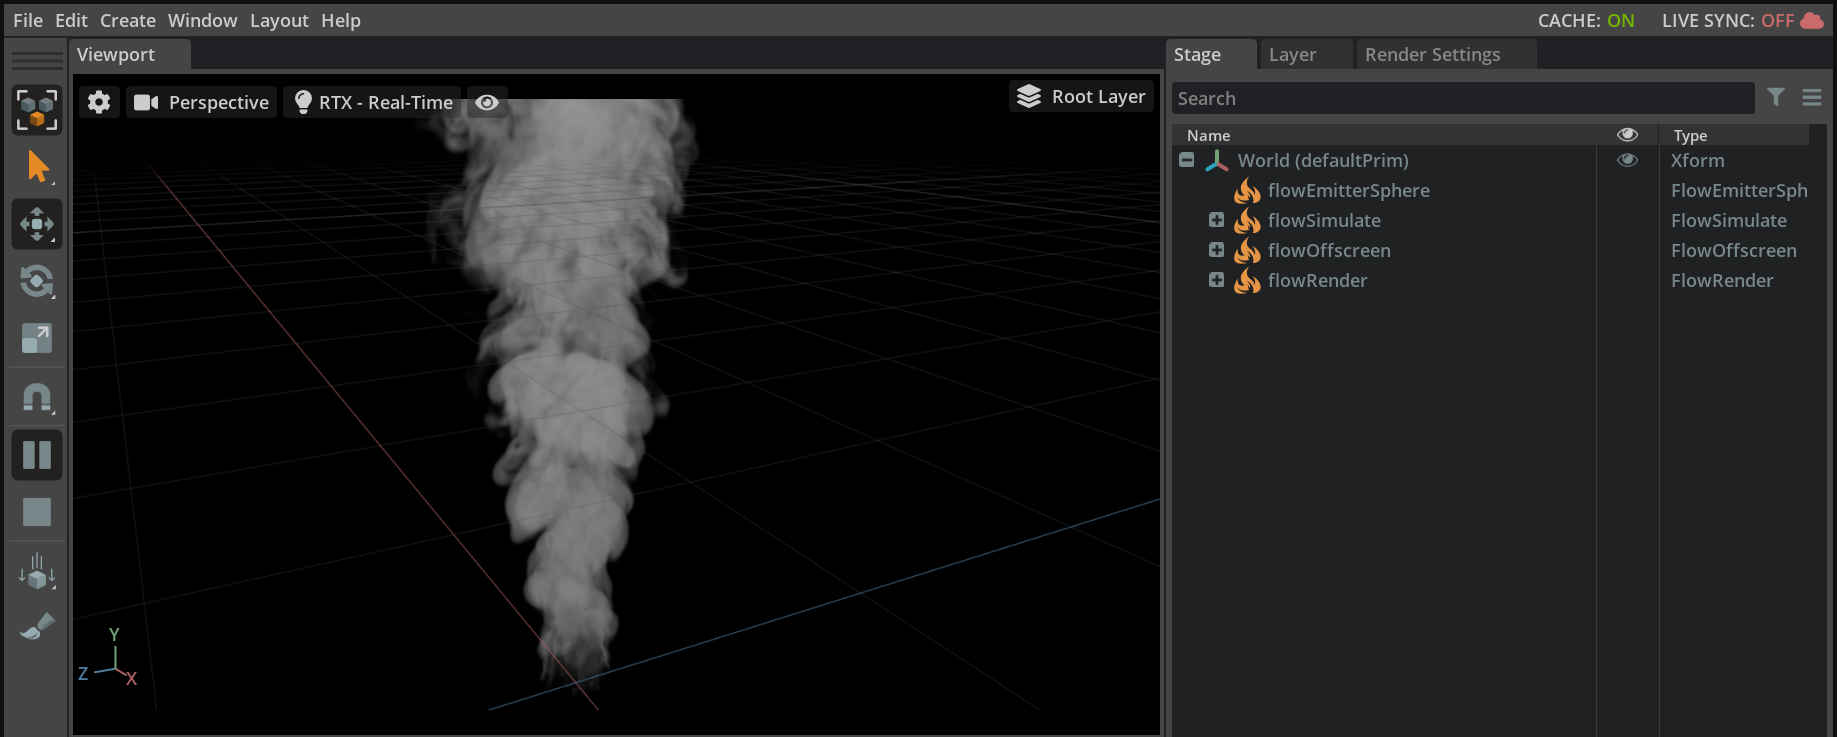
A working simulation can also be achieved by adding the necessary Flow prims to a stage. Simulate/Offscreen/Render properties are required for any simulation. Be sure to enable Flow in the Common Render Settings (presets do this automatically).
Press Play to begin simulation.
Layers#
Flow layers provide a mechanism to allow multiple effects at the same time, sharing the same memory pool. UI is currently low level, with layers being specified by a simple integer. For a simulation to behave properly, an emitter and simulate/offscreen/render properties must all share a common layer. Flow presets automatically assign a unique layer, to prevent collisions with other presets. The UI for layers will be improved with future releases.
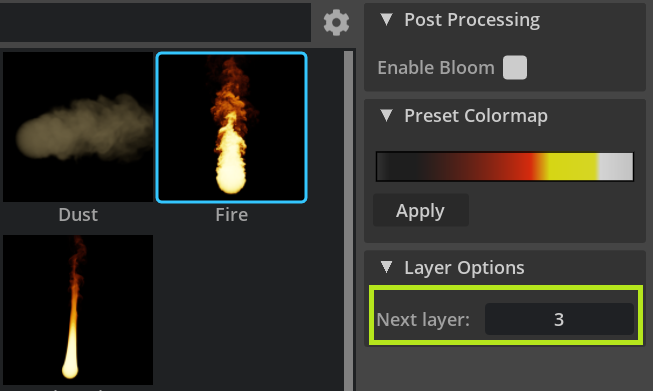
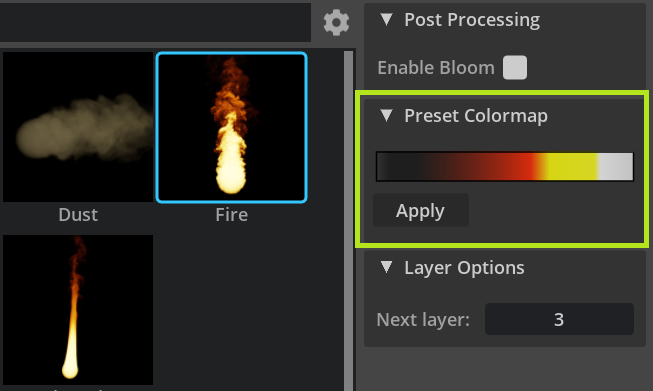
From omni.flowusd 0.3.0 and higher you can see in the Layer Options the next layer number where the preset will be created.
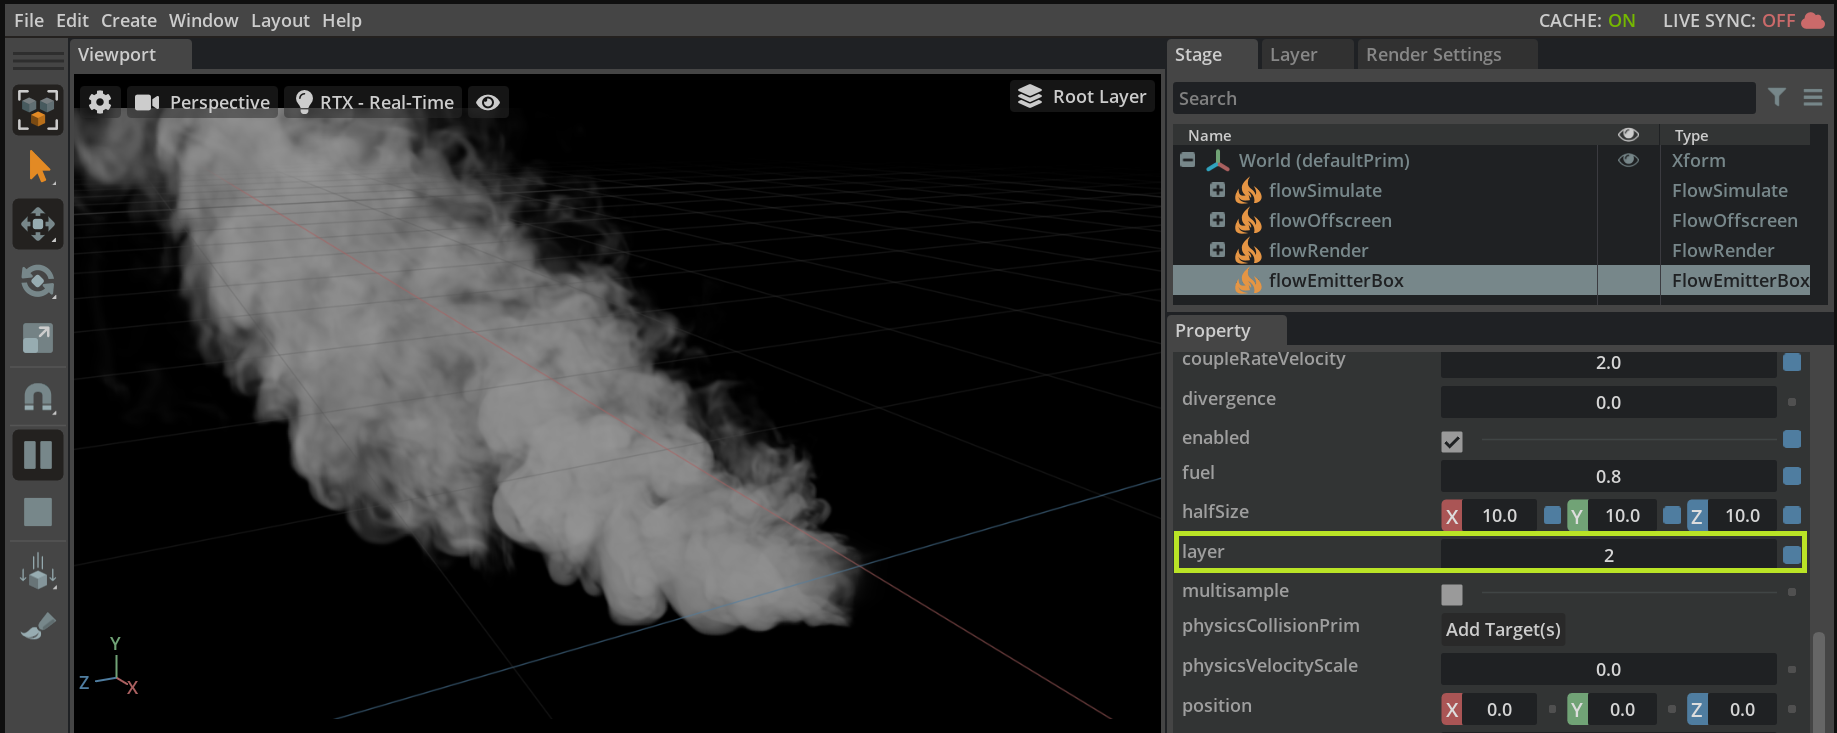
As an example, create a preset as specified above. Now Create->Flow->Add Box Emitter. Delete the flowEmitterSphere in the stage.
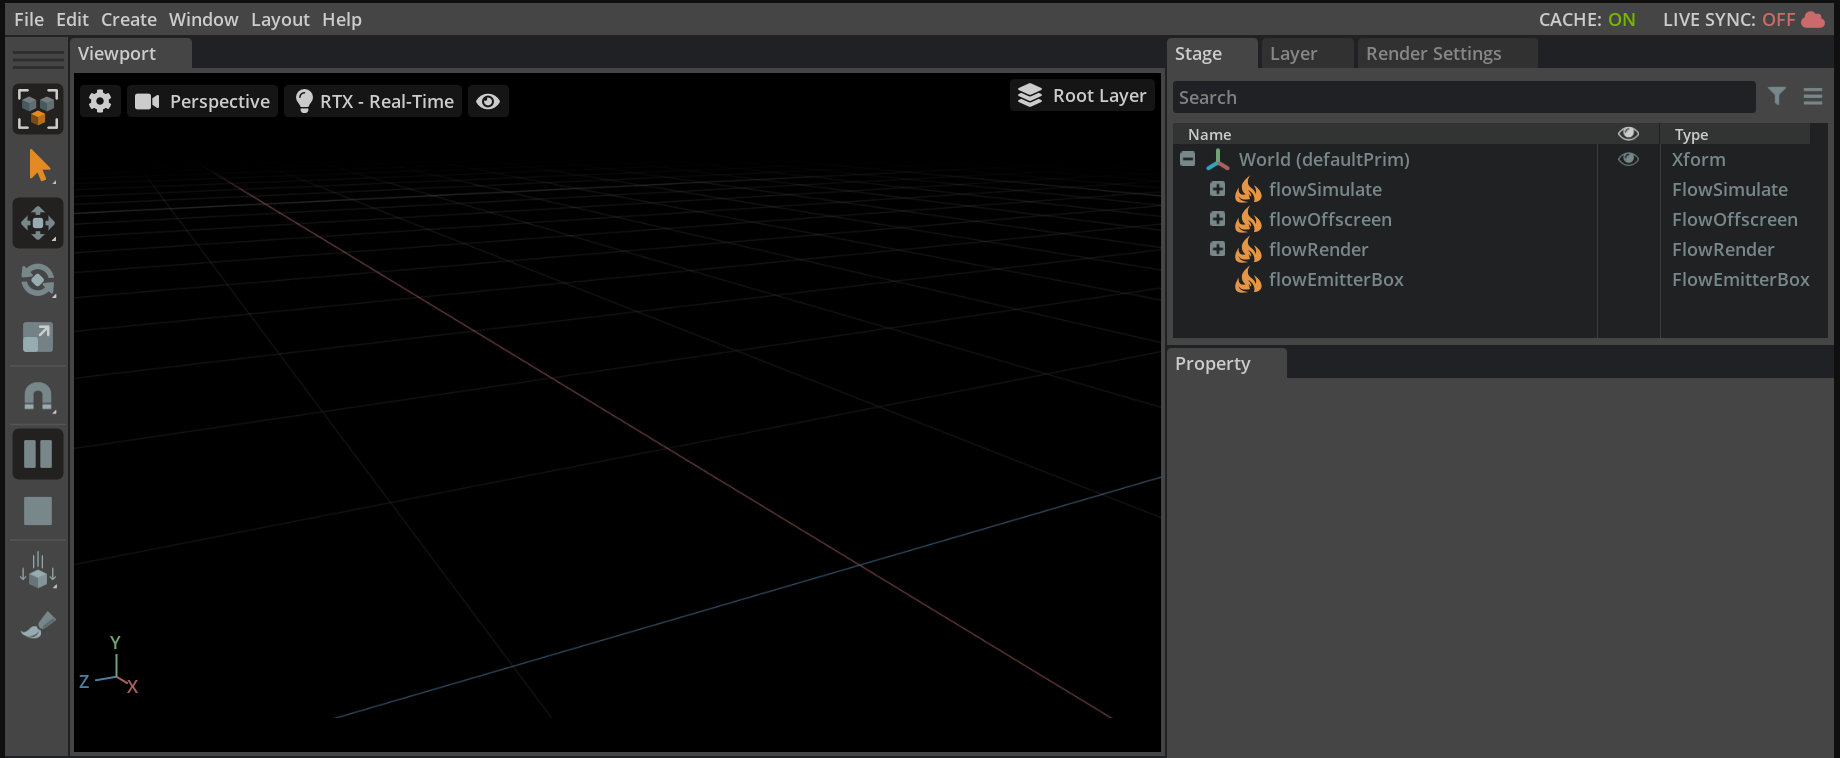
At this point, no simulation will occur. Select flowSimulate in the stage to inspect its layer assignment.
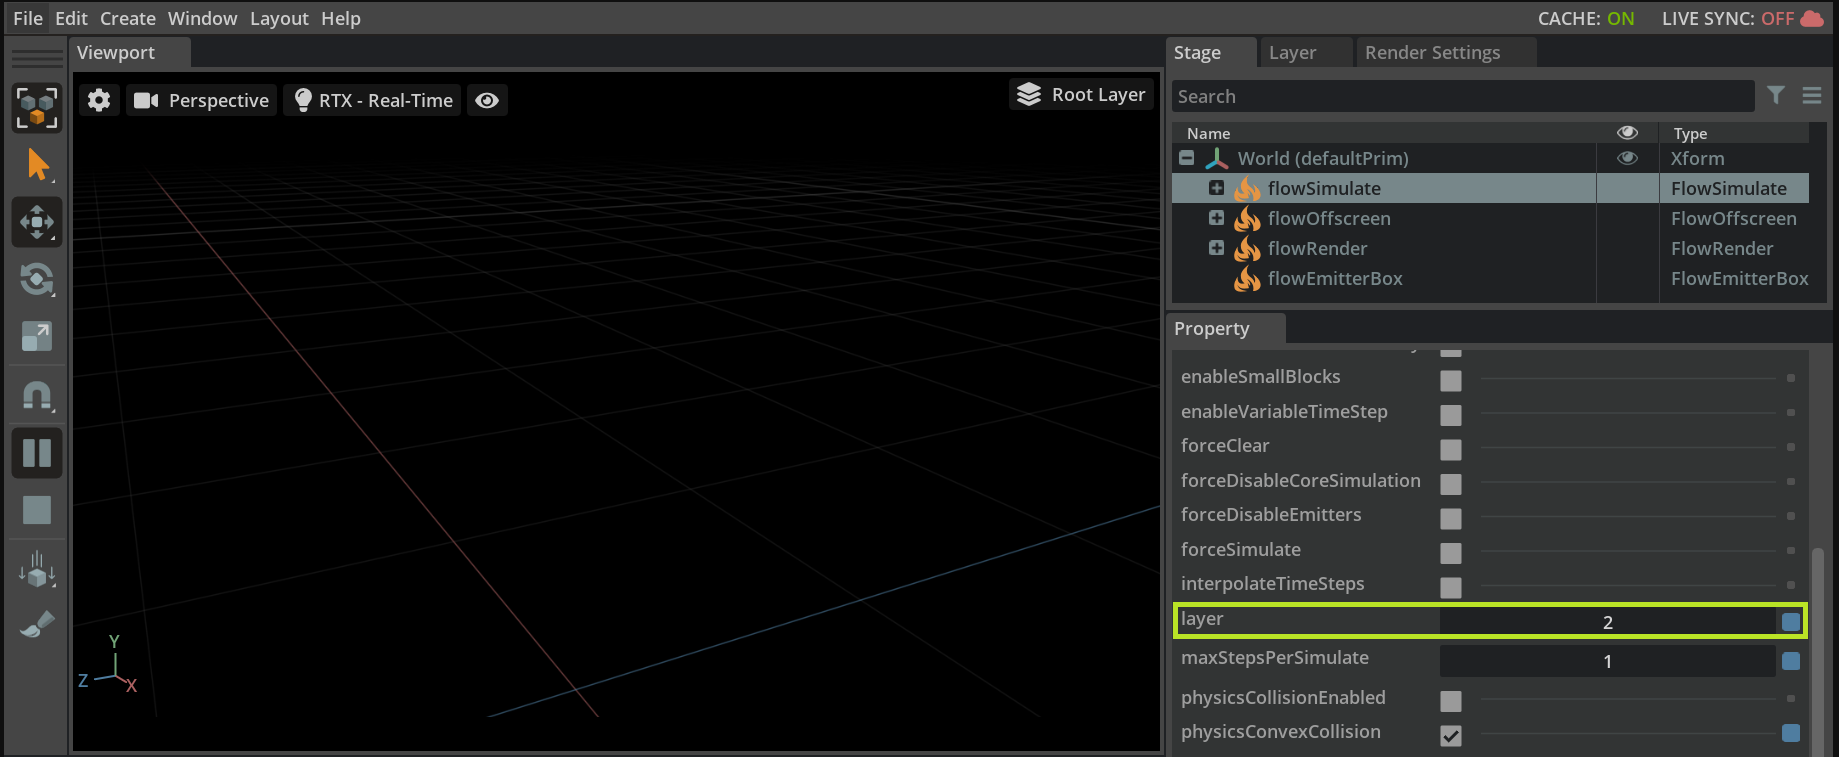
Select flowEmitterBox and set its layer attribute to the same value. Visual simulation should now occur.
Colormap#
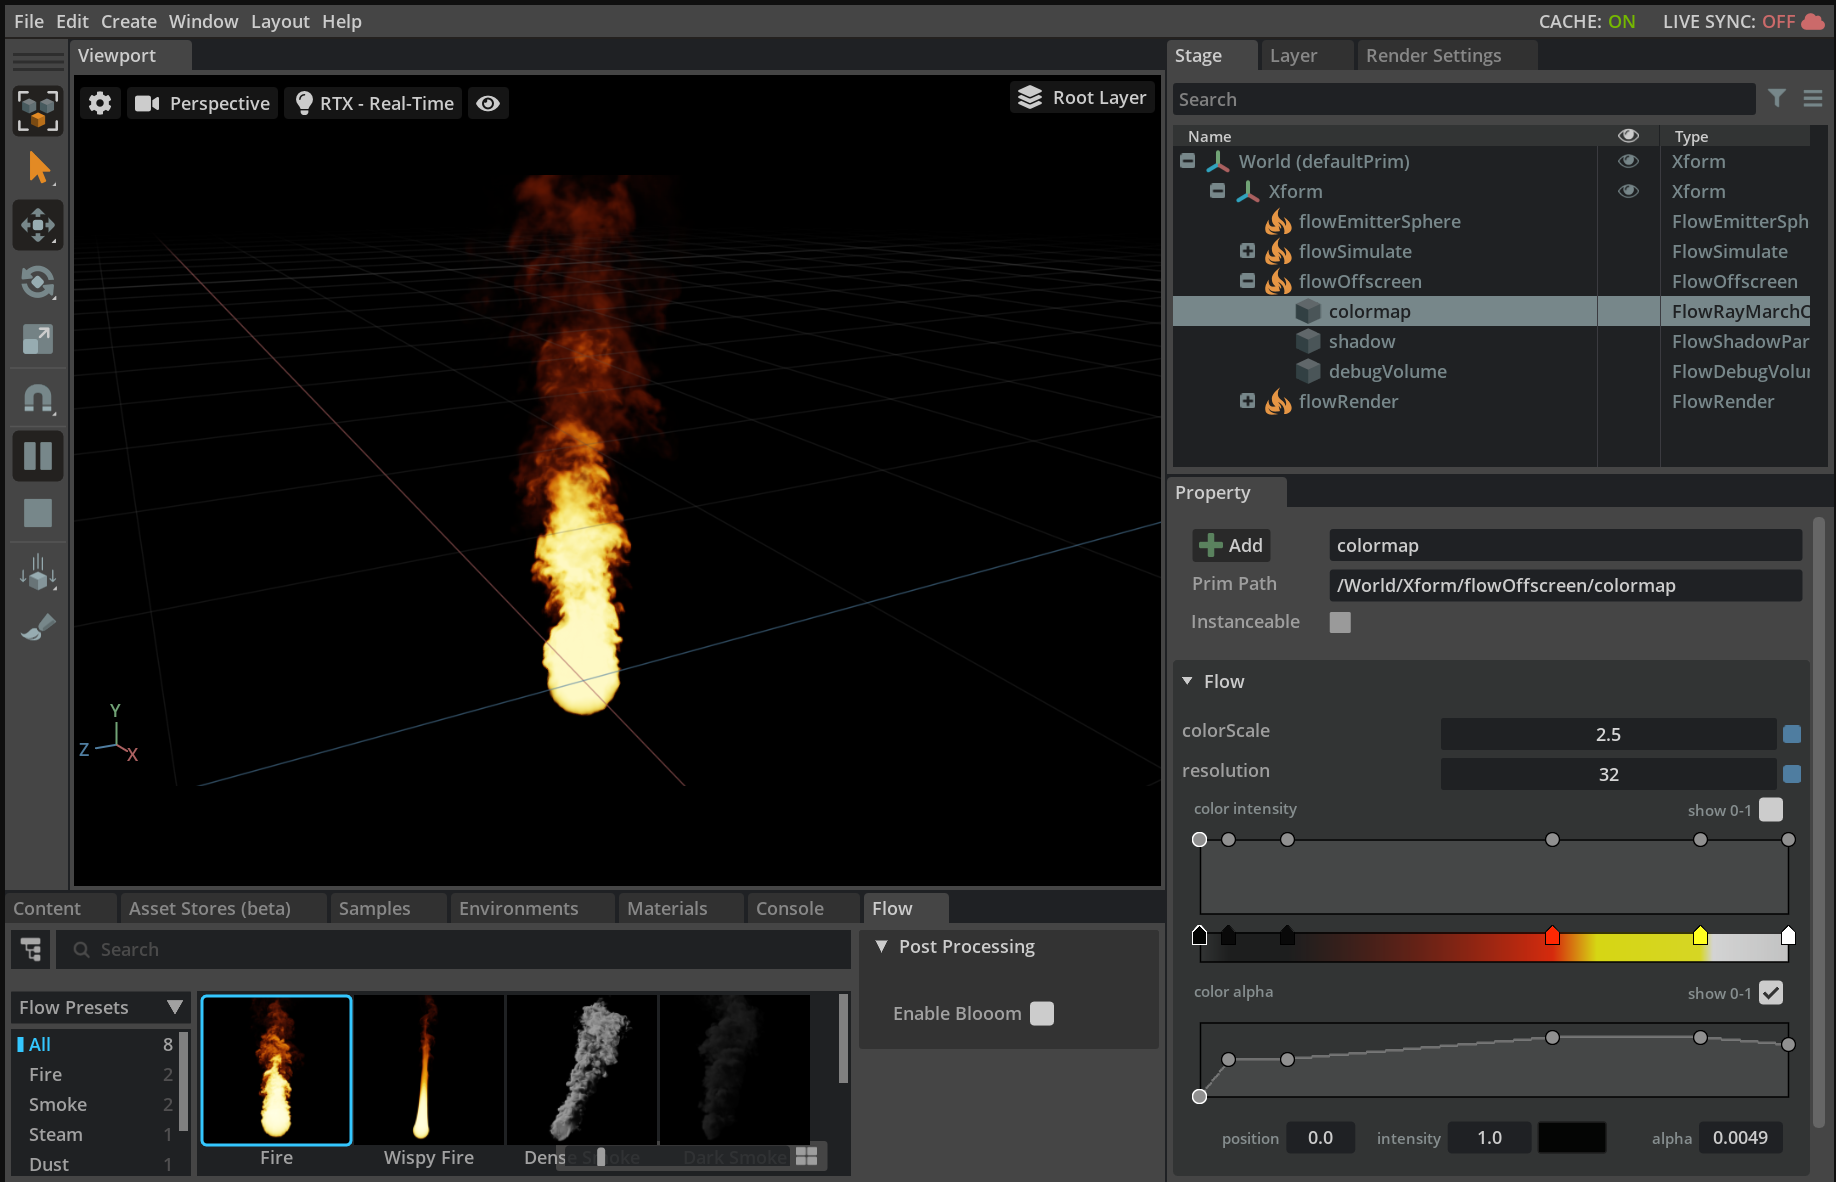
The Flow omni.flowusd extension also includes a simple colormap widget to change the mapping of temperature to color. For the fire preset above, selecting flowOffscreen/colormap in the stage will populate the colormap widget in the Property window.
From omni.flowusd 0.3.0 and higher you can preview colormap of the selected preset in the Flow window and also set it to the selected colormap prim with an Apply button.
Note
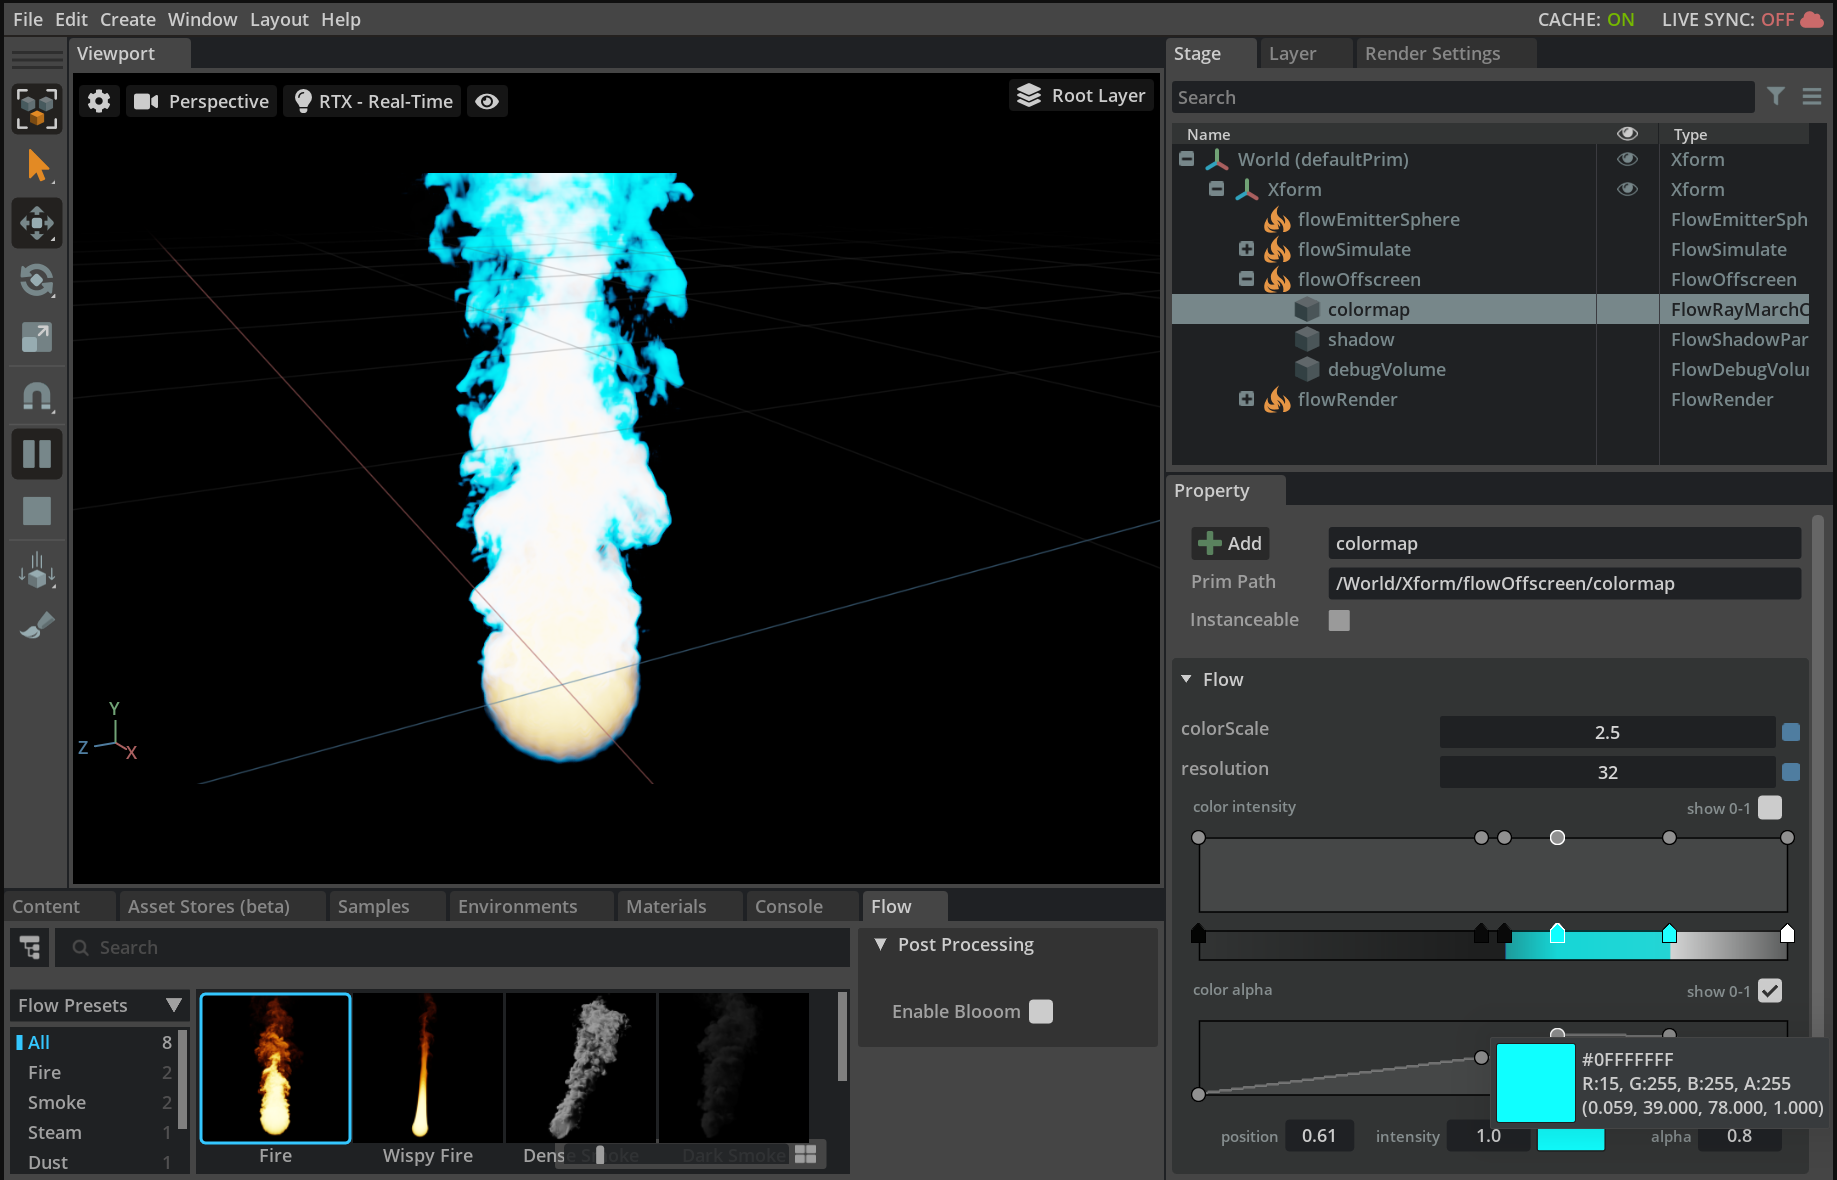
For fire, colormap values can far exceed 1.0. This is needed for properly interaction with bloom.
Flow Monitor#
Current usage of Flow blocks can be displayed in the Flow Monitor Window (Window -> Simulation -> Monitor) or in the Viewport layer (Eye Icon -> Flow Monitor) depending on the Flow extension version.
NanoVDB Emitter Tutorial#
NanoVDB emitters allow sparse voxel data structures to define emitter shapes/values.