OmniHairBase#
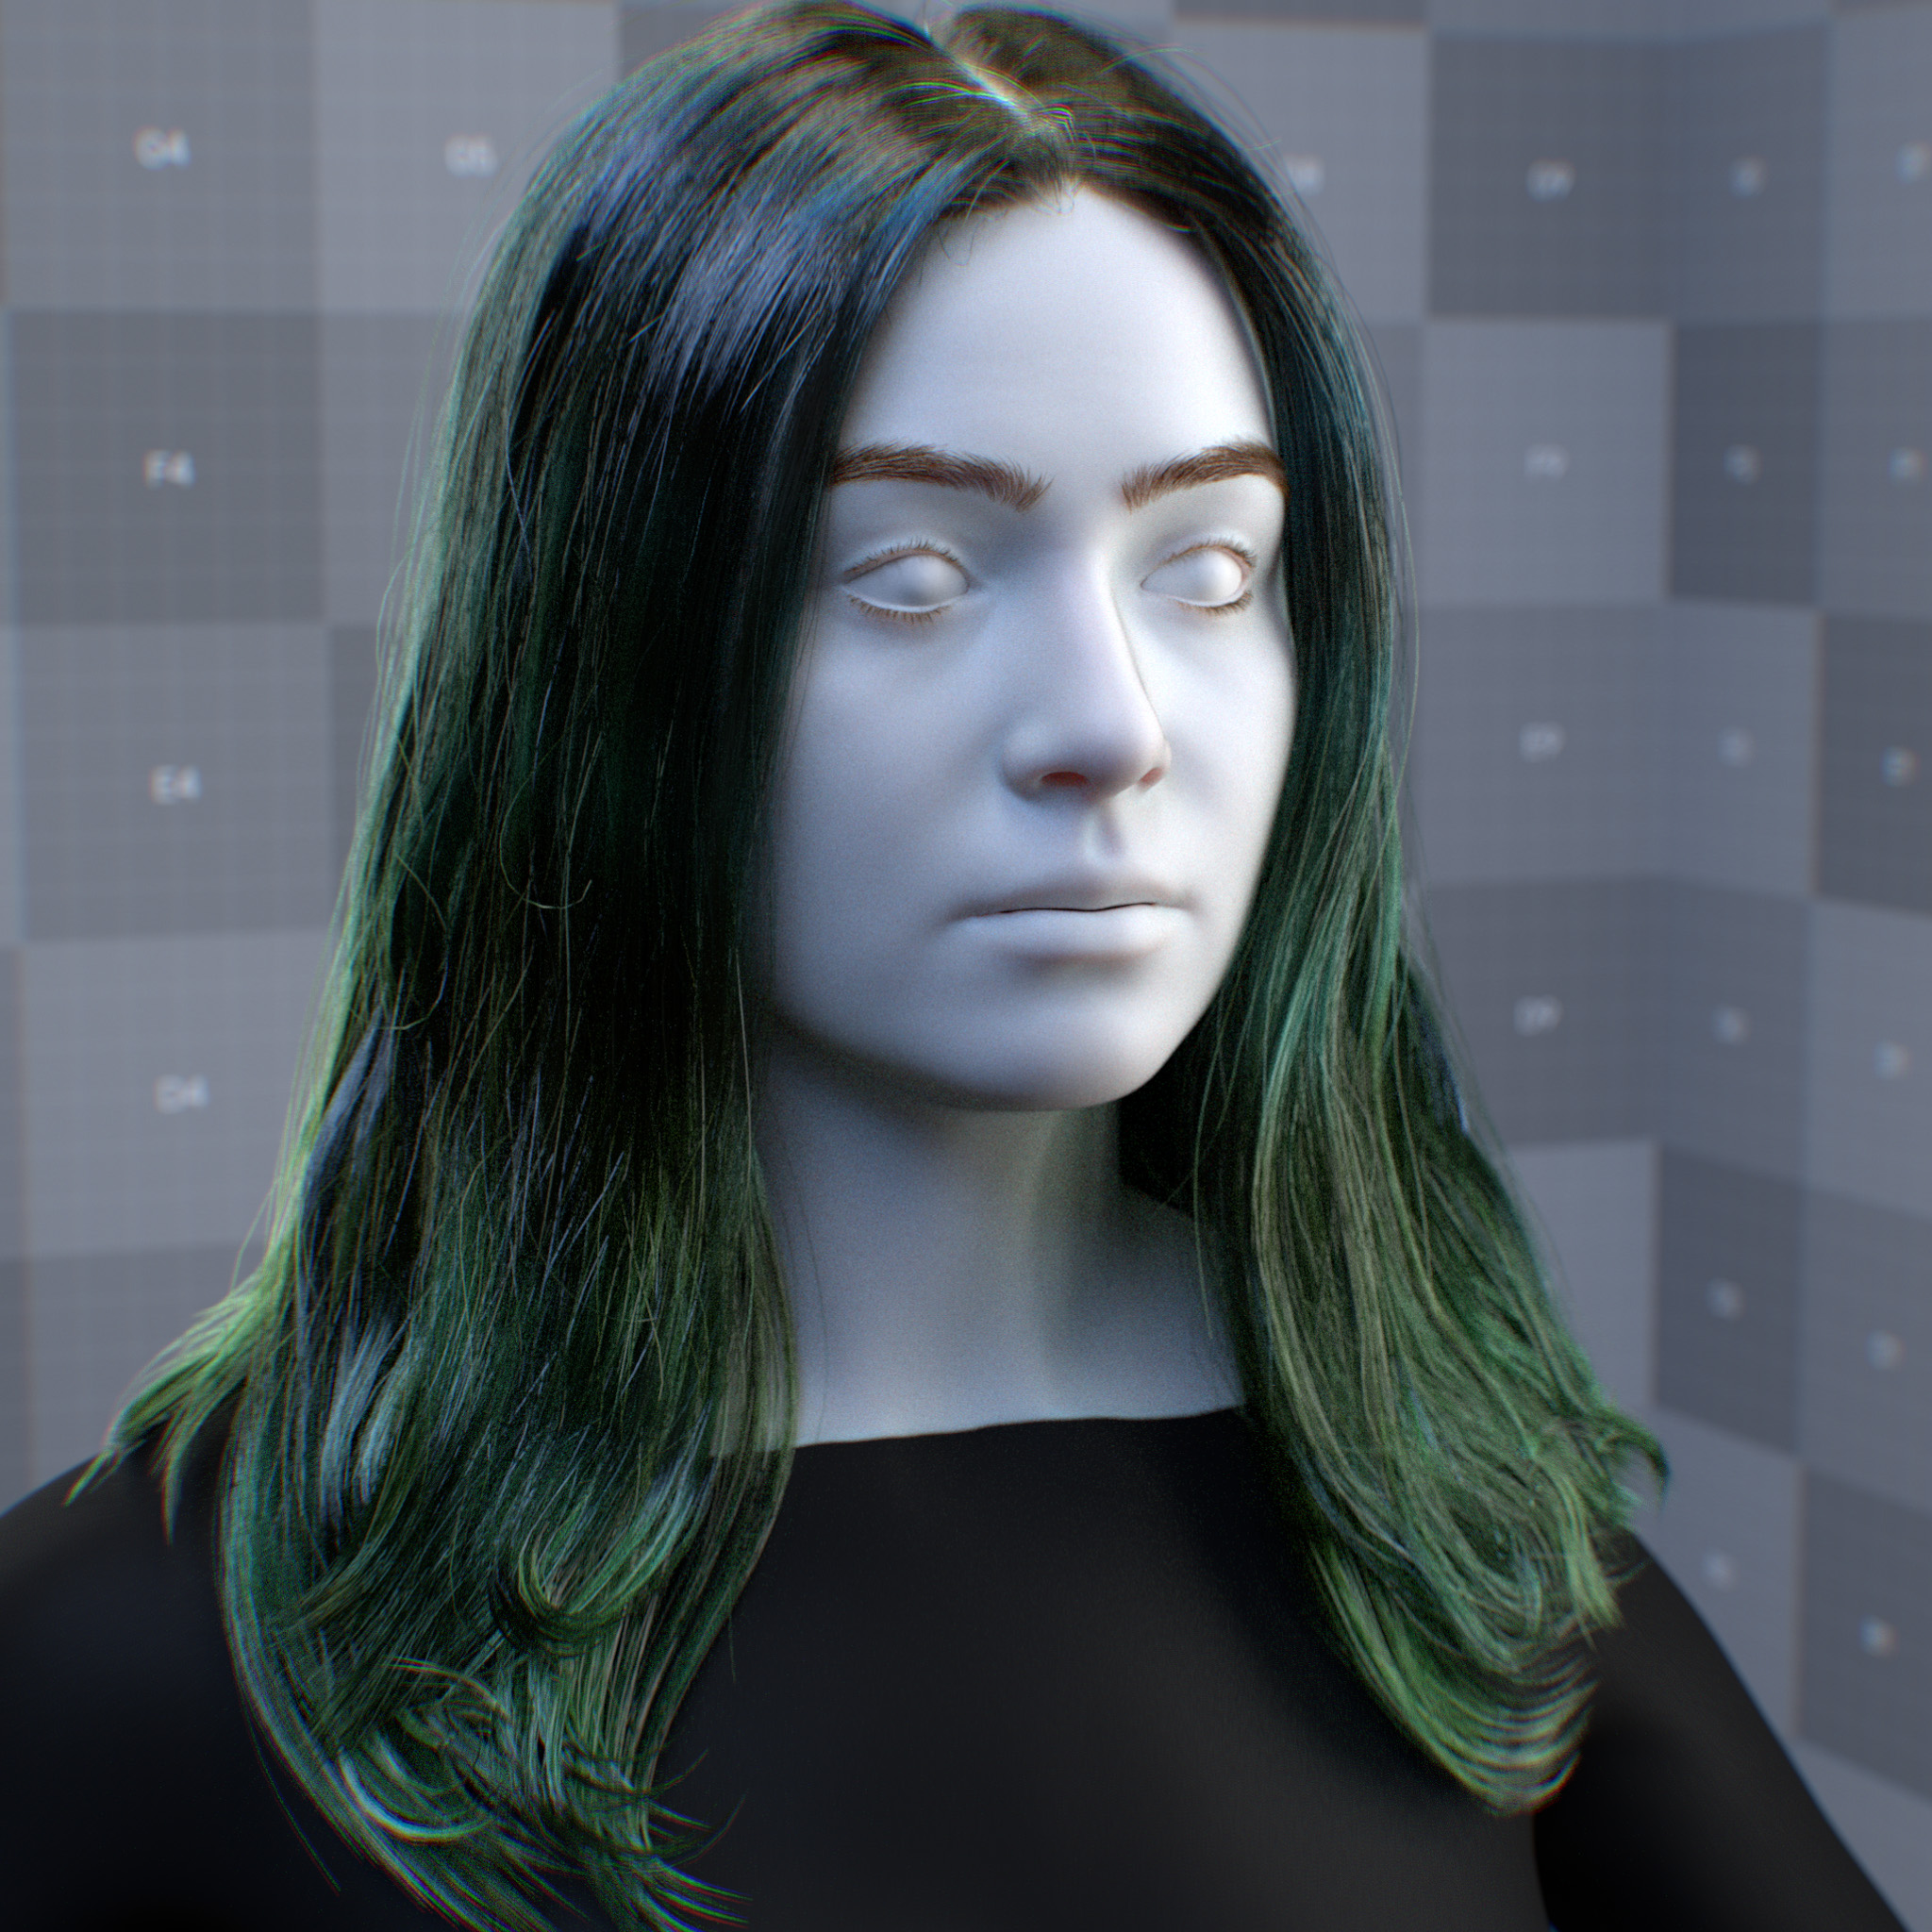
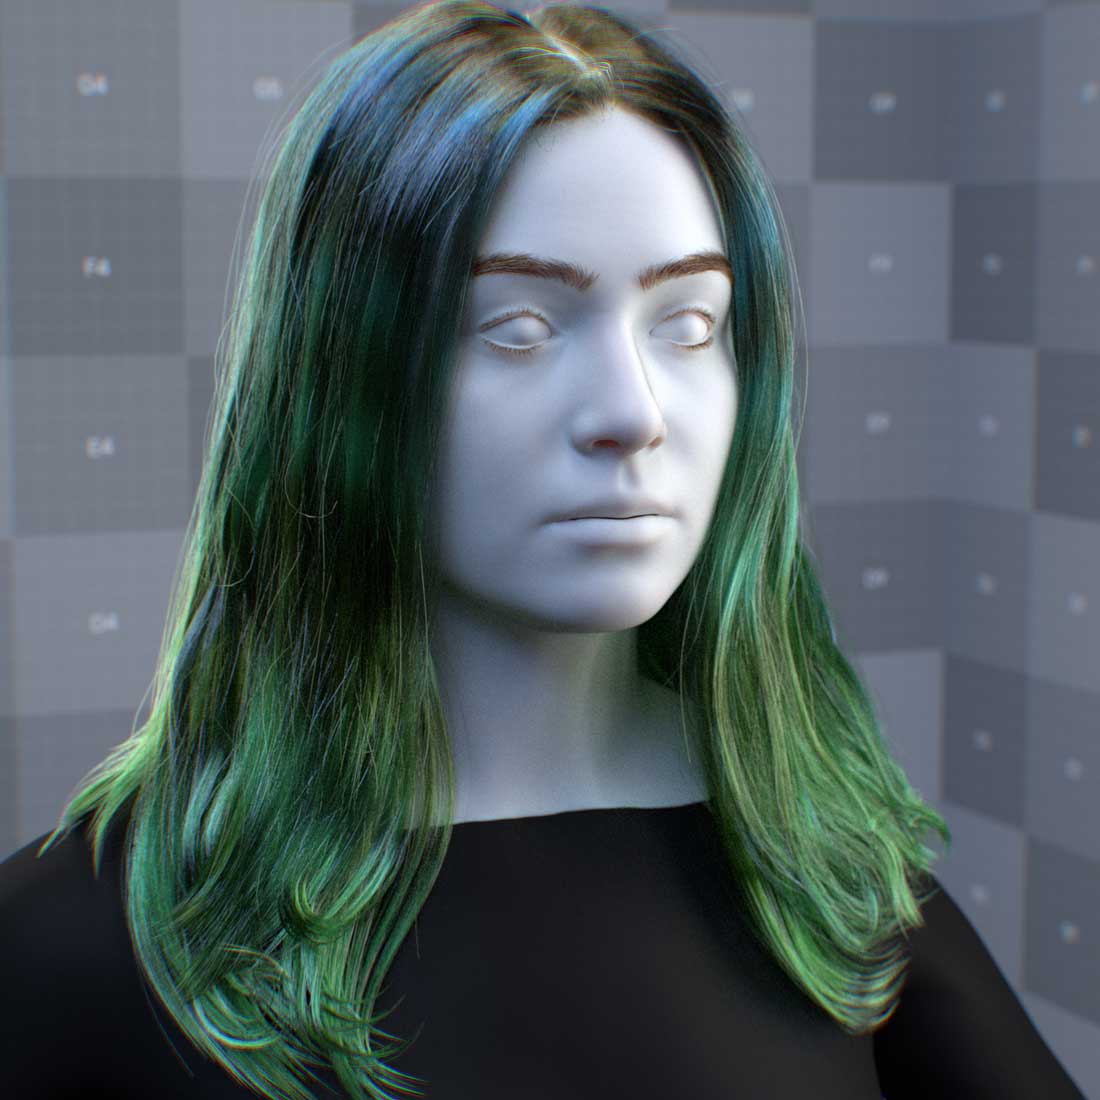
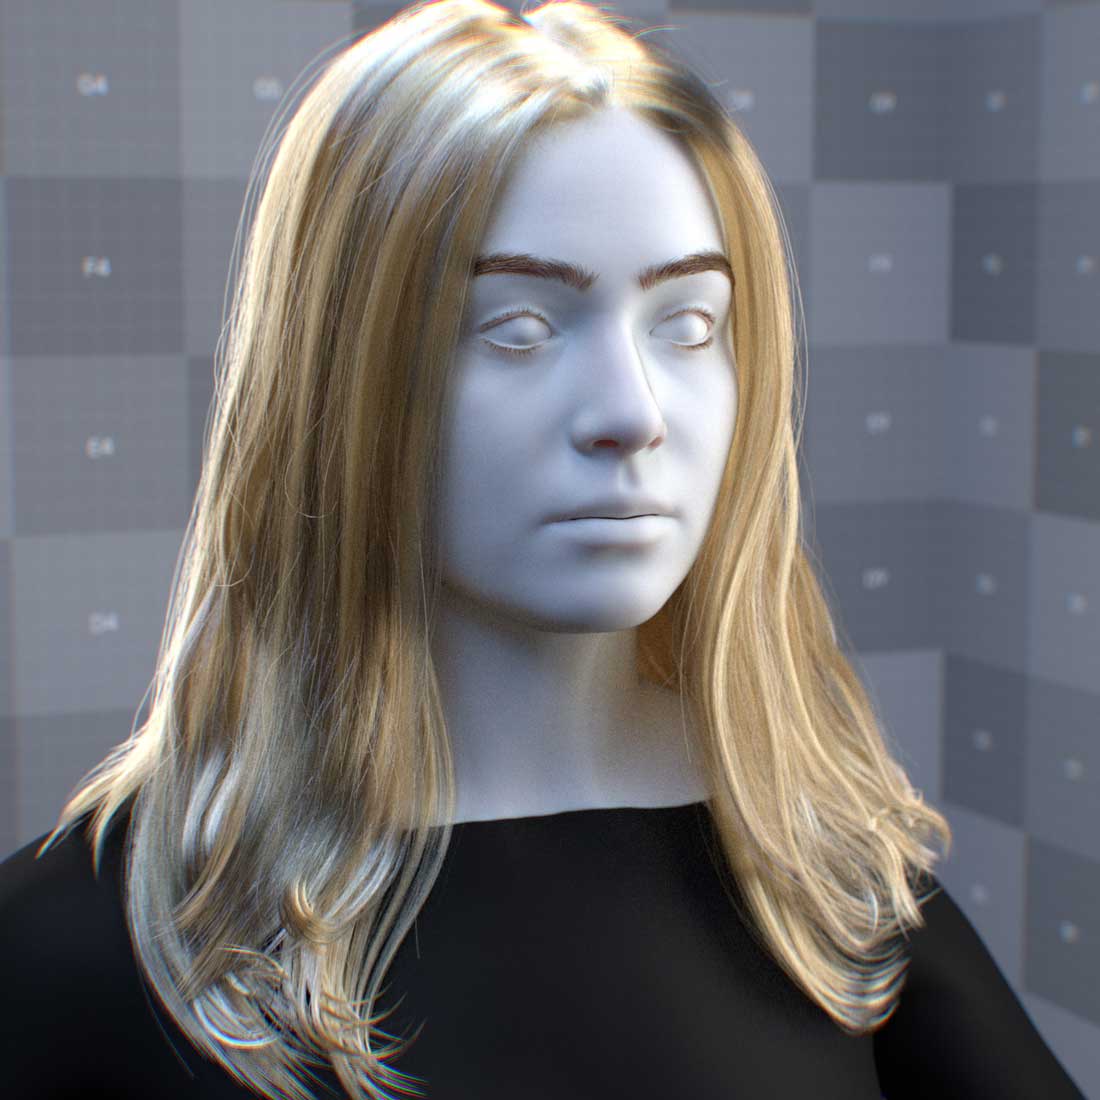
OmniHairBase is a physically-based material designed base on Walt Disney’s Hair and Fur Model [1], capable of modeling near-field stylistic and realistic hair, fur, and fiber. This documents the base features. The non-base material has direct texture mapping parameters and is a standalone uber materials.
OmniHairBase comes with a small set of parameters with intuitive meanings, ranges and predictable results.
Parameters#
Color
- Hair shading simulates color through melanin properties and explicit color control:
Melanin concentration and type (eumelanin/pheomelanin ratio) model biological hair pigments
Base color overrides provide direct RGB control for non-natural hair colors
Both methods affect surface color and internal light scattering
Parameters
Display Name |
Name |
Type |
Default |
|---|---|---|---|
base_color_weight |
float |
1.0 |
|
base_color |
color |
1.0, 1.0, 1.0 |
|
melanin_concentration_preset |
enum |
melanin_concentration_custom |
|
melanin_concentration |
float |
1.0 |
|
melanin_redness |
float |
0.5 |
|
melanin_concentration_randomize |
float |
0.0 |
The hair fiber absorption can be controlled by setting the color parameter or adjusting the melanin concentration parameter.
Note
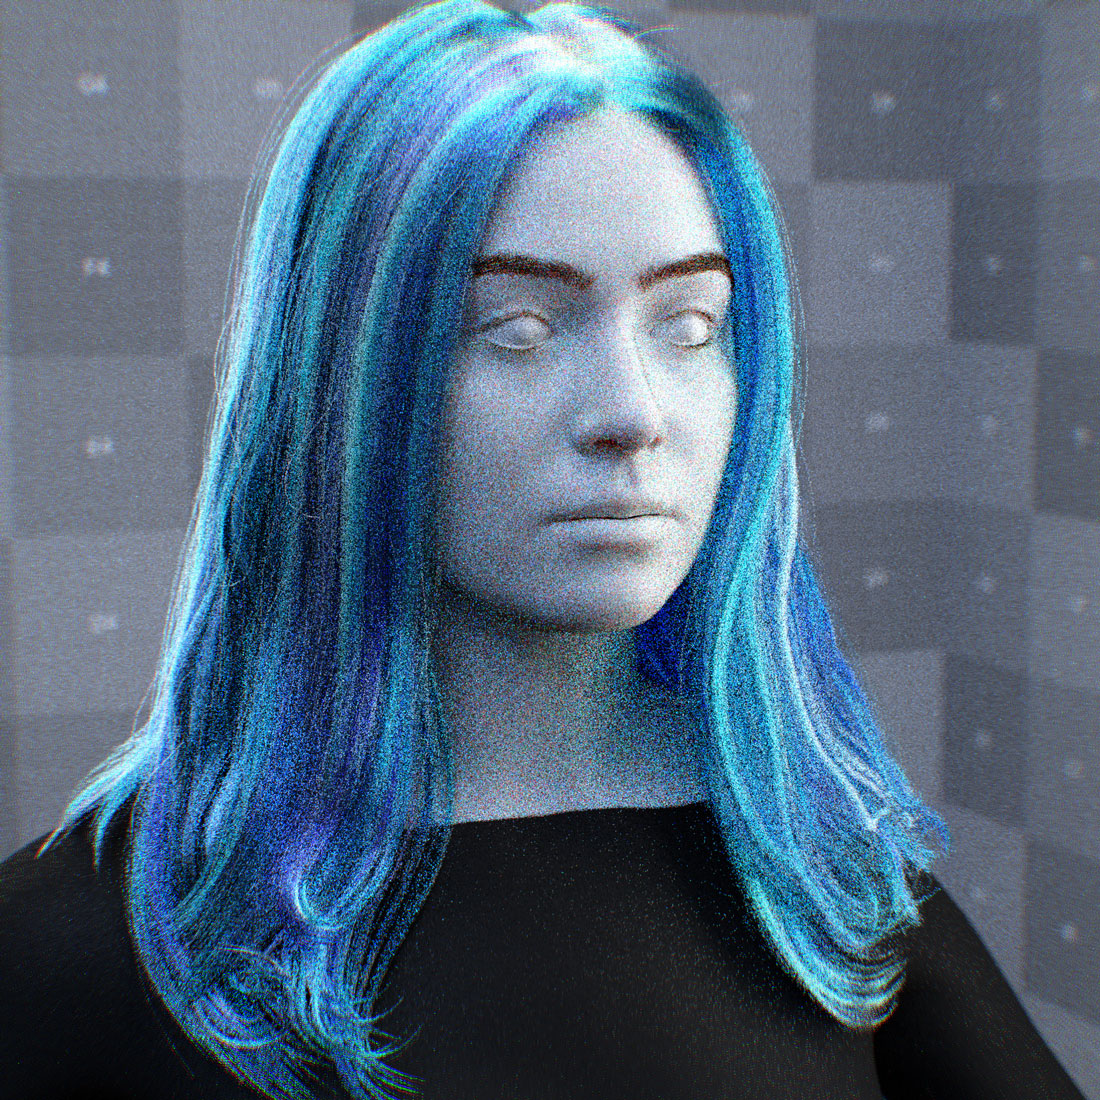
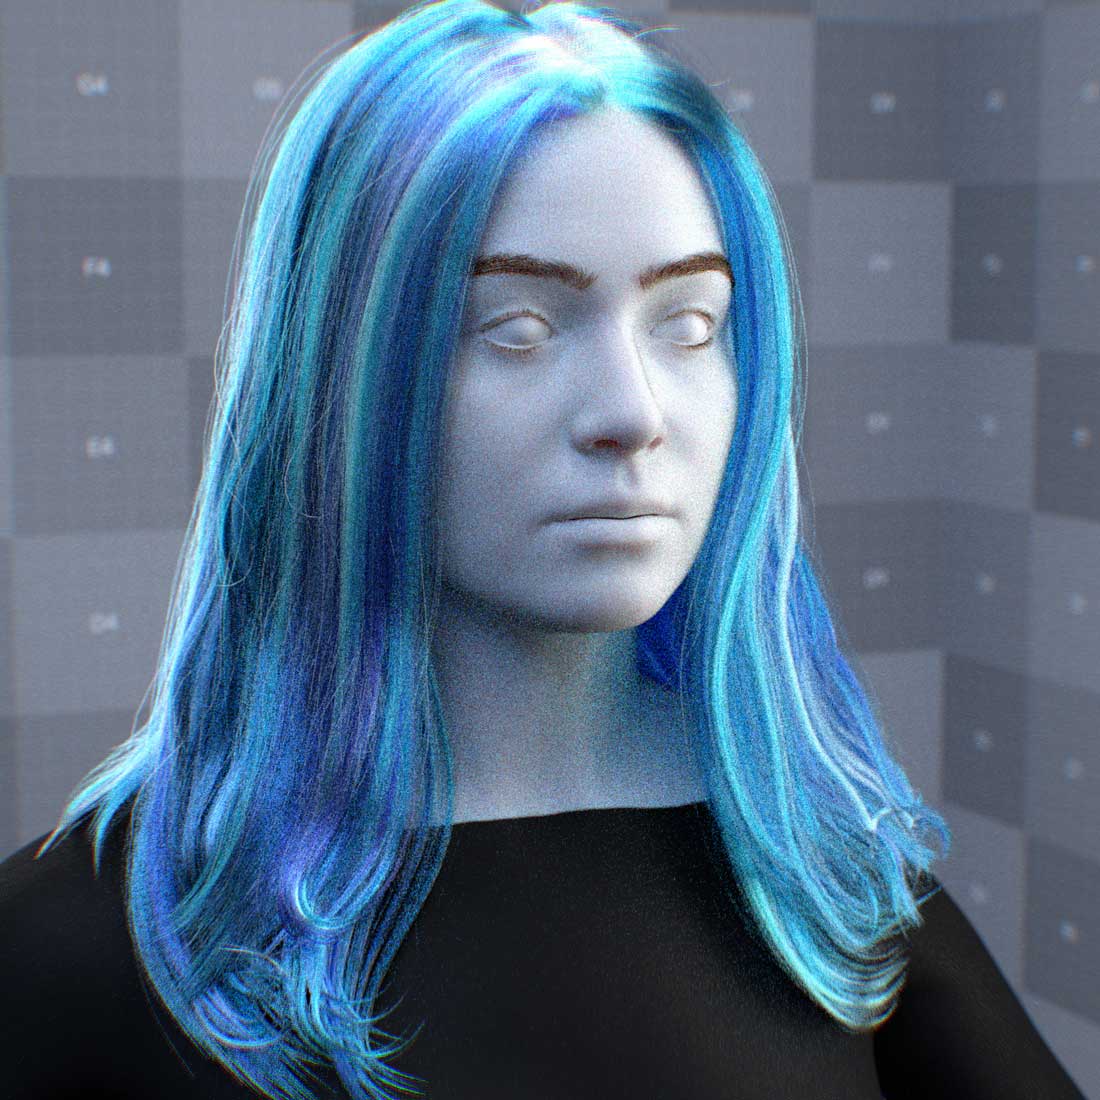
In the path-tracer mode, overlapping hair fibers with low melanin concentration or light-color dye may appear dark. To reduce the darkening, one may need to increase the Max Bounces setting.
Please see RTX Interactive (Path Tracing) mode render settings for more information.
Note
In the RTX – Interactive (Path Tracing) mode, to reduce the noise within hair fibers with low melanin concentration or light dye color, one may need to increase the Total Samples per Pixel setting.
Please see RTX Interactive (Path Tracing) mode render settings for more information.
Base
This parameter sets the brightness of the hair fiber color.
Color
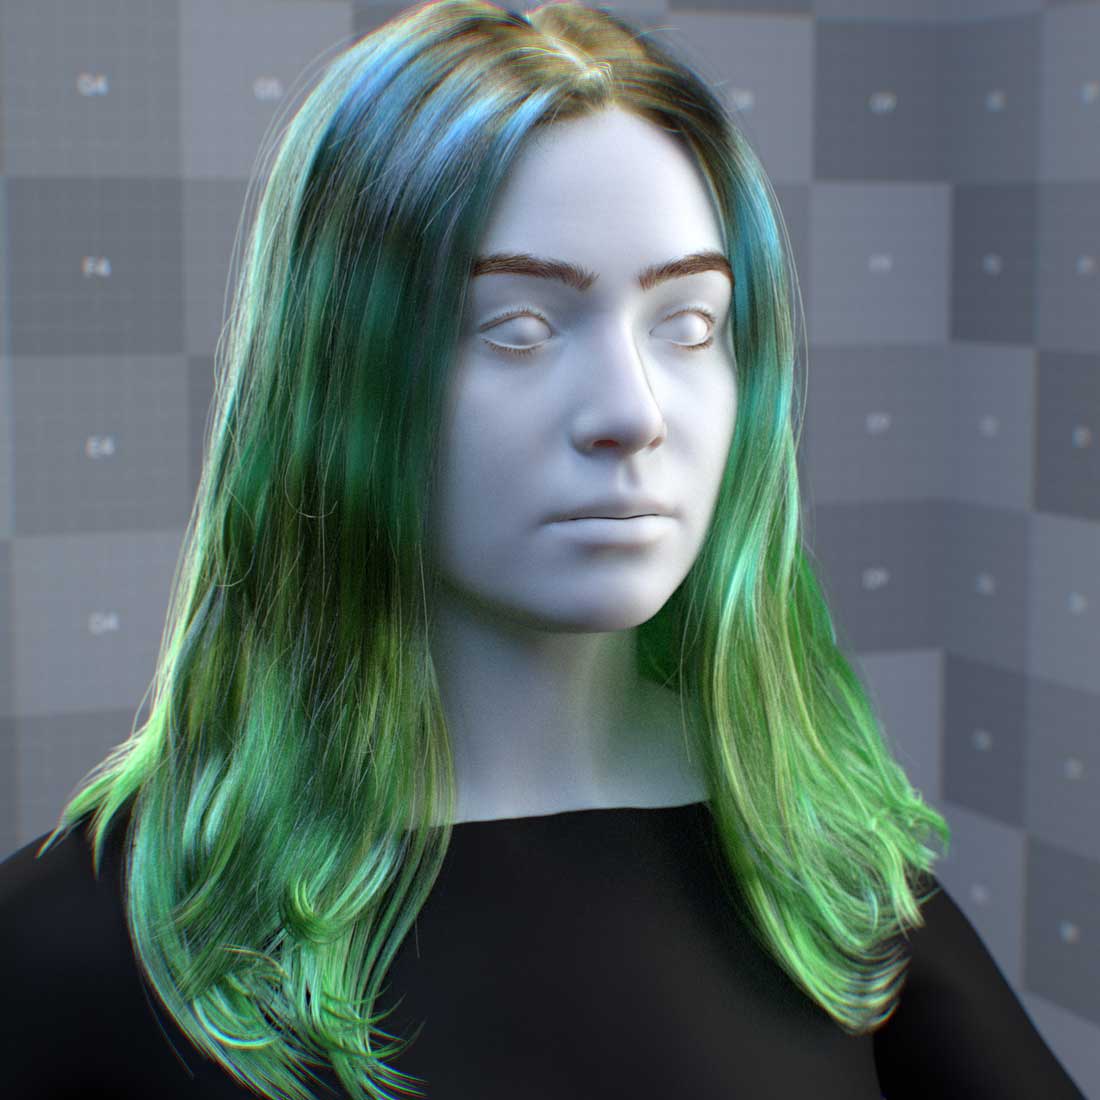
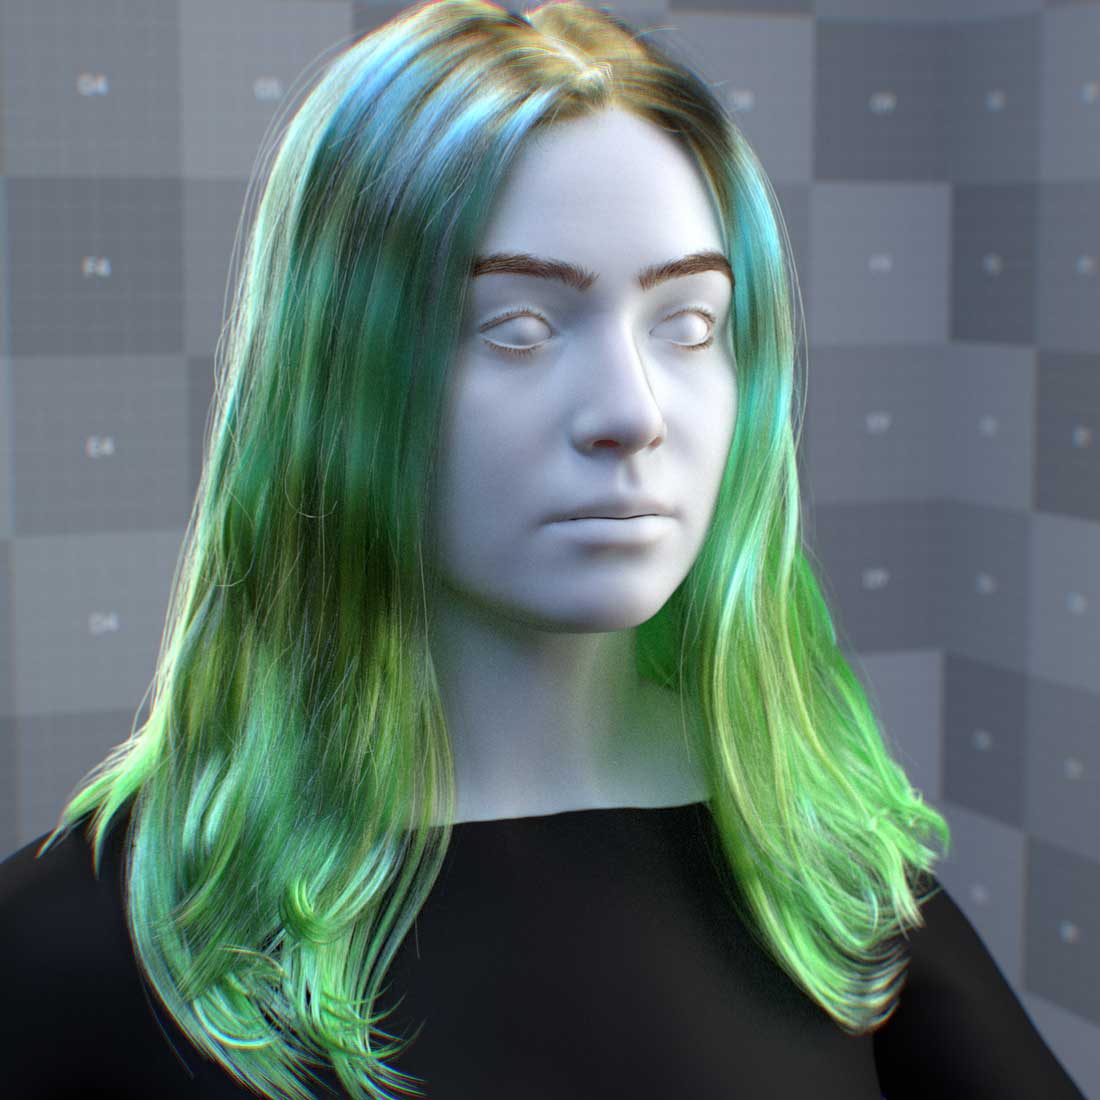
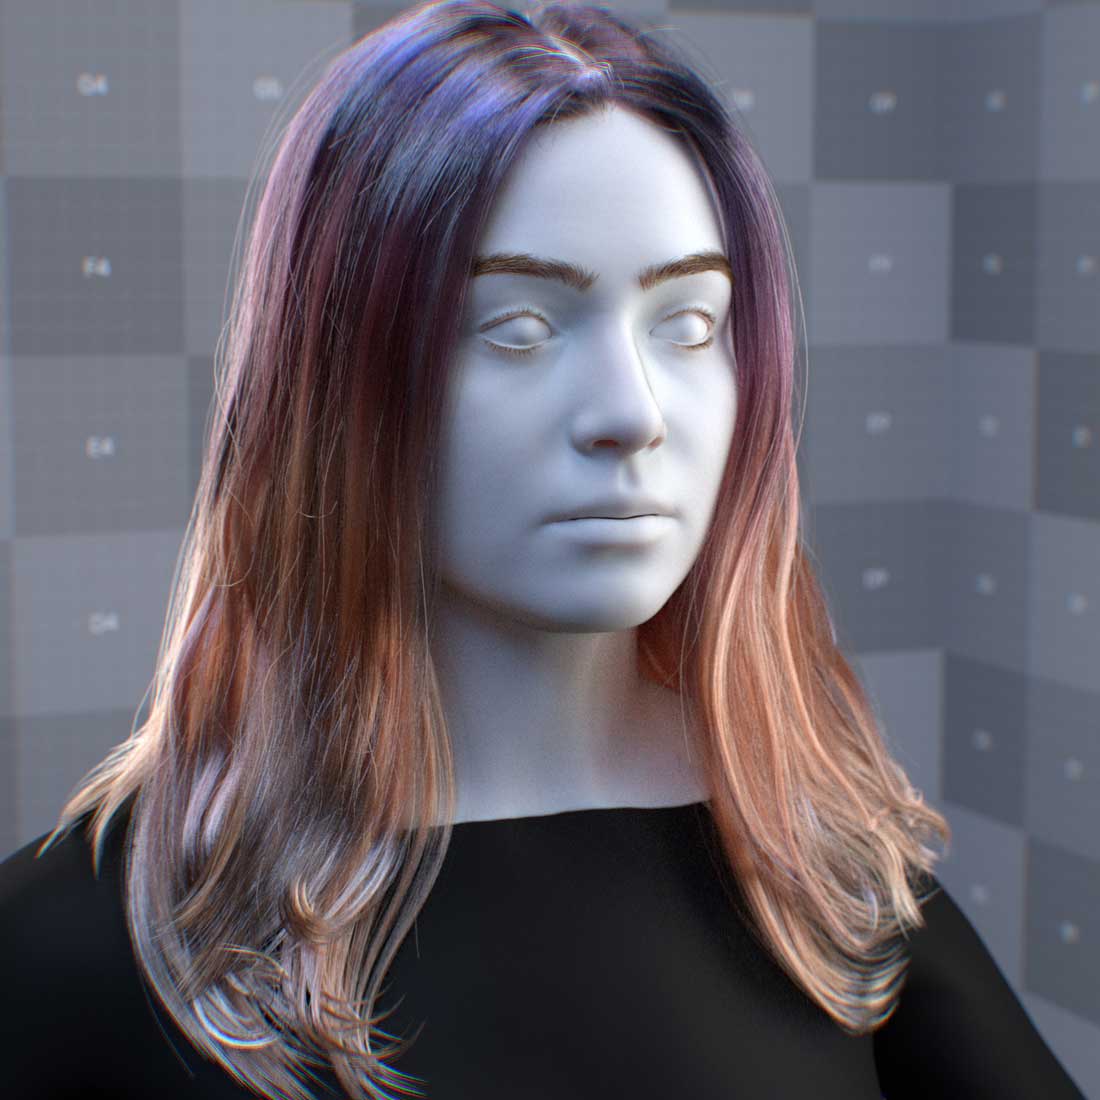
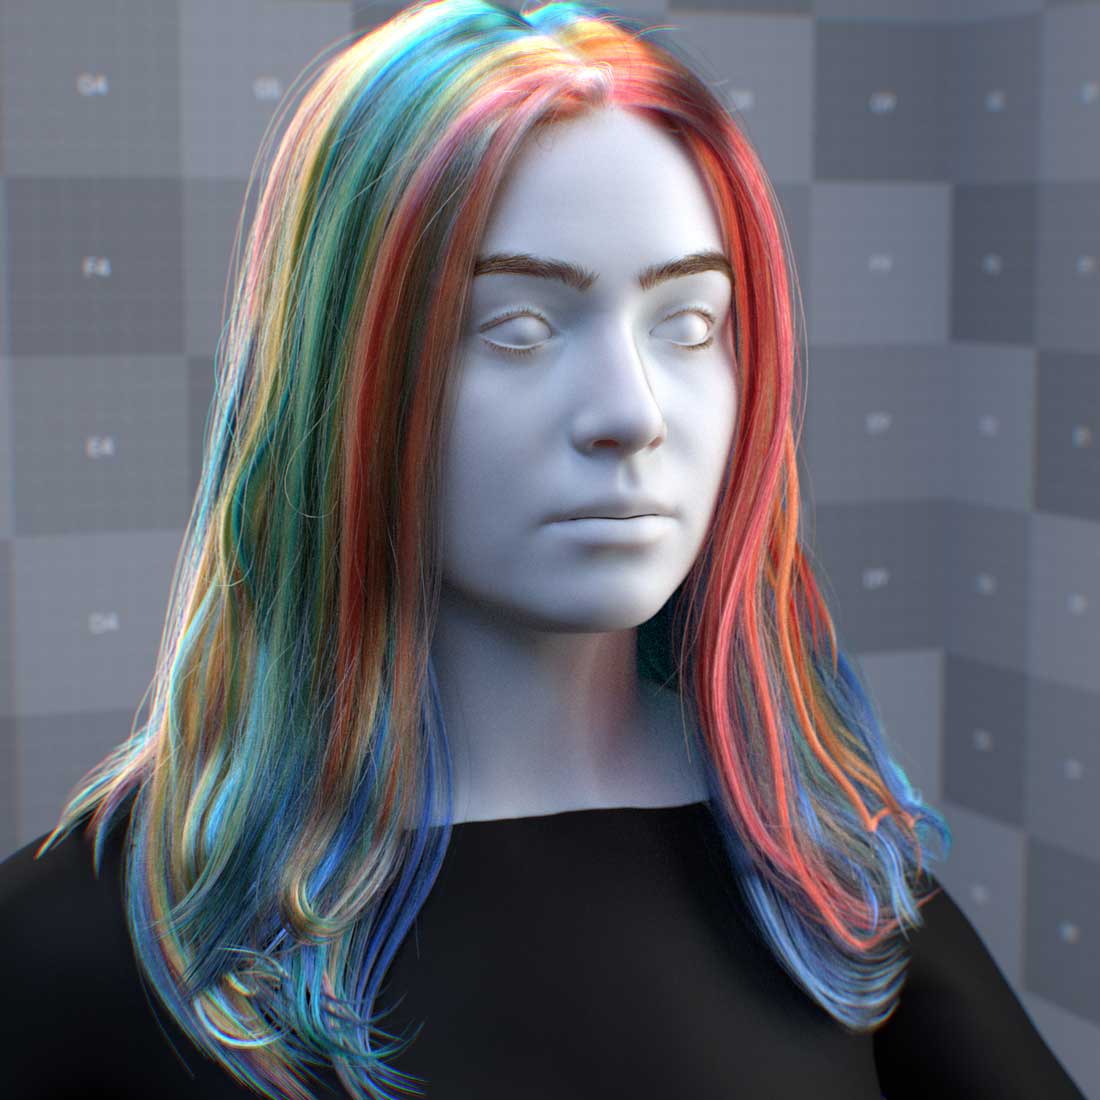
This parameter sets the hair fiber color by adjusting the absorption within the hair fiber volume. The color parameter can create a dyed or art-directed hair look.
|
|
Note
For dyed hair, one should set the melanin concentration parameter to 0.0; otherwise, melanin and pheomelanin will darken the dye color.
Tip
For realistic hair color, set this parameter to white, and adjust the melanin concentration parameter instead.
Melanin Presets
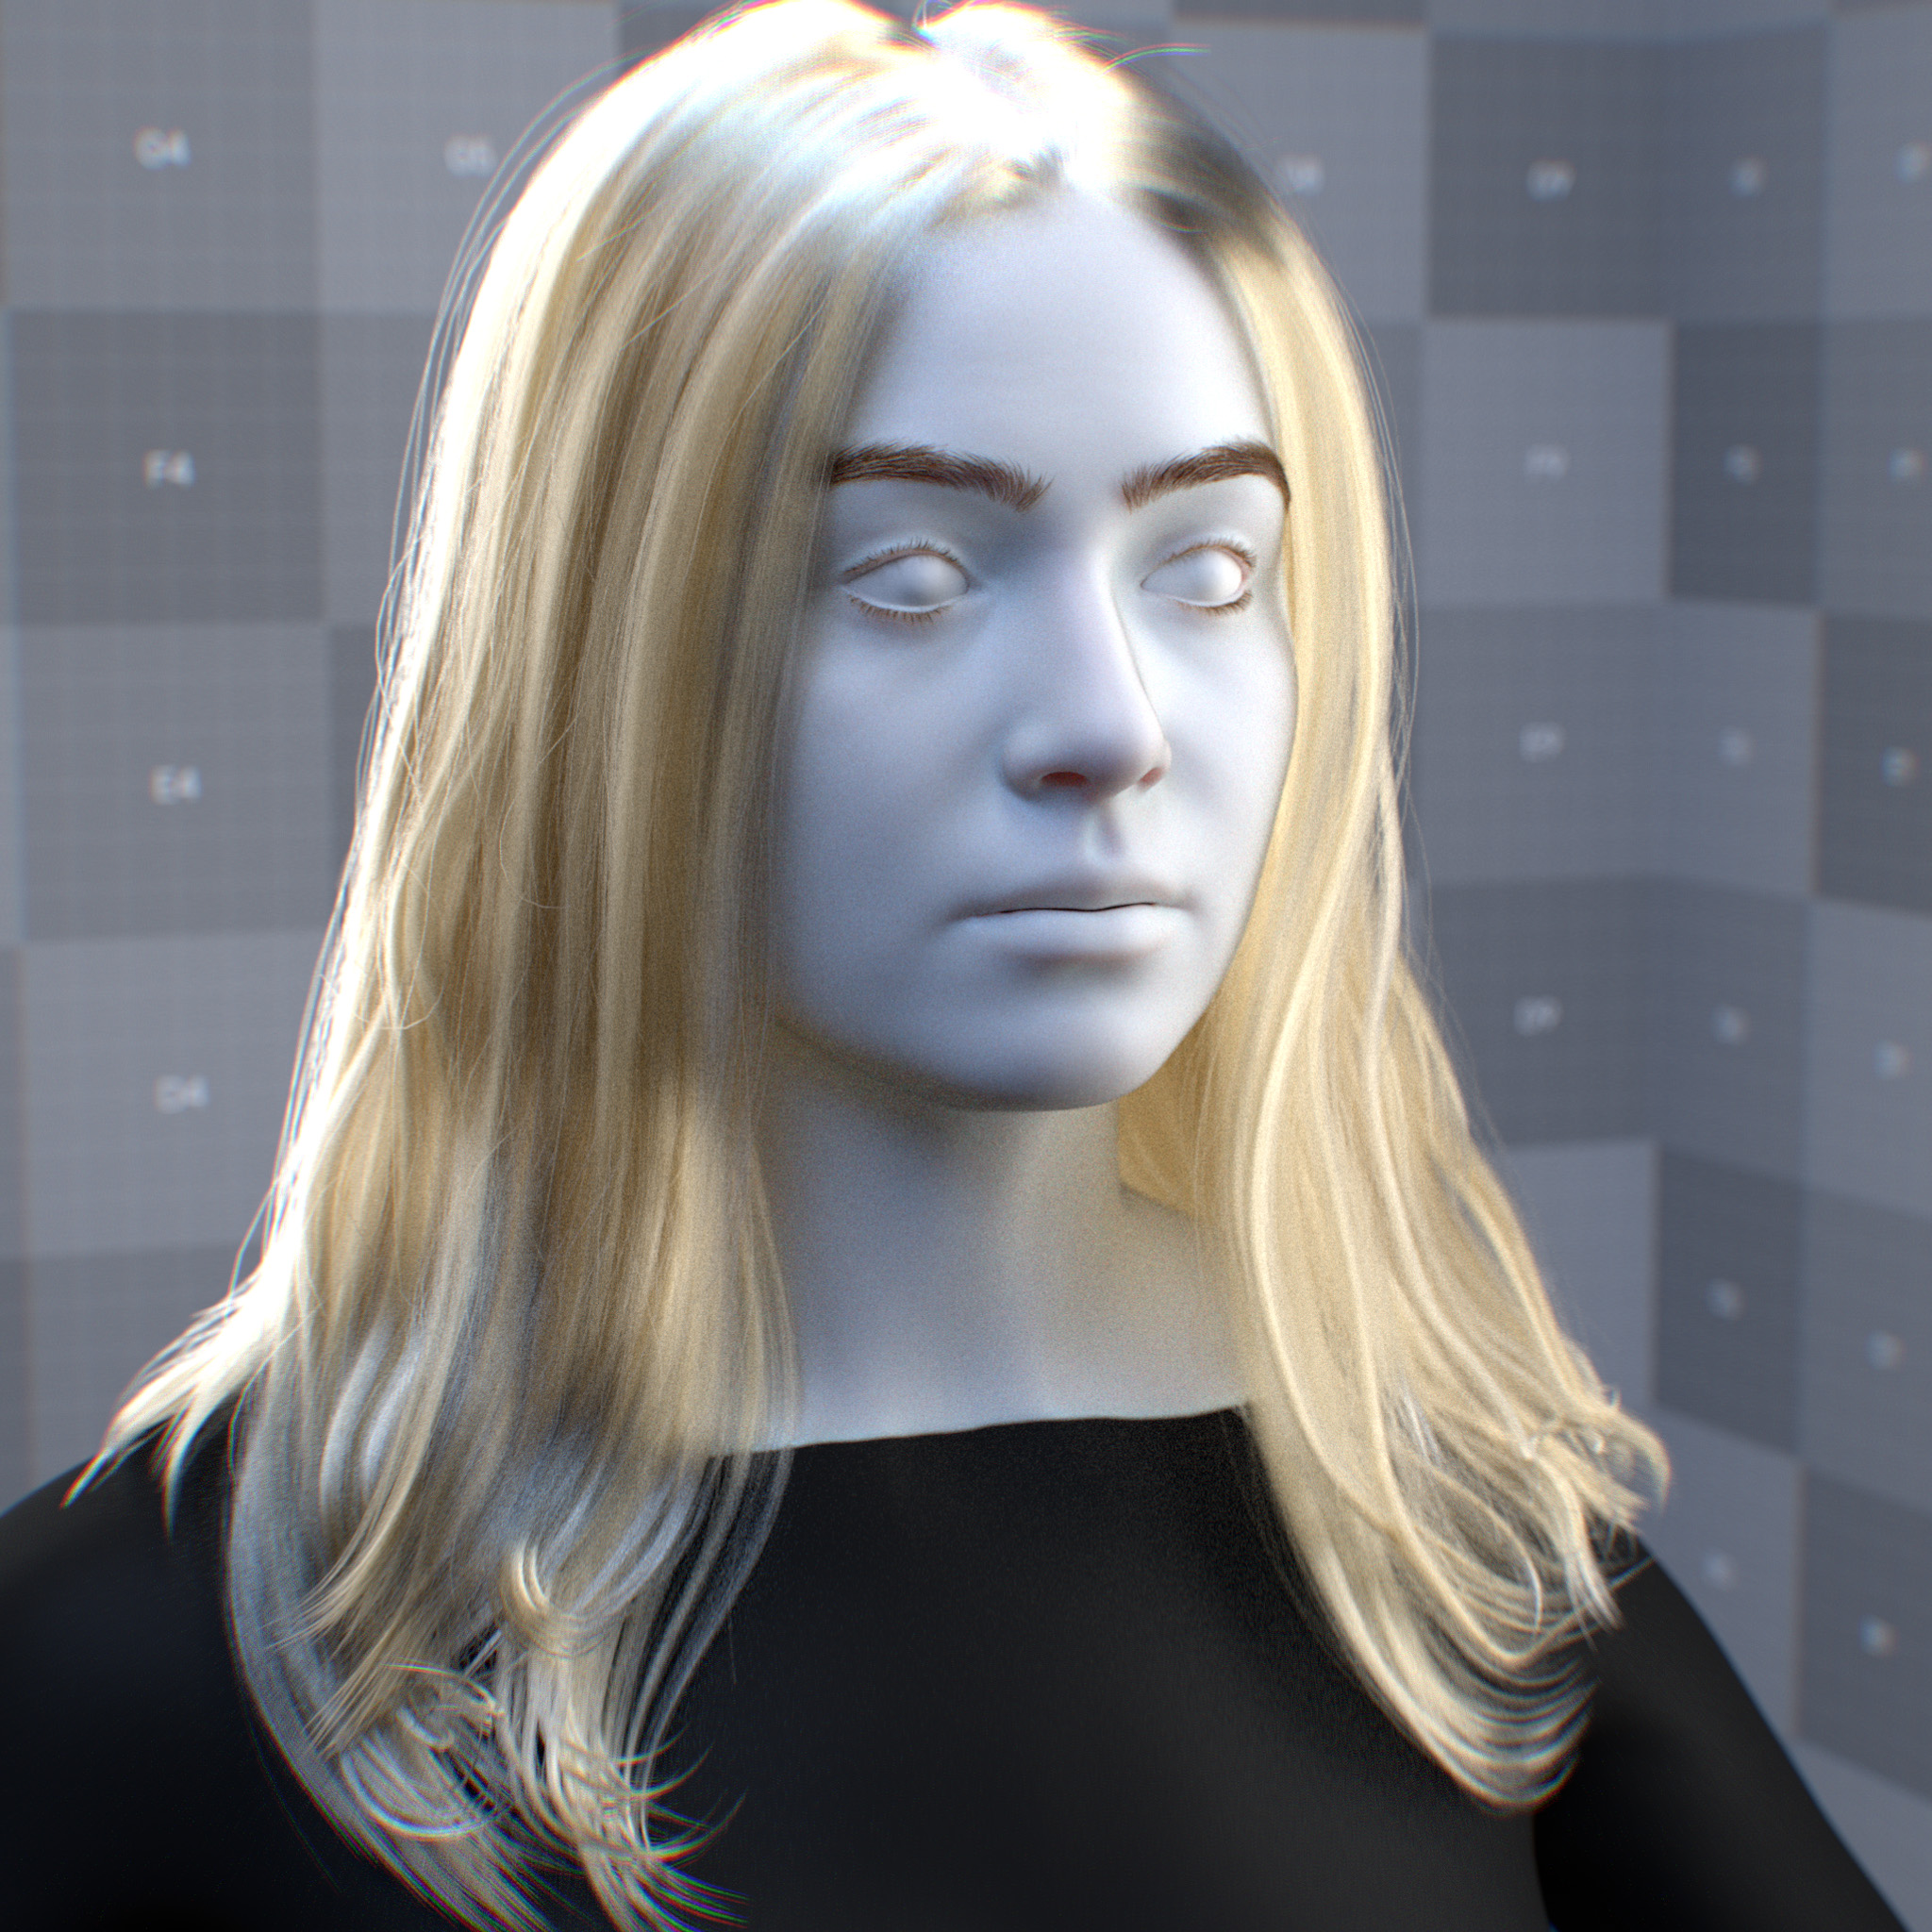
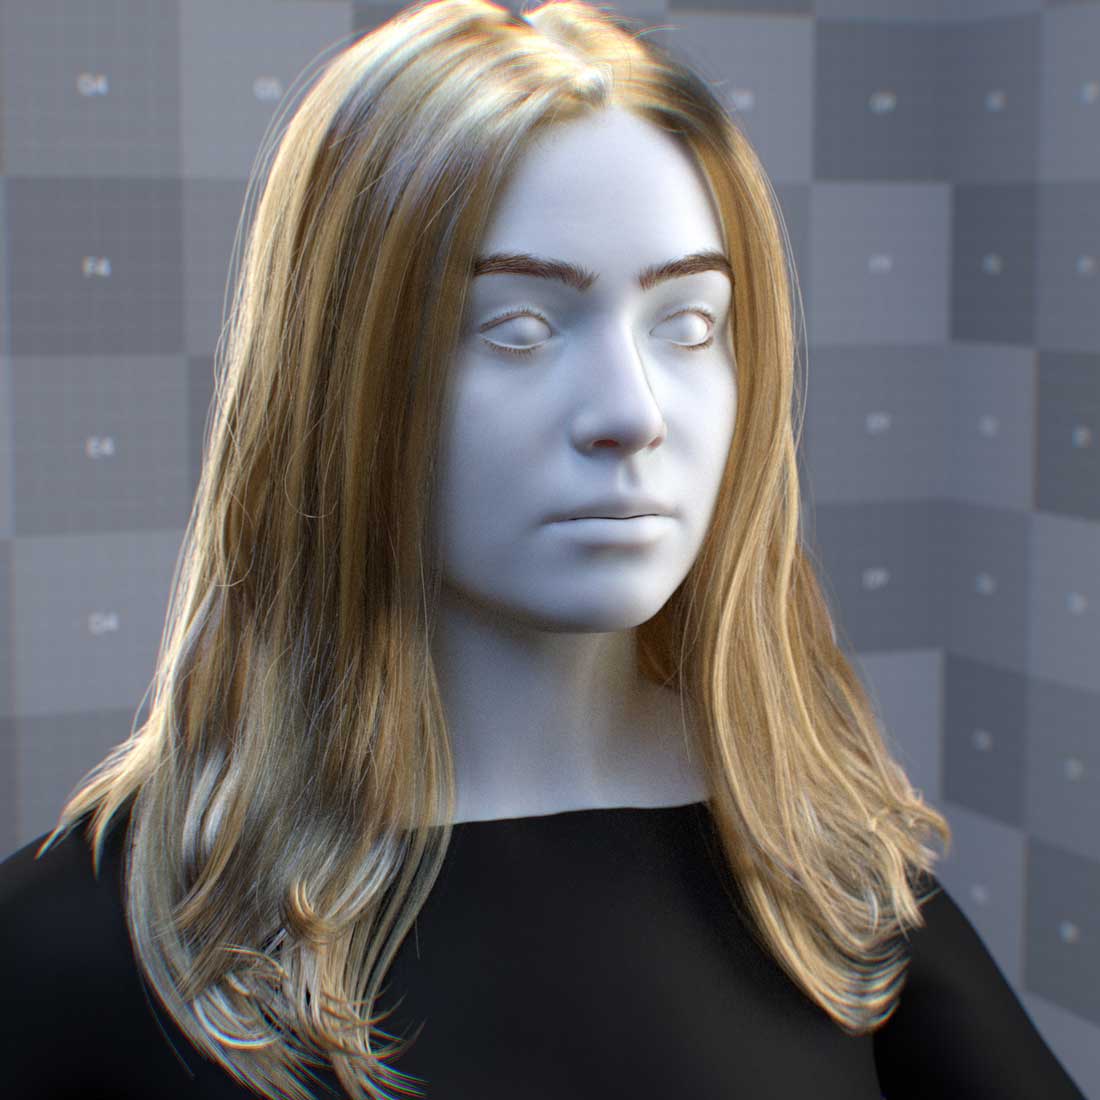
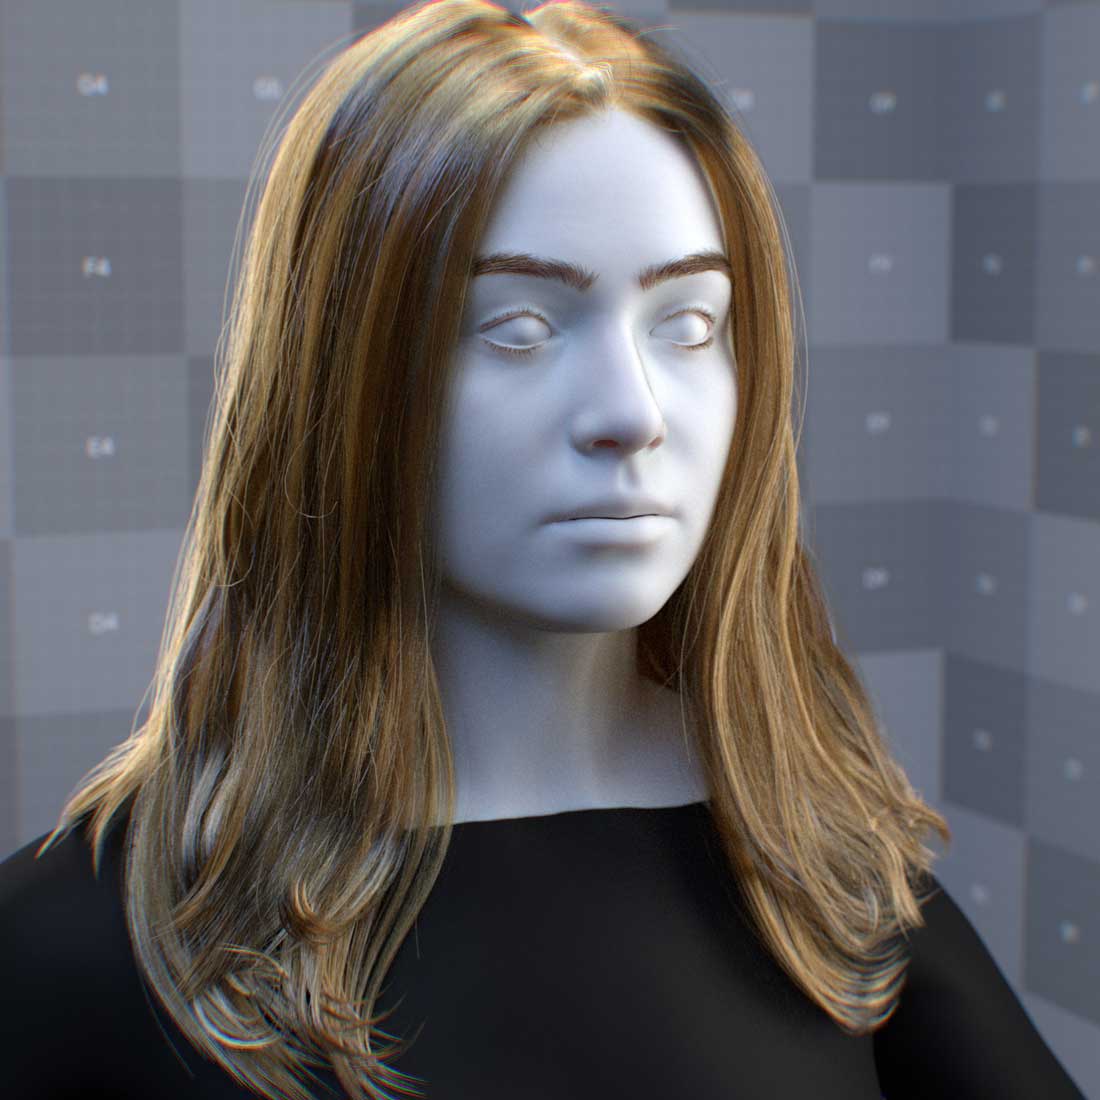
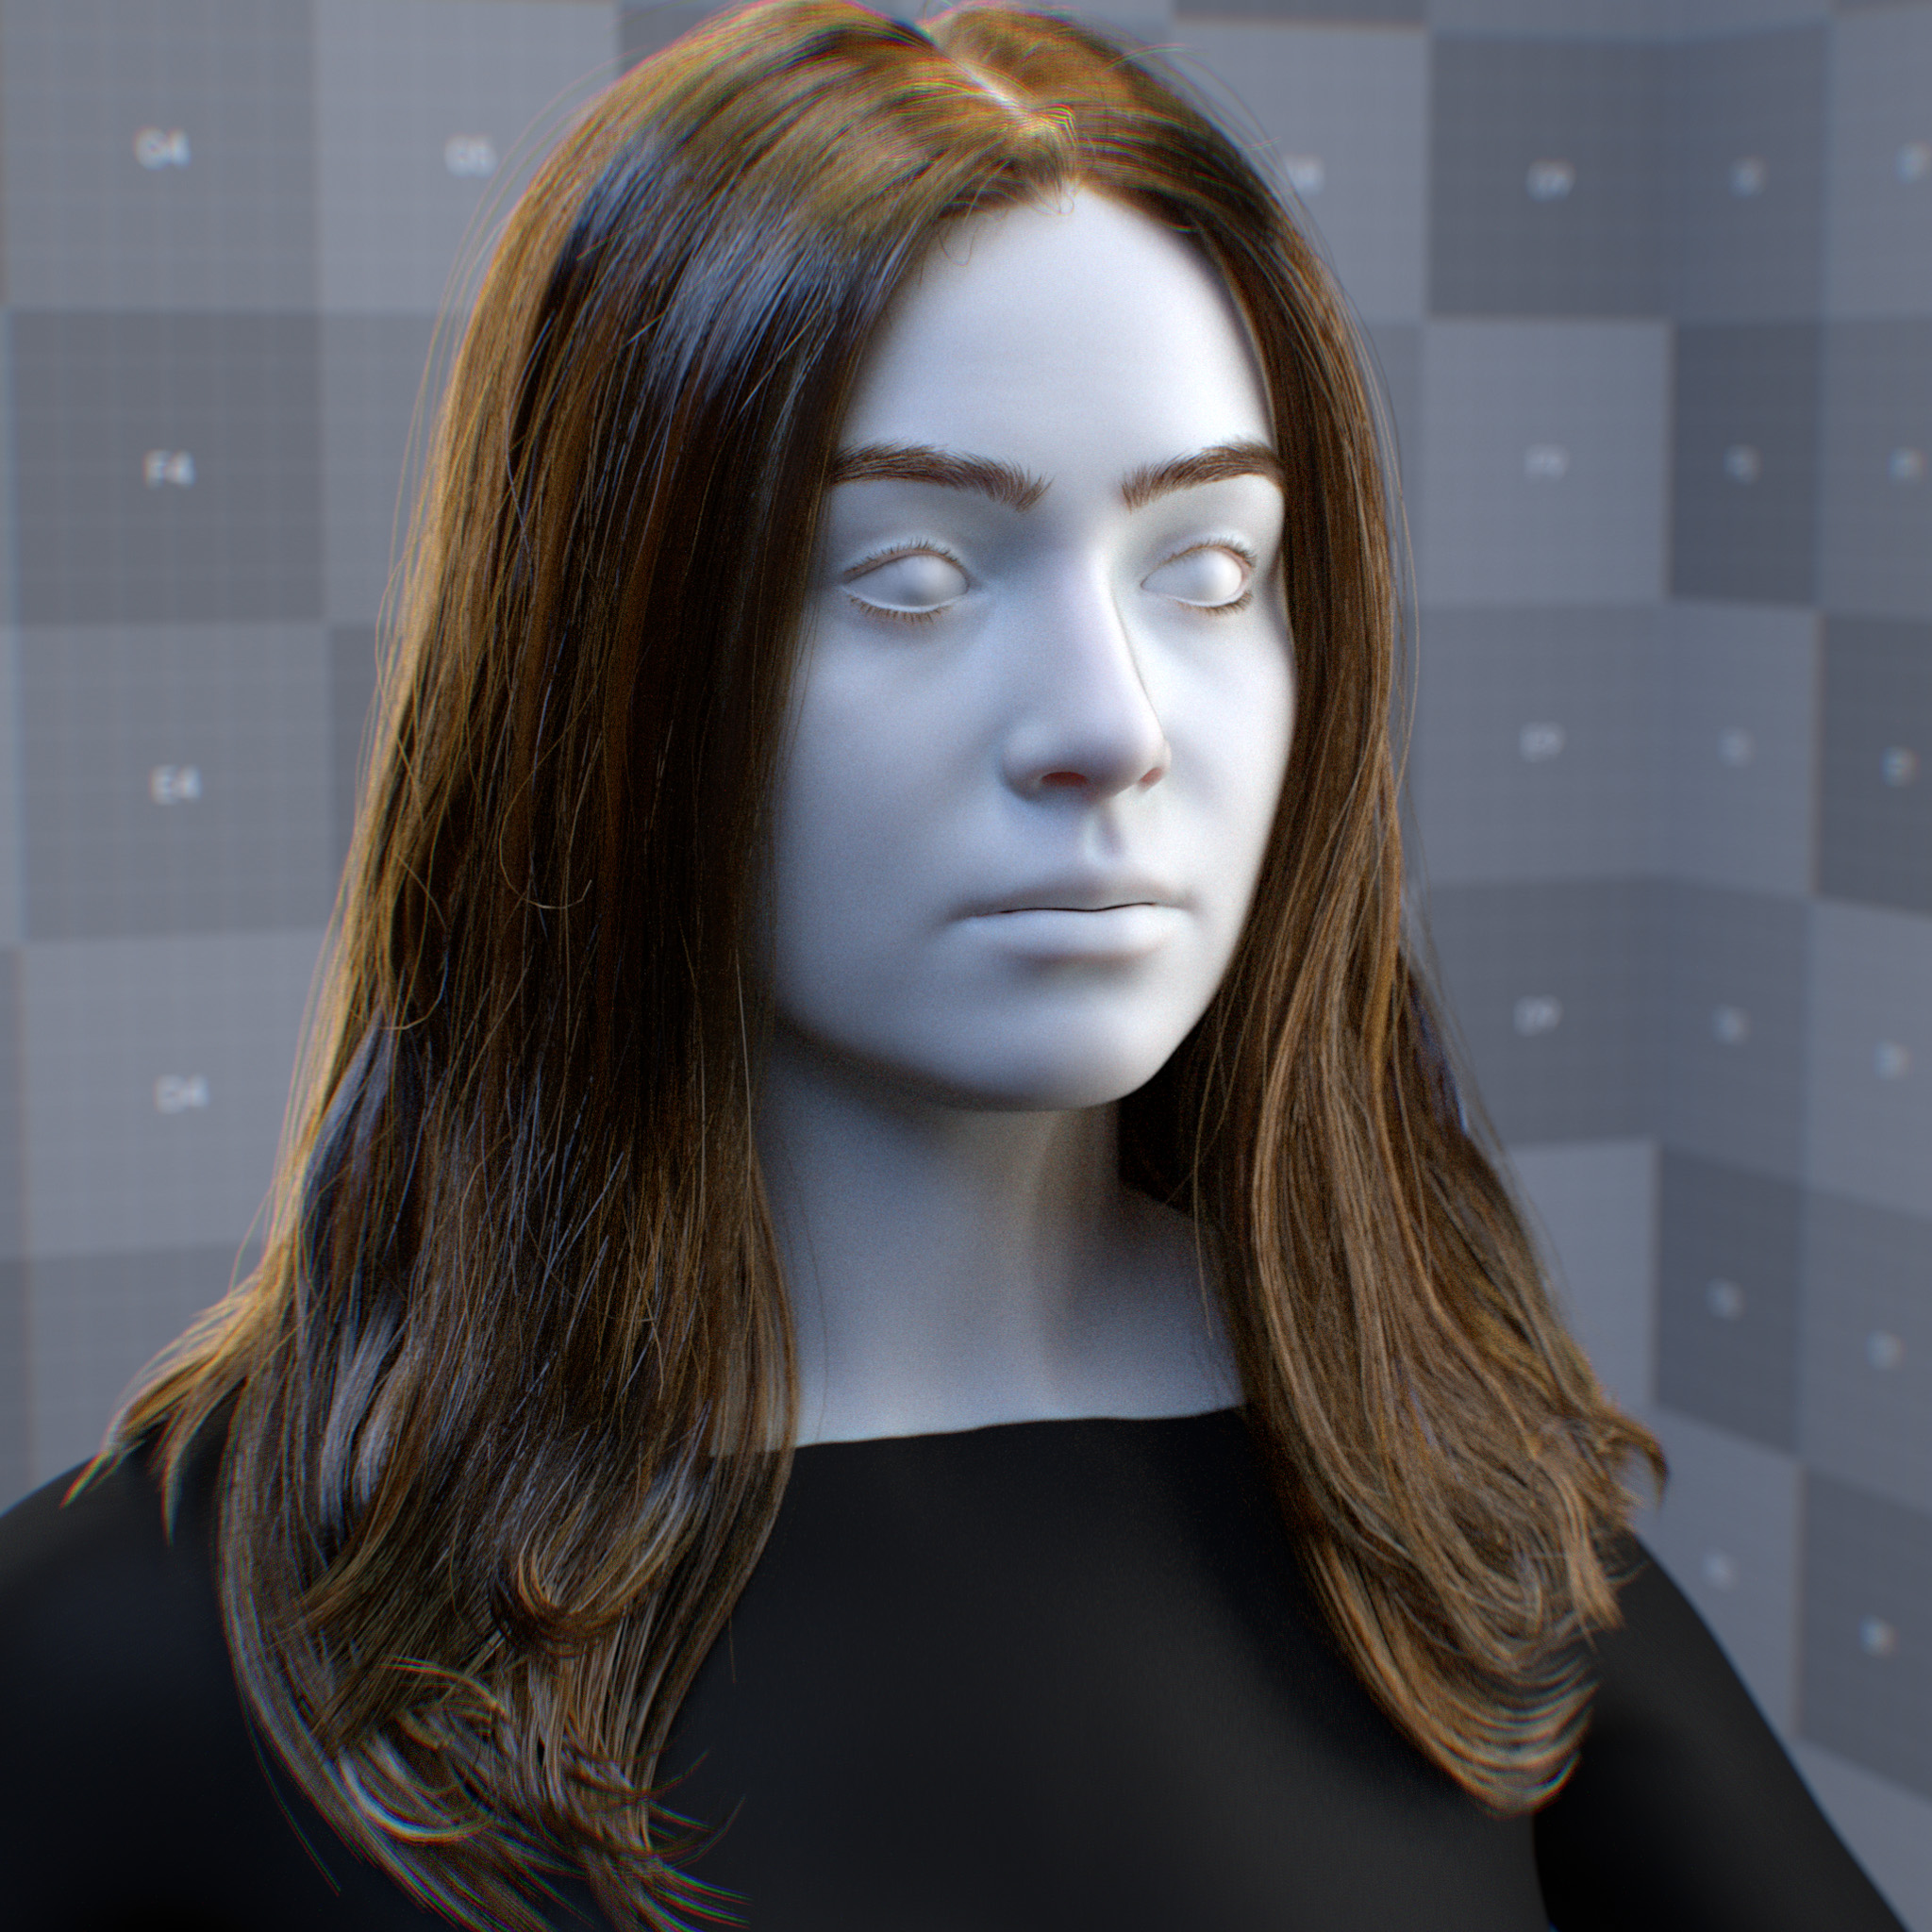
This parameter presents a list of known melanin concentration values for different hair types. One can use a custom melanin concentration by setting this parameter to melanin_concentration_custom and enter a value for the melanin concentration parameter.
Melanin concentration “presets” are including:
Fiber Color |
Melanin Concentration |
|---|---|
White |
0.0 |
Platinum Blond |
0.0025 |
Light Blonde |
0.10 |
Dark Blonde |
0.30 |
Dark Brown |
0.65 |
Black |
1.0 |
Melanin
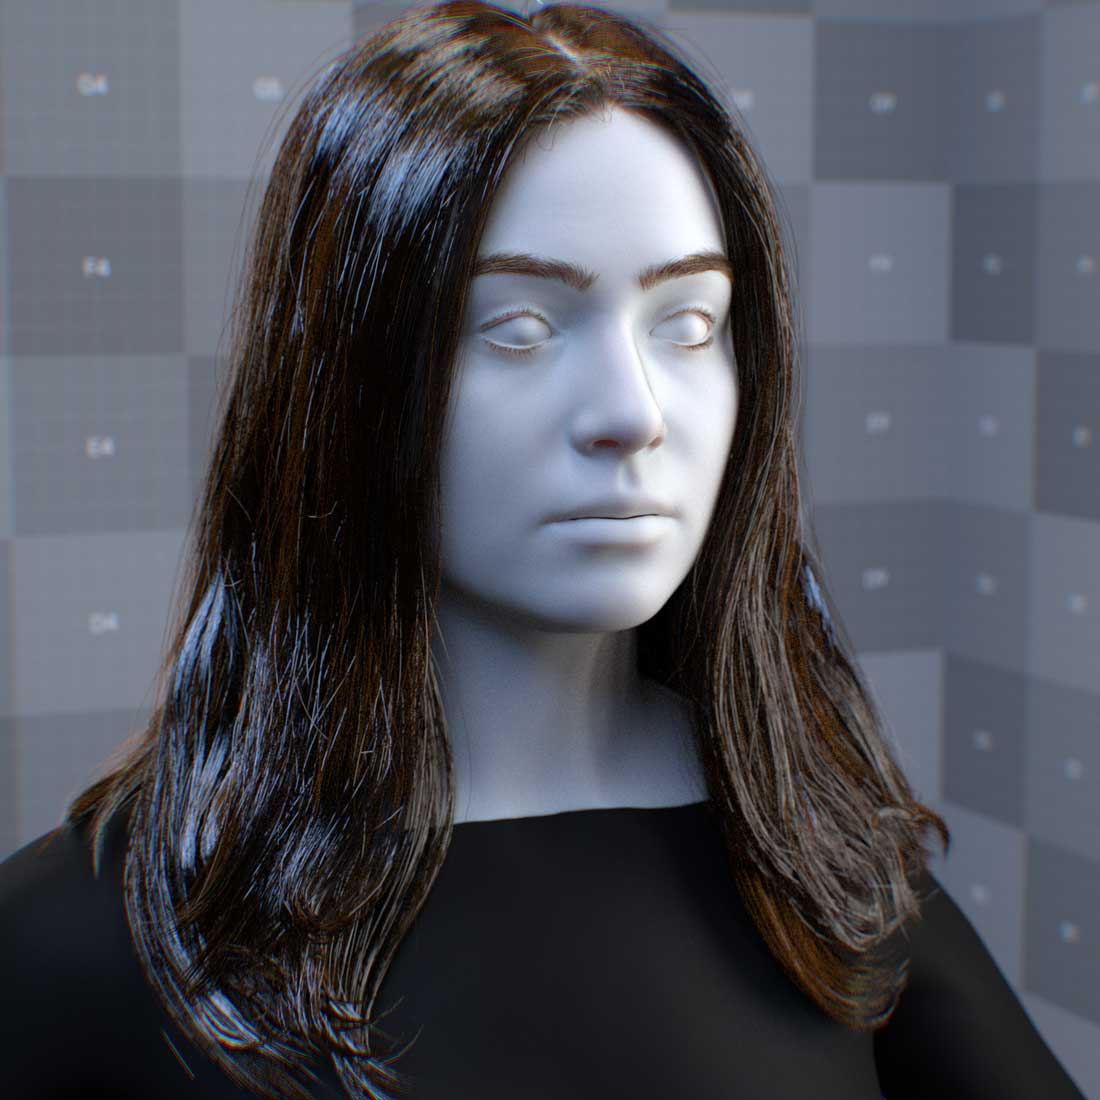
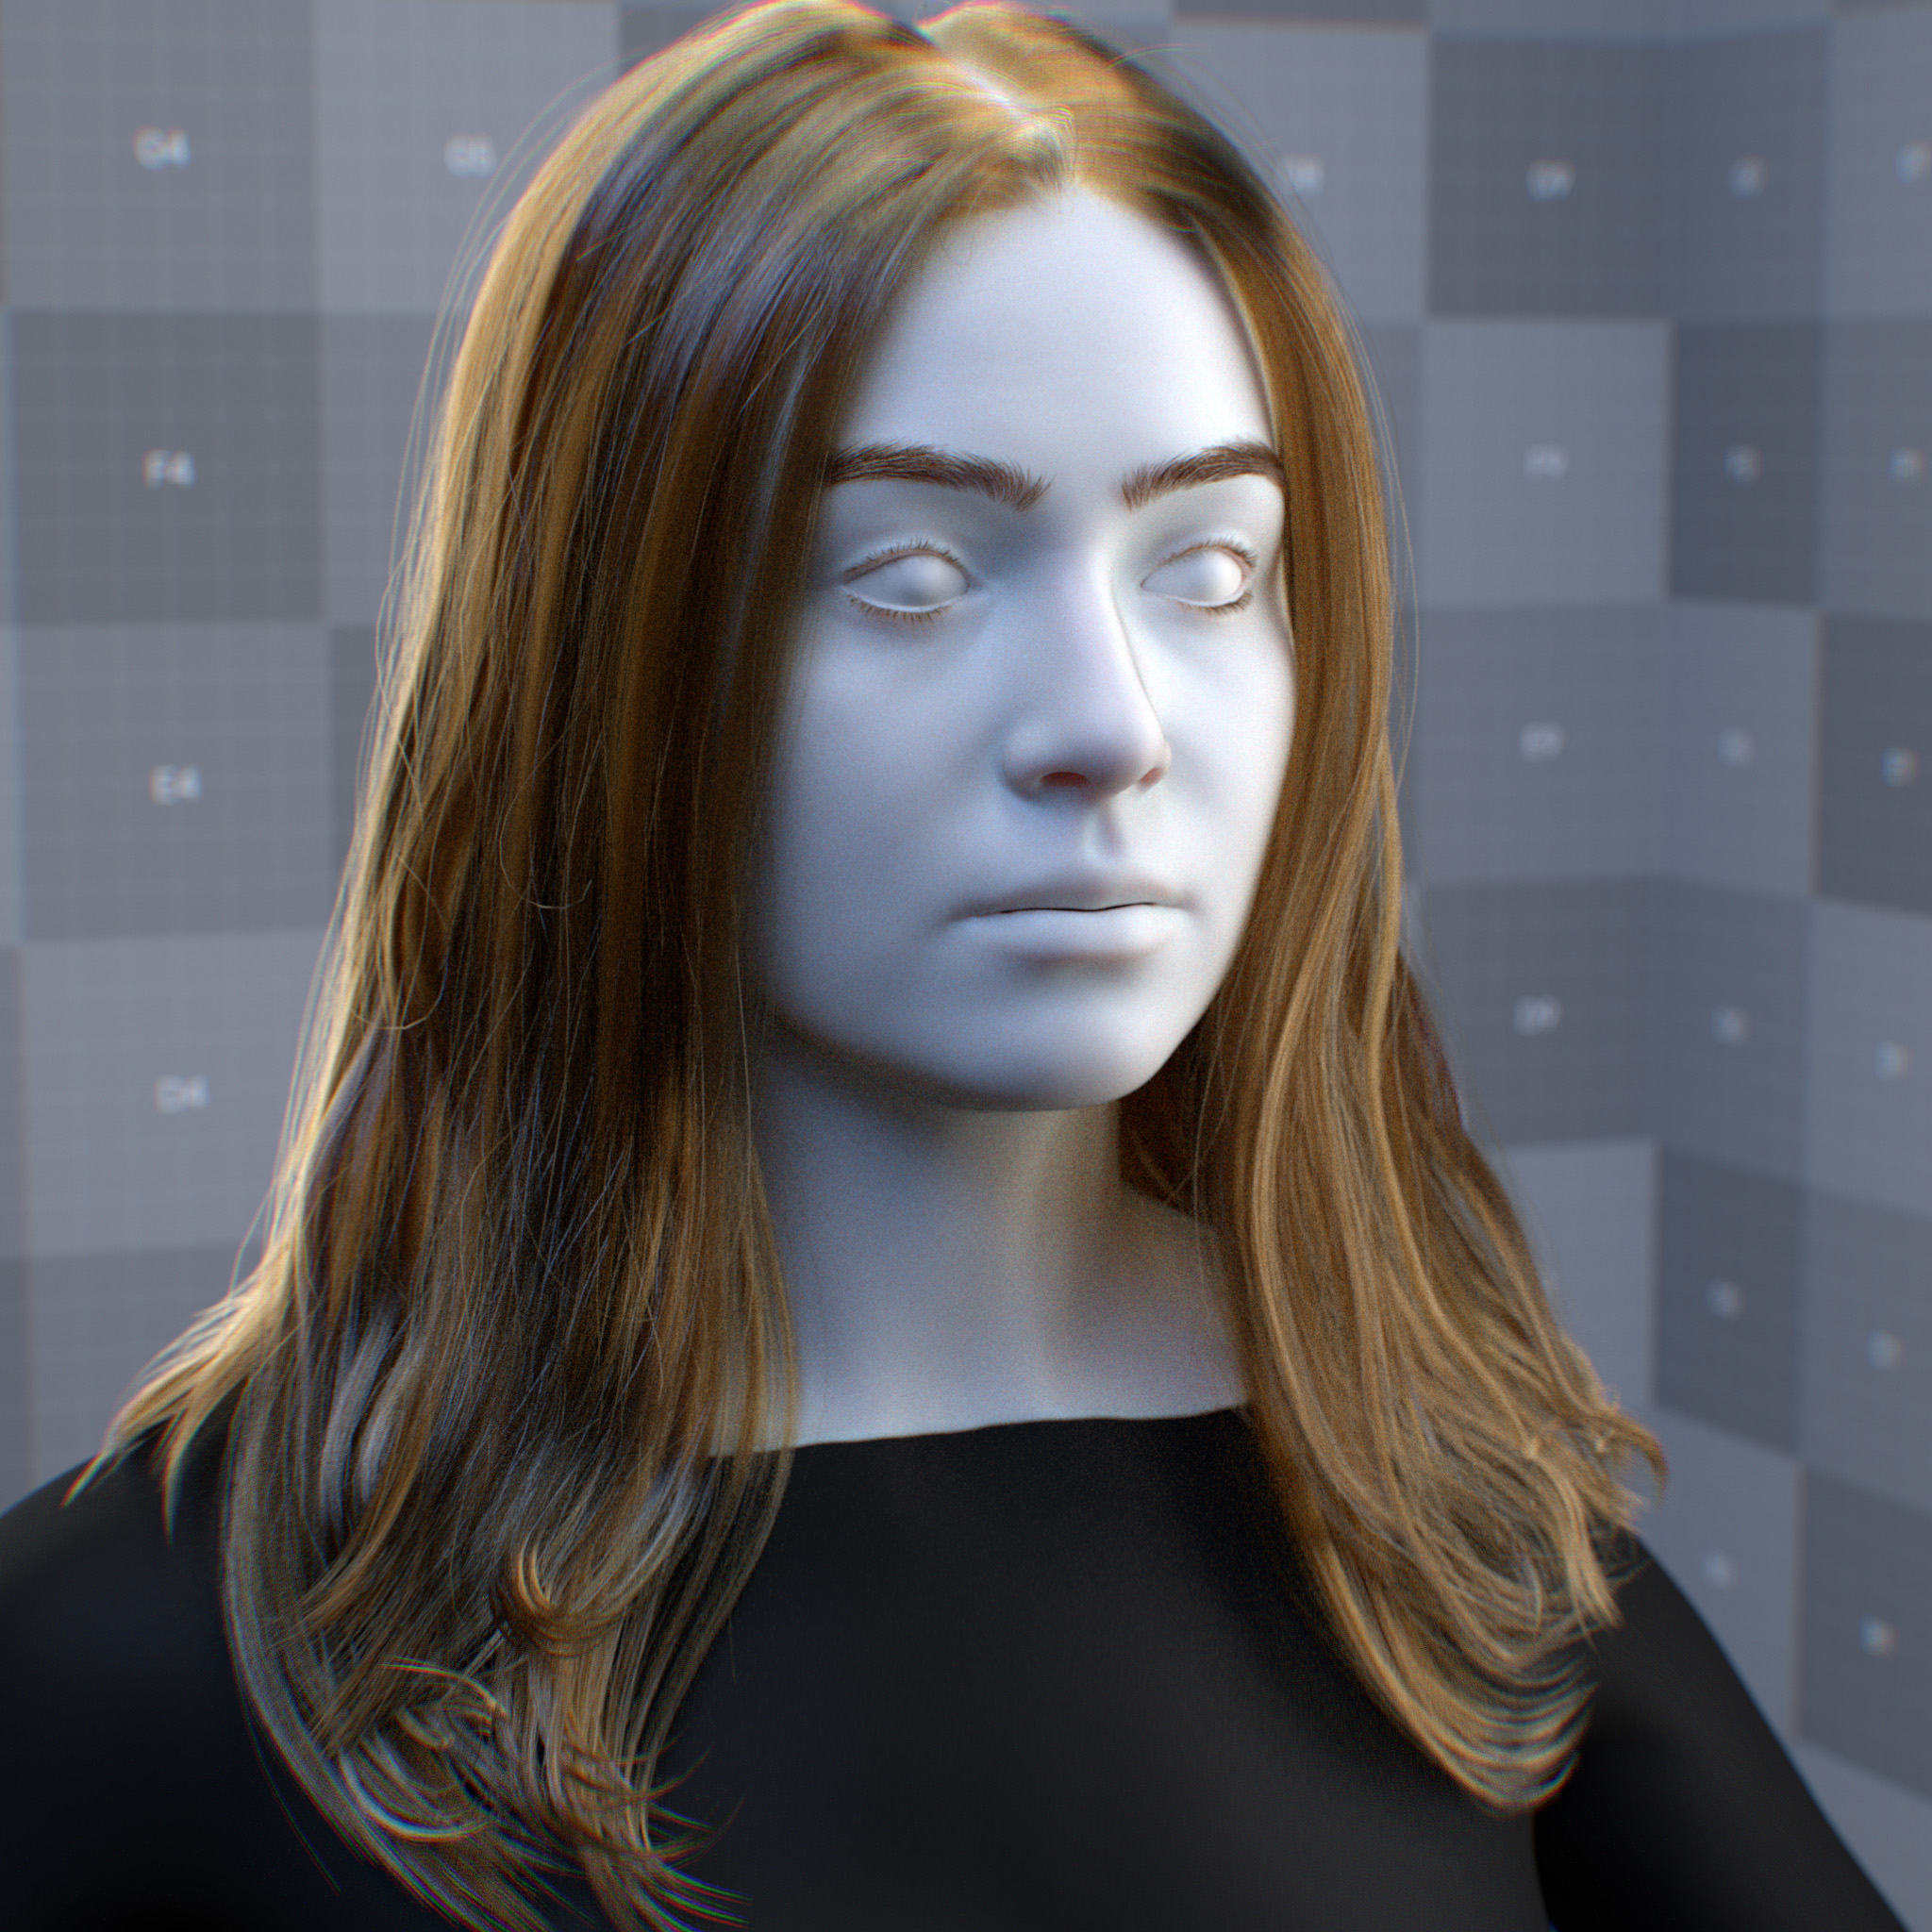
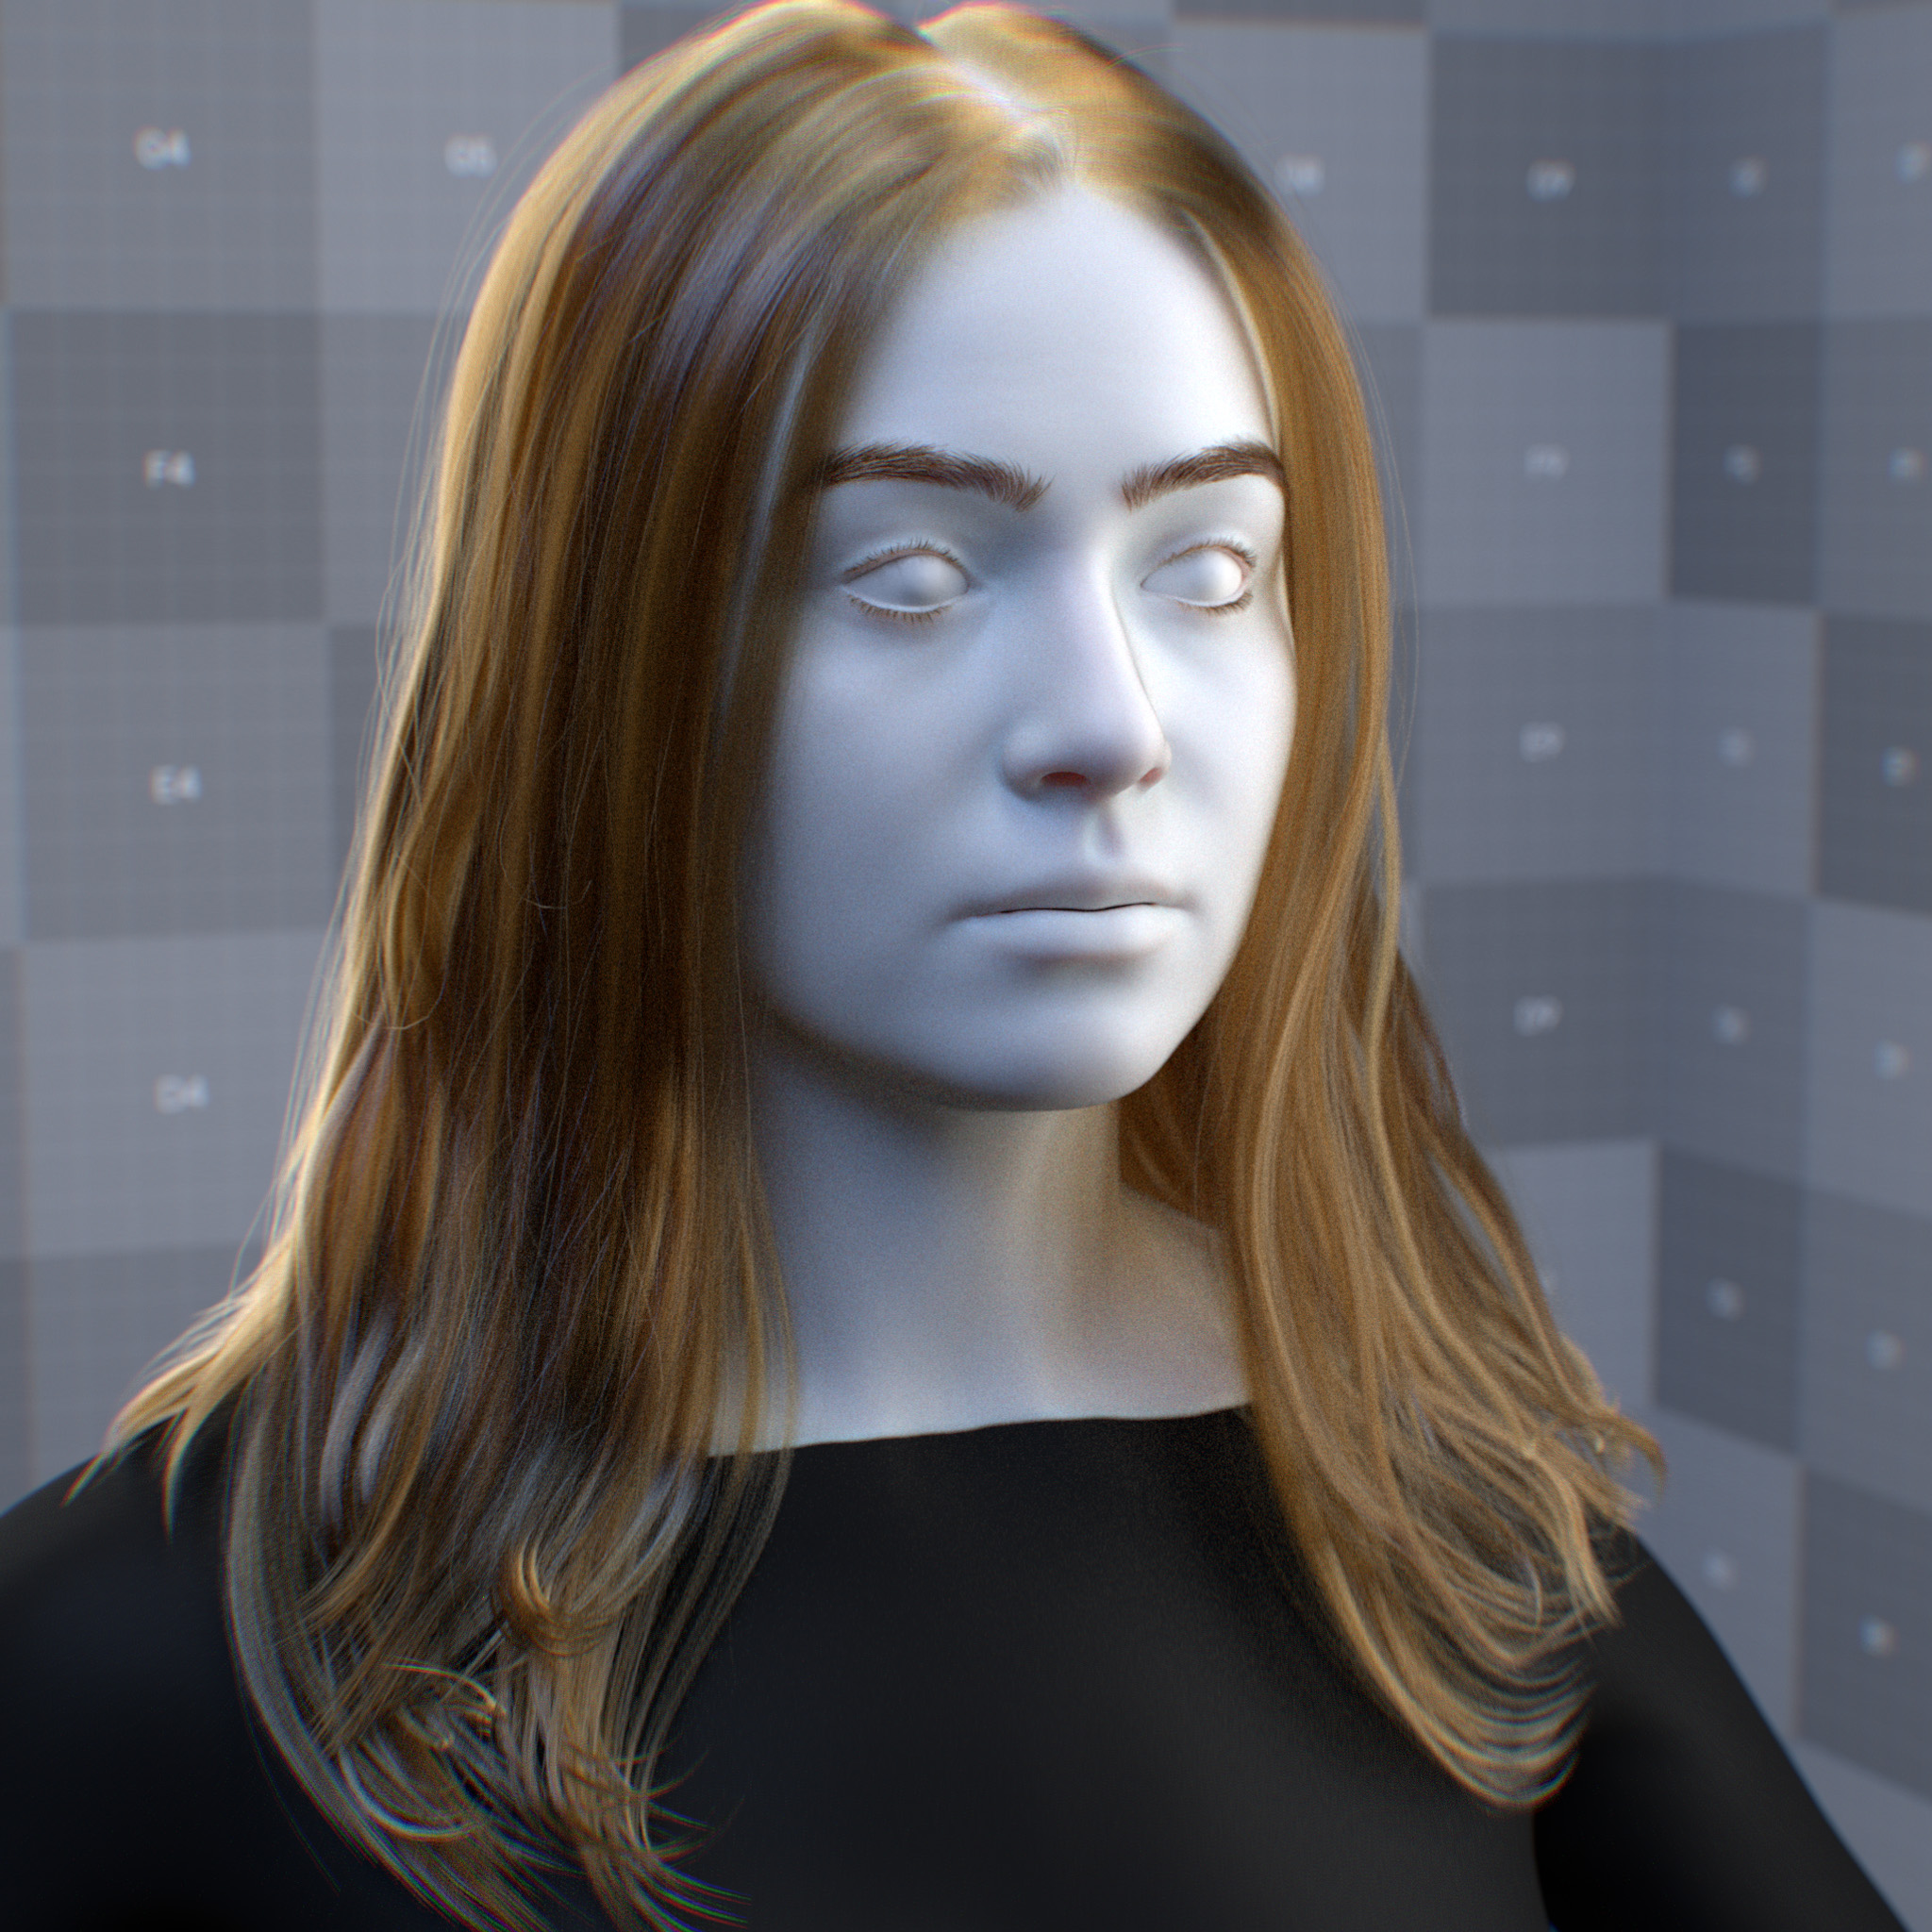
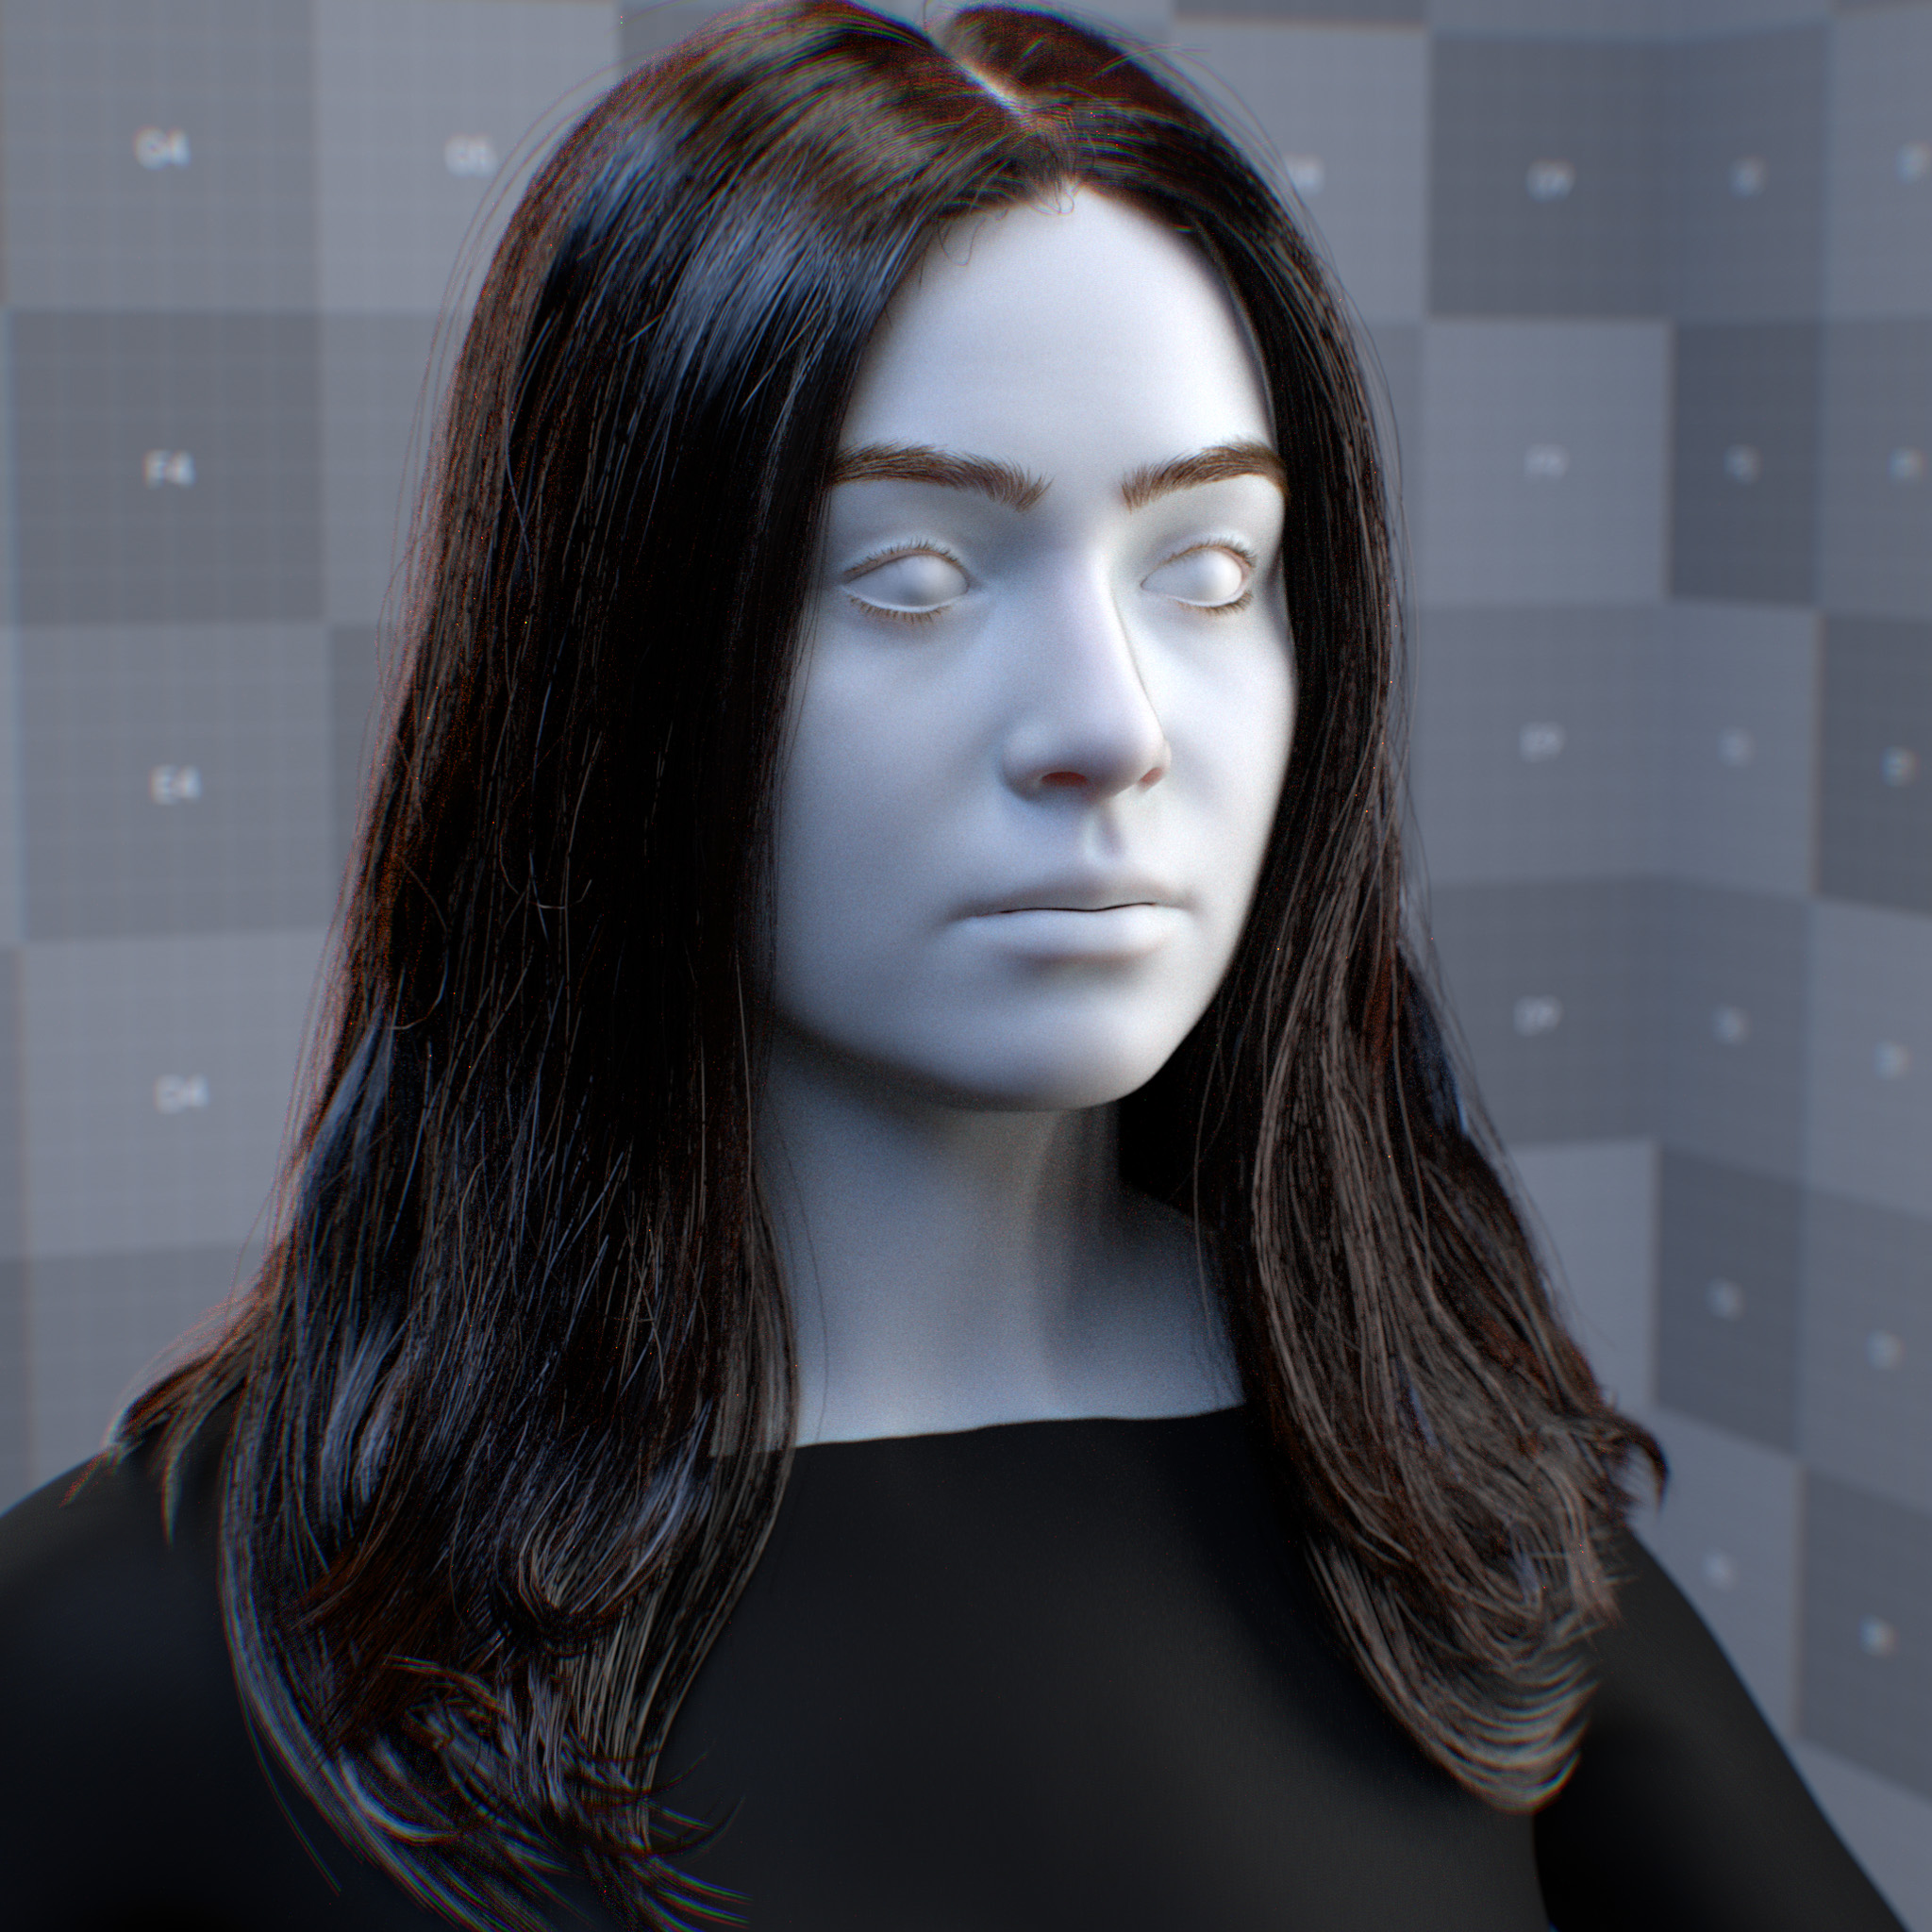
This parameter sets the melanin concentration, which controls the hair fiber’s primary color. At 0.0, hair fiber appears completely translucent, while at 1.0, pigments blocking refracted rays. Thus the hair fiber becomes black.
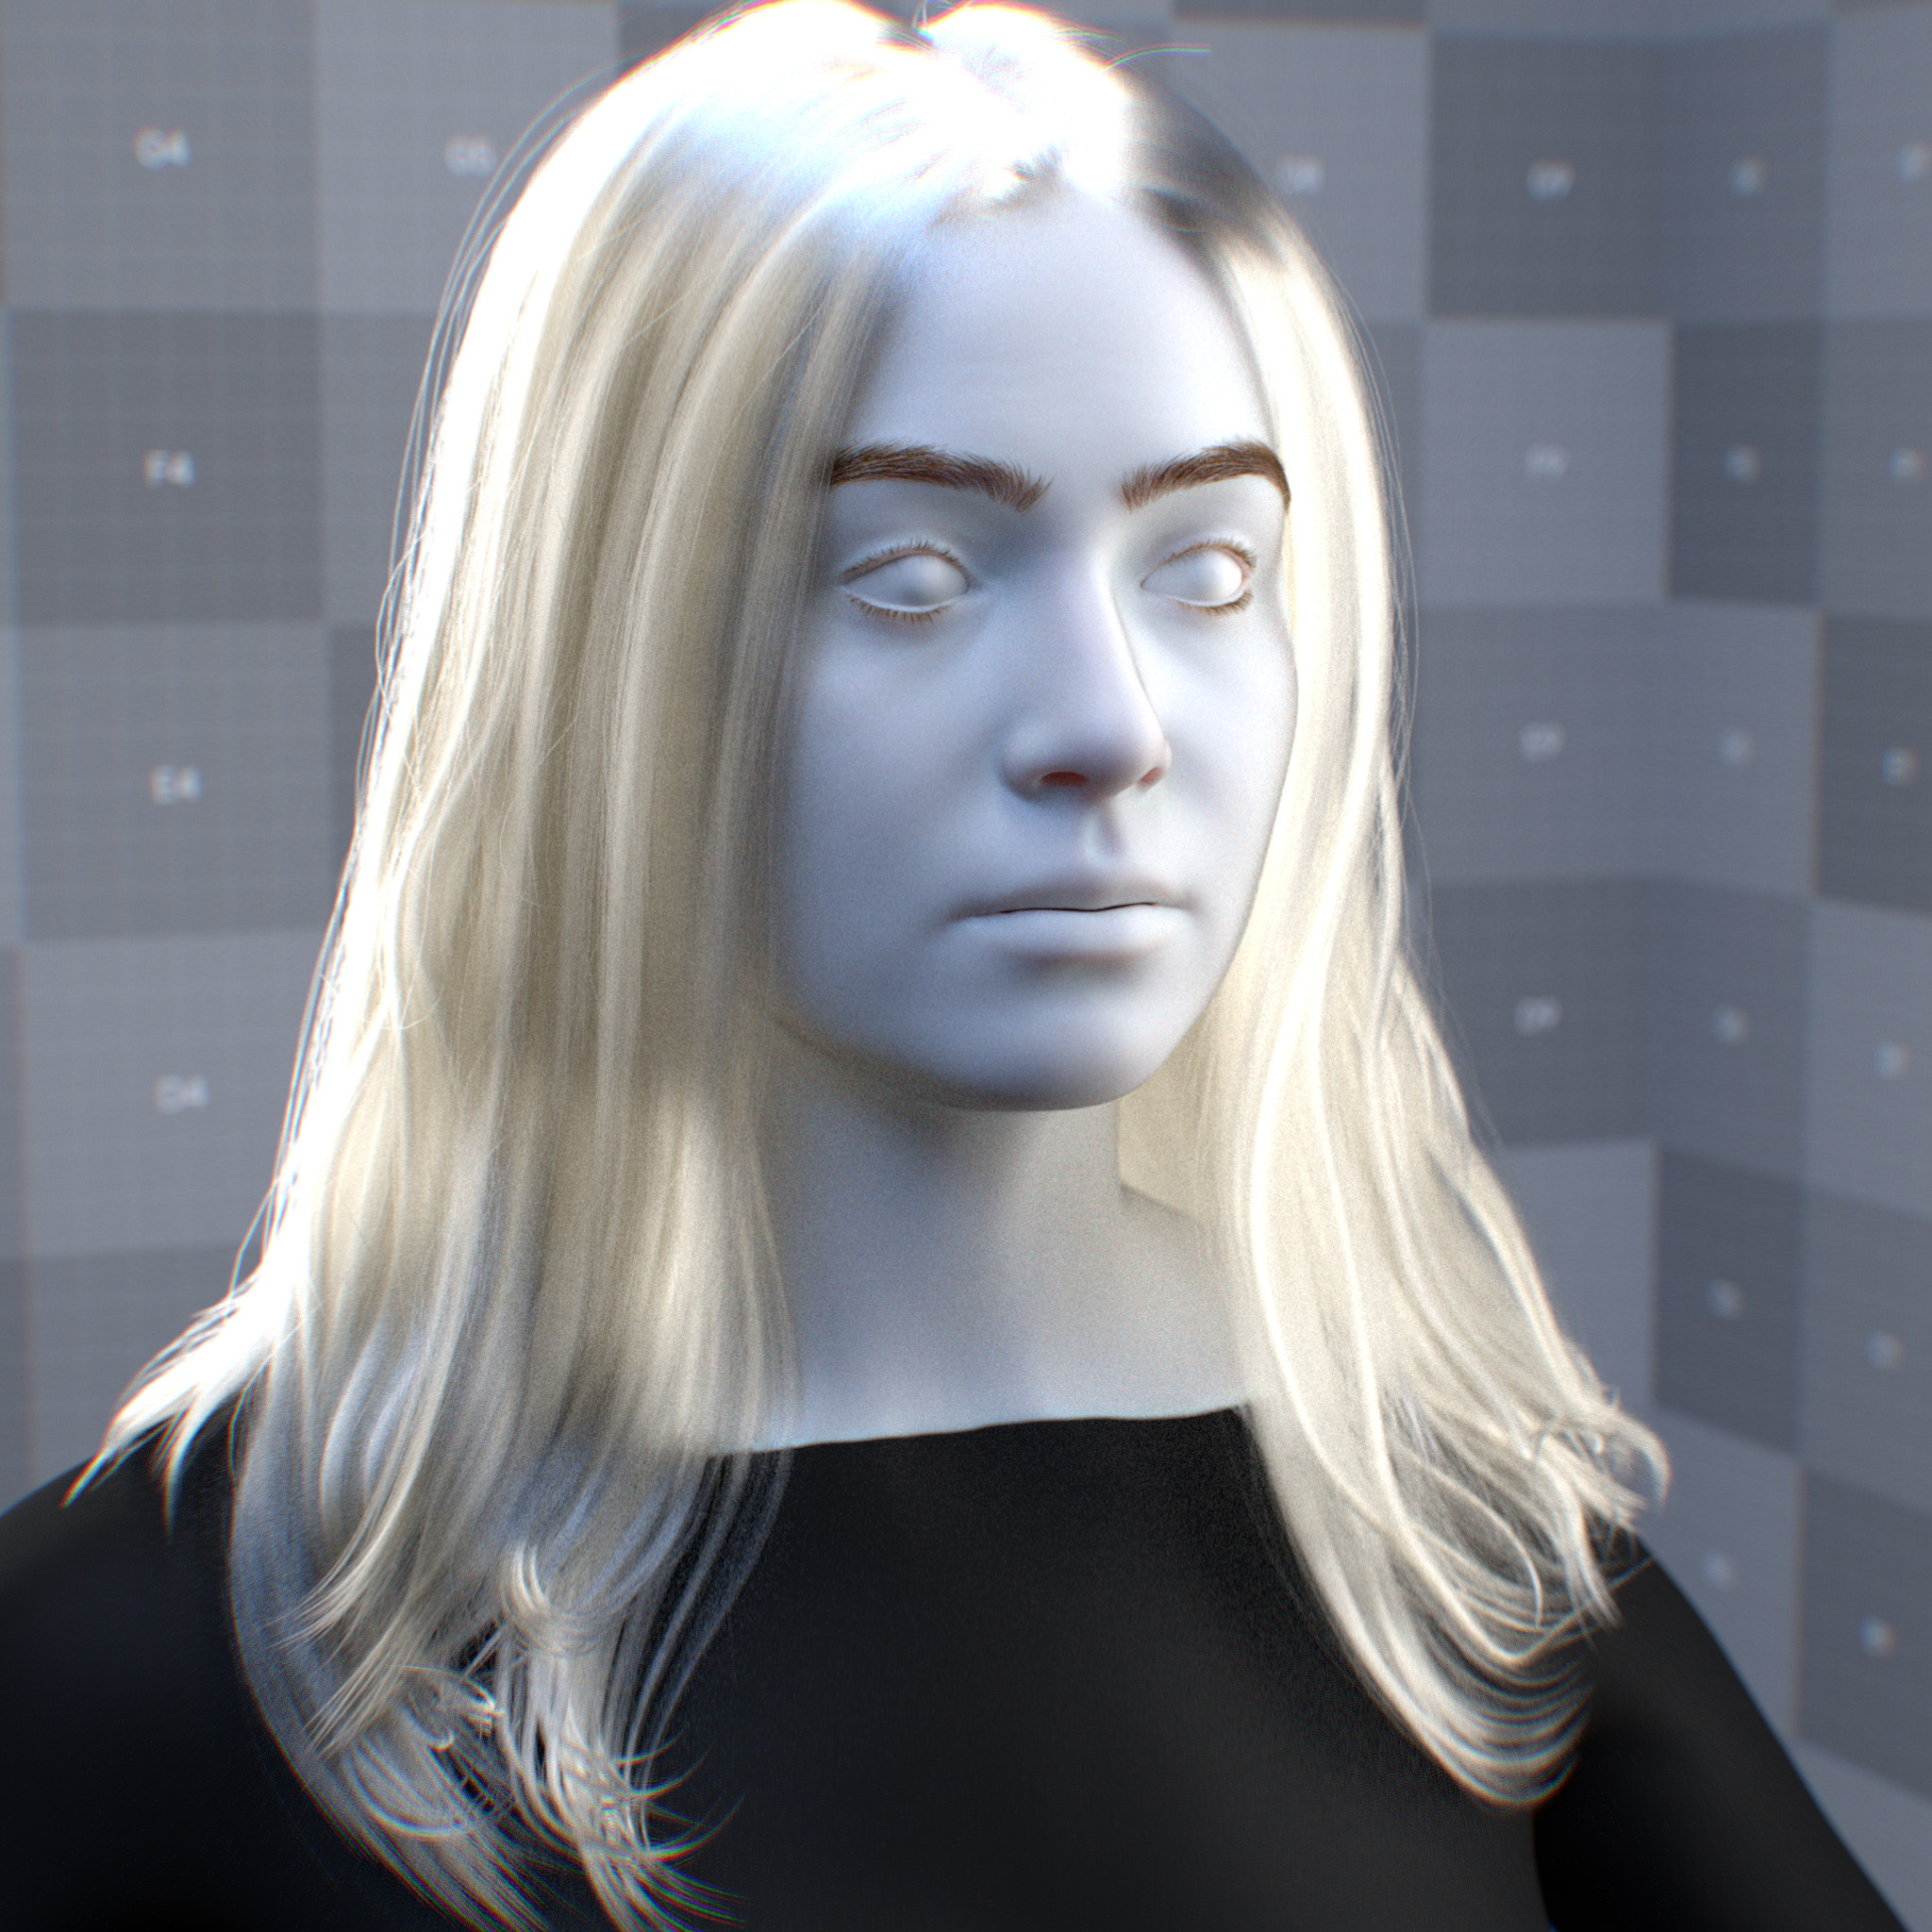
Platinum Blonde / Silver# |
Shimmering Sands Light Blonde# |
Sun-Kissed Light Blonde# |
Blonde# |
Light Brown# |

Brown# |
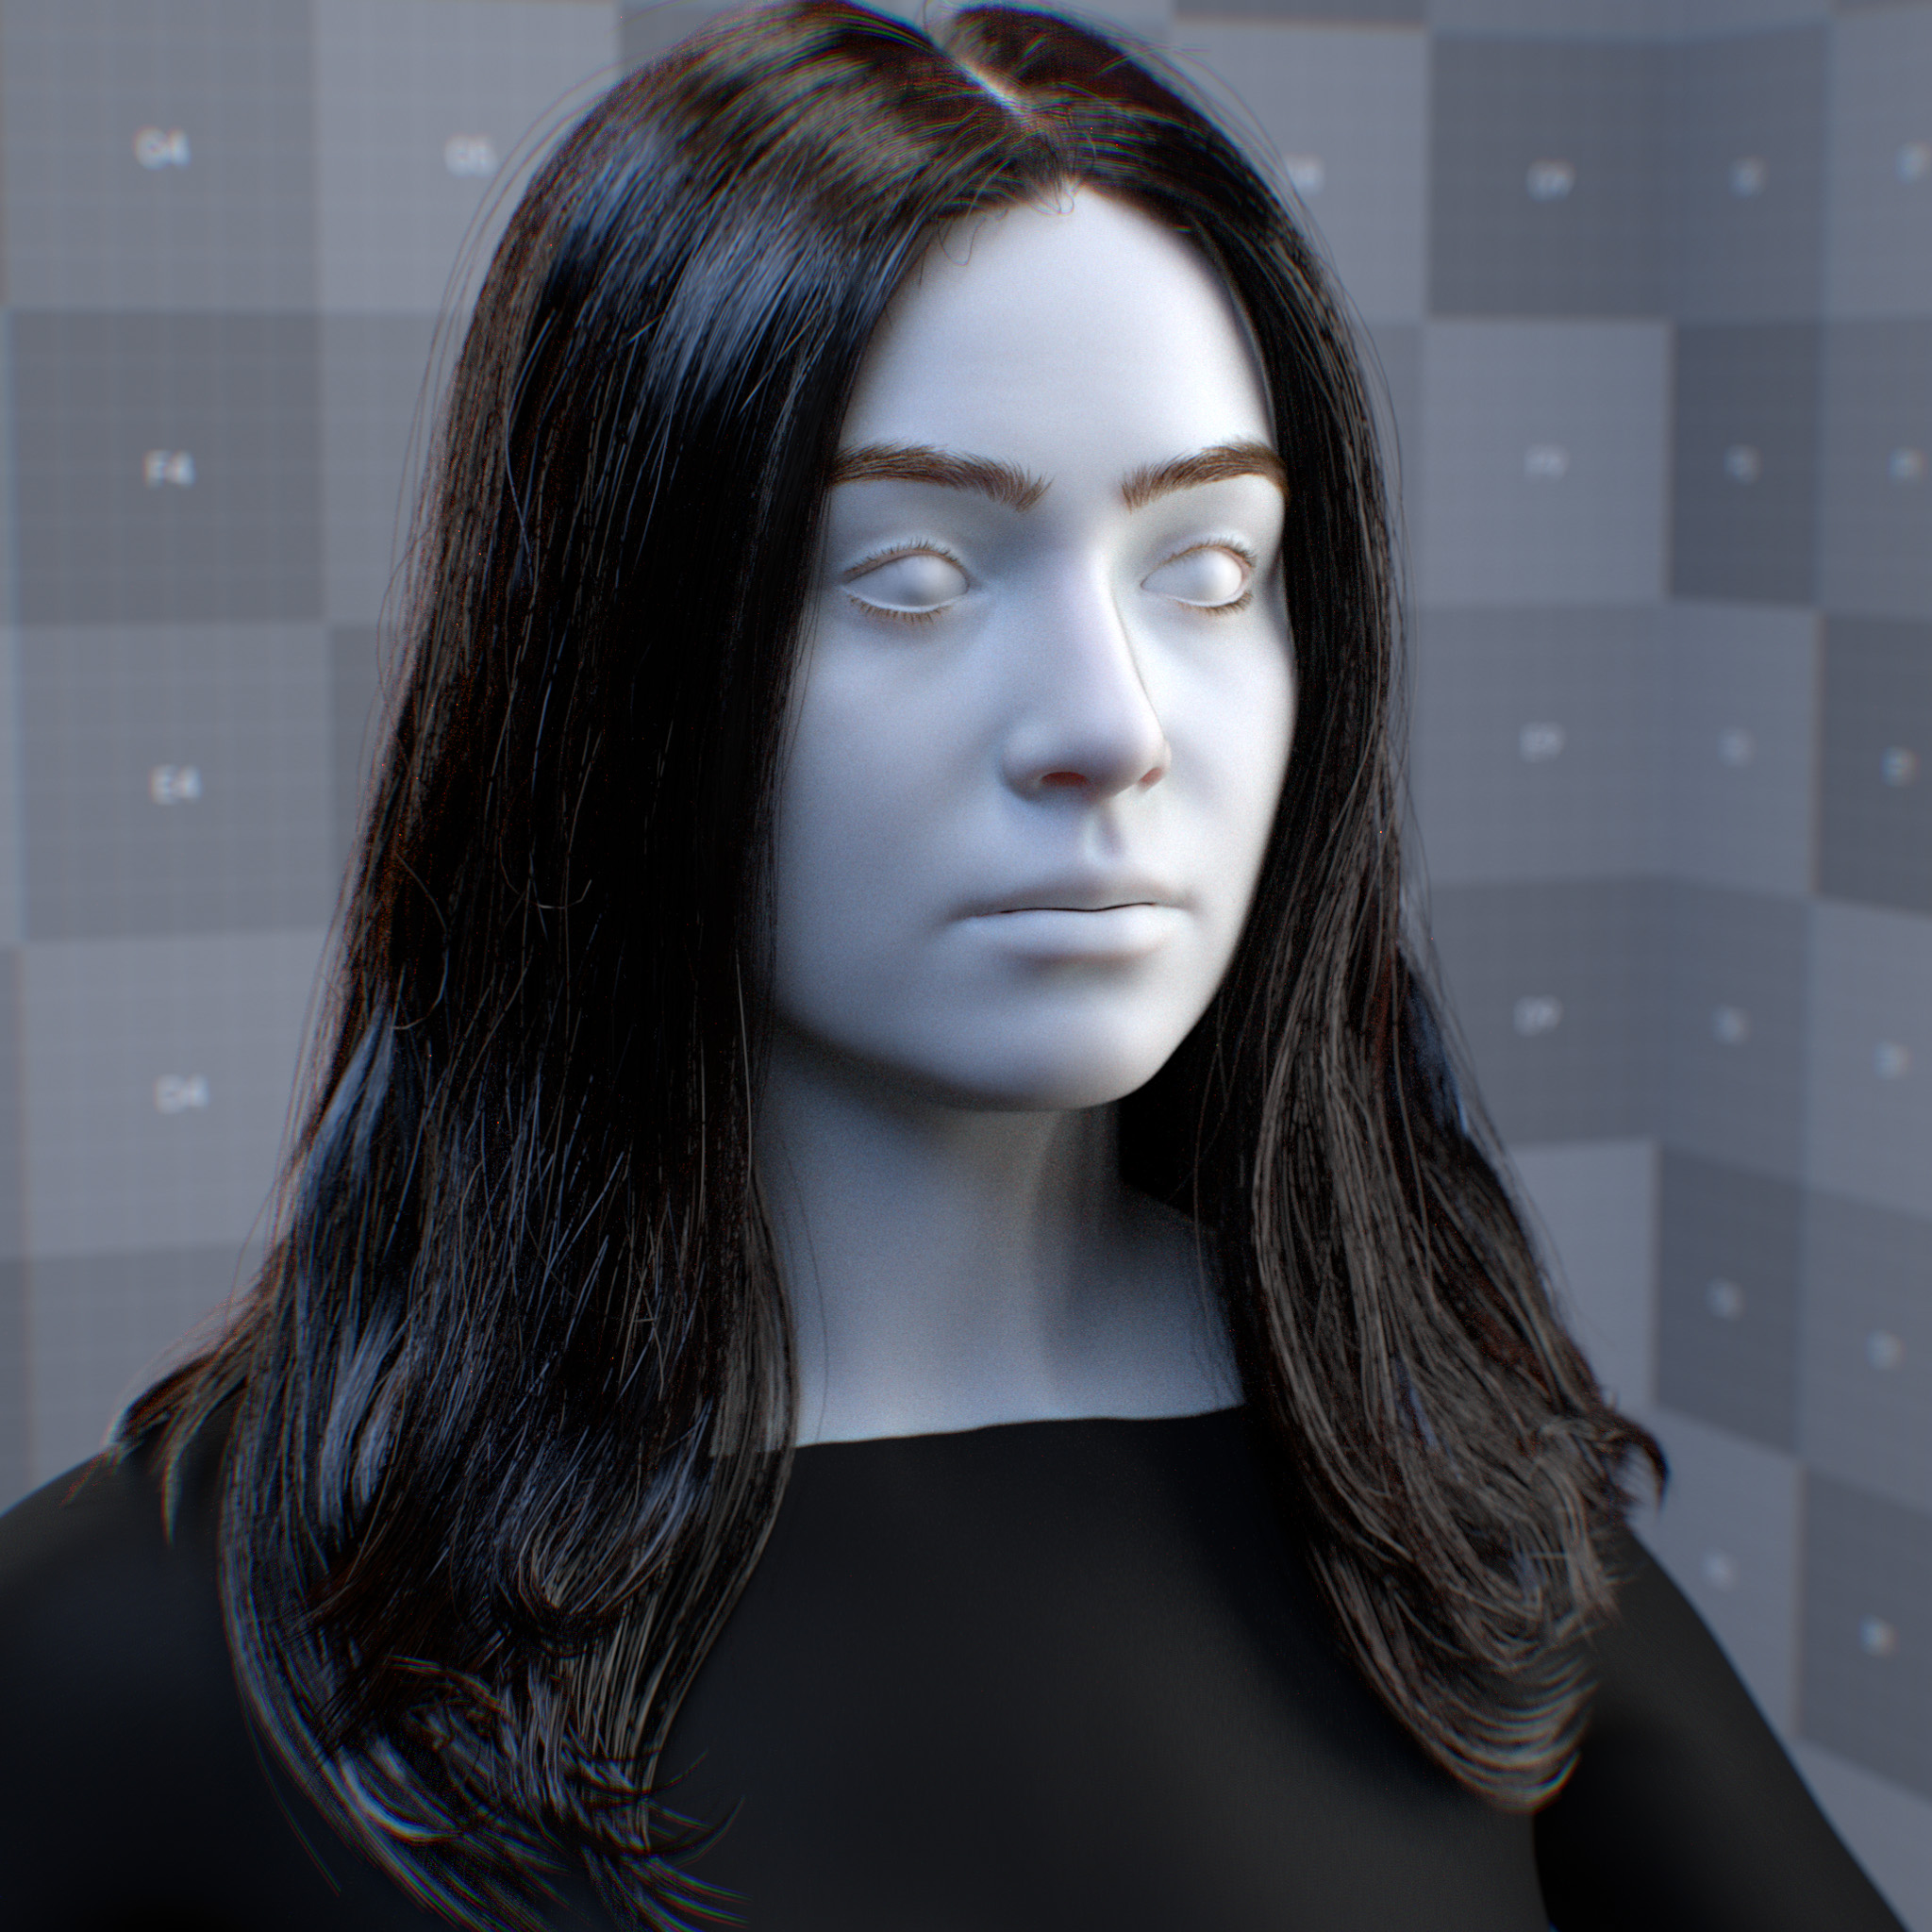
Dark Brown# |
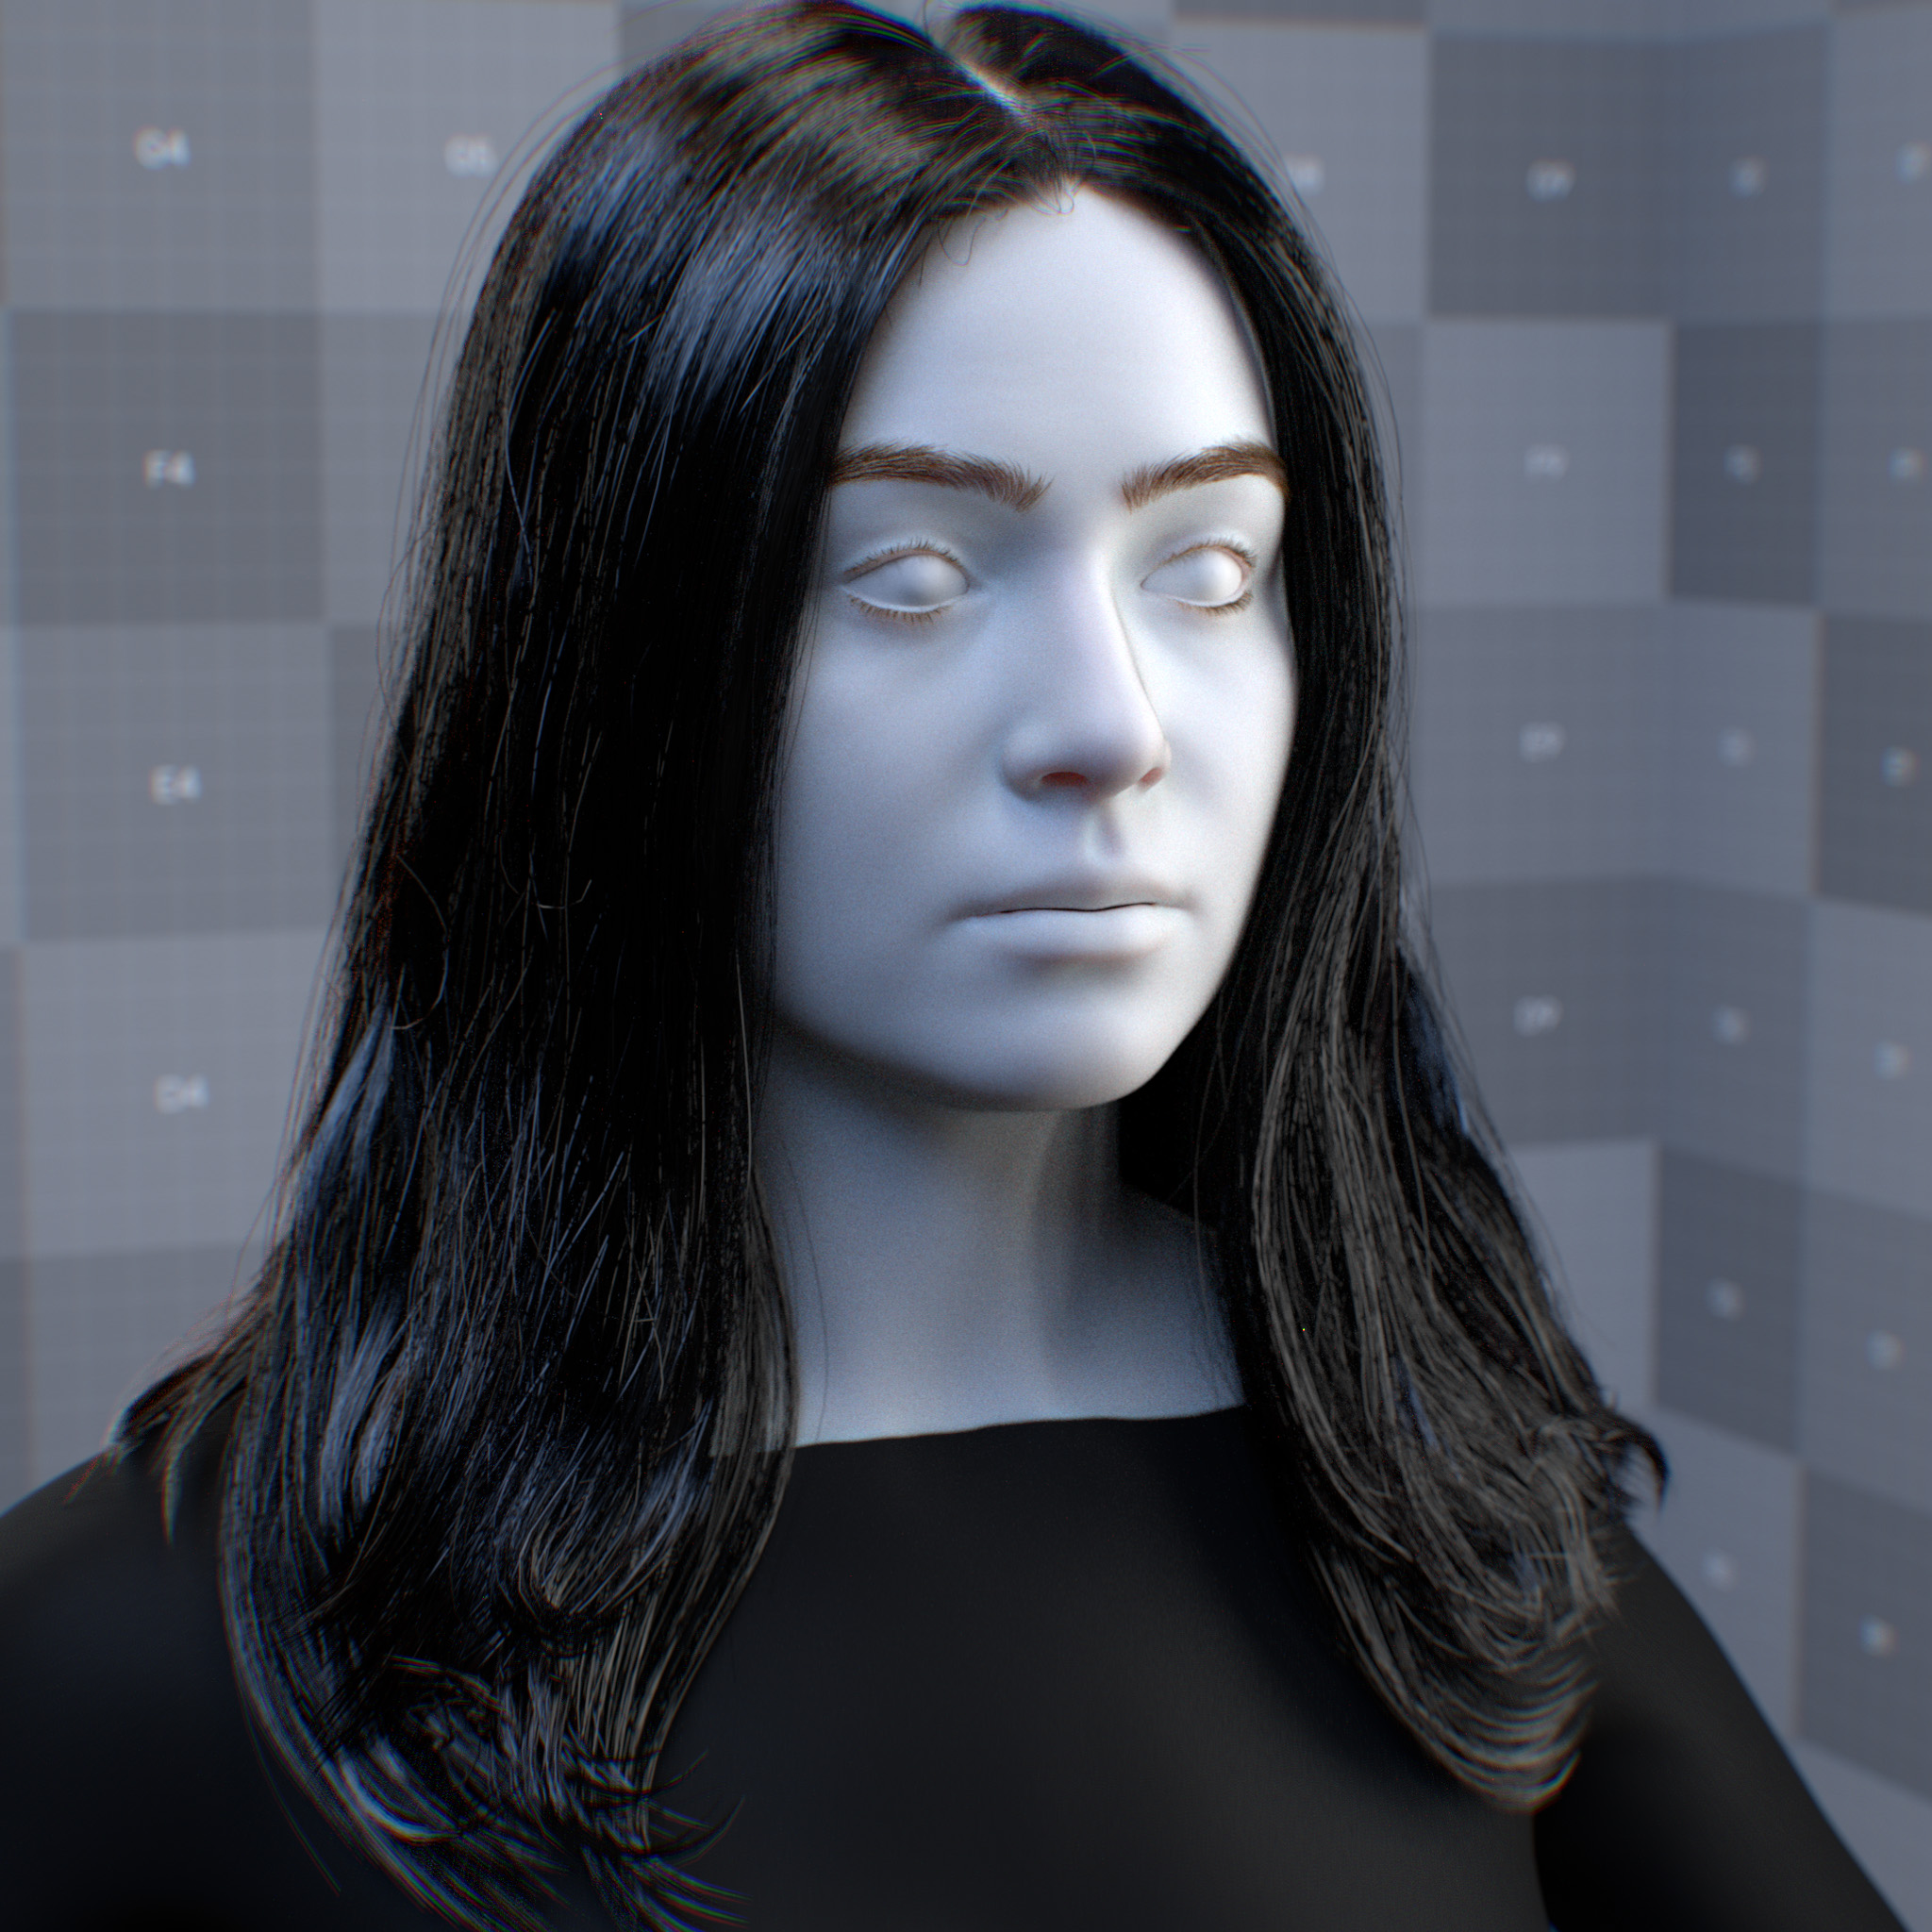
The Crow - Black# |
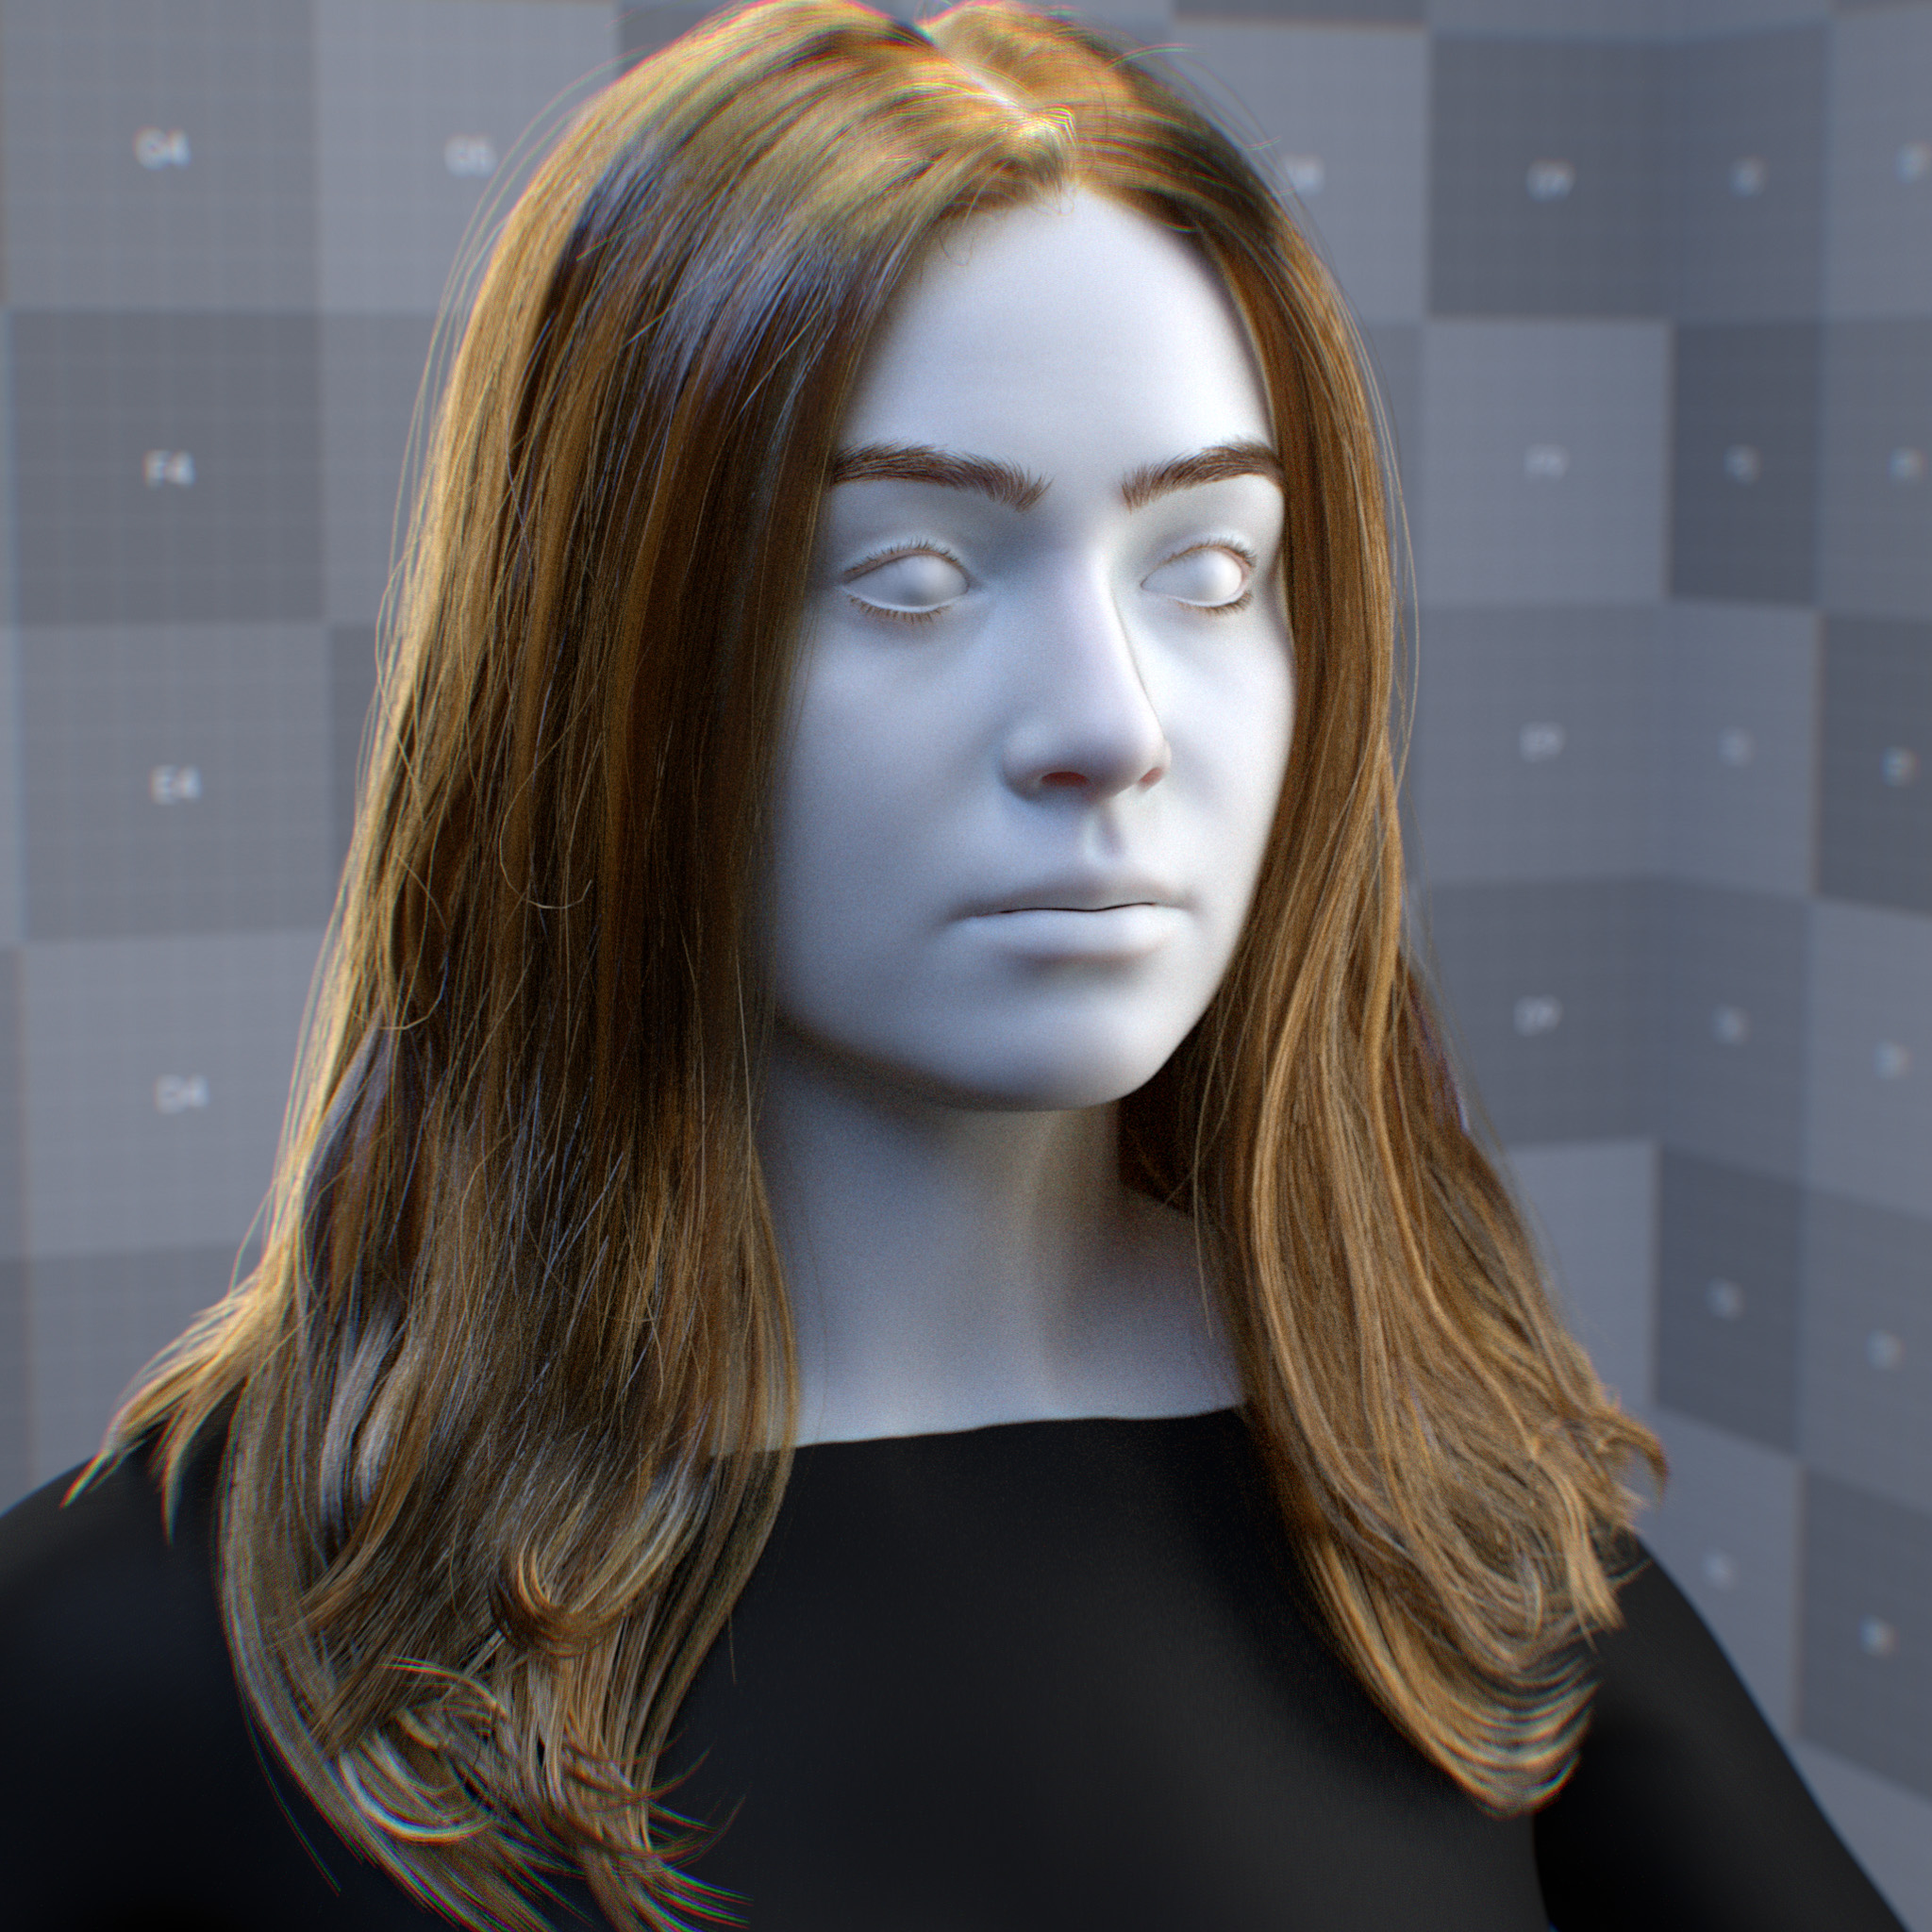
Melanin Redness (Pheomelanin)
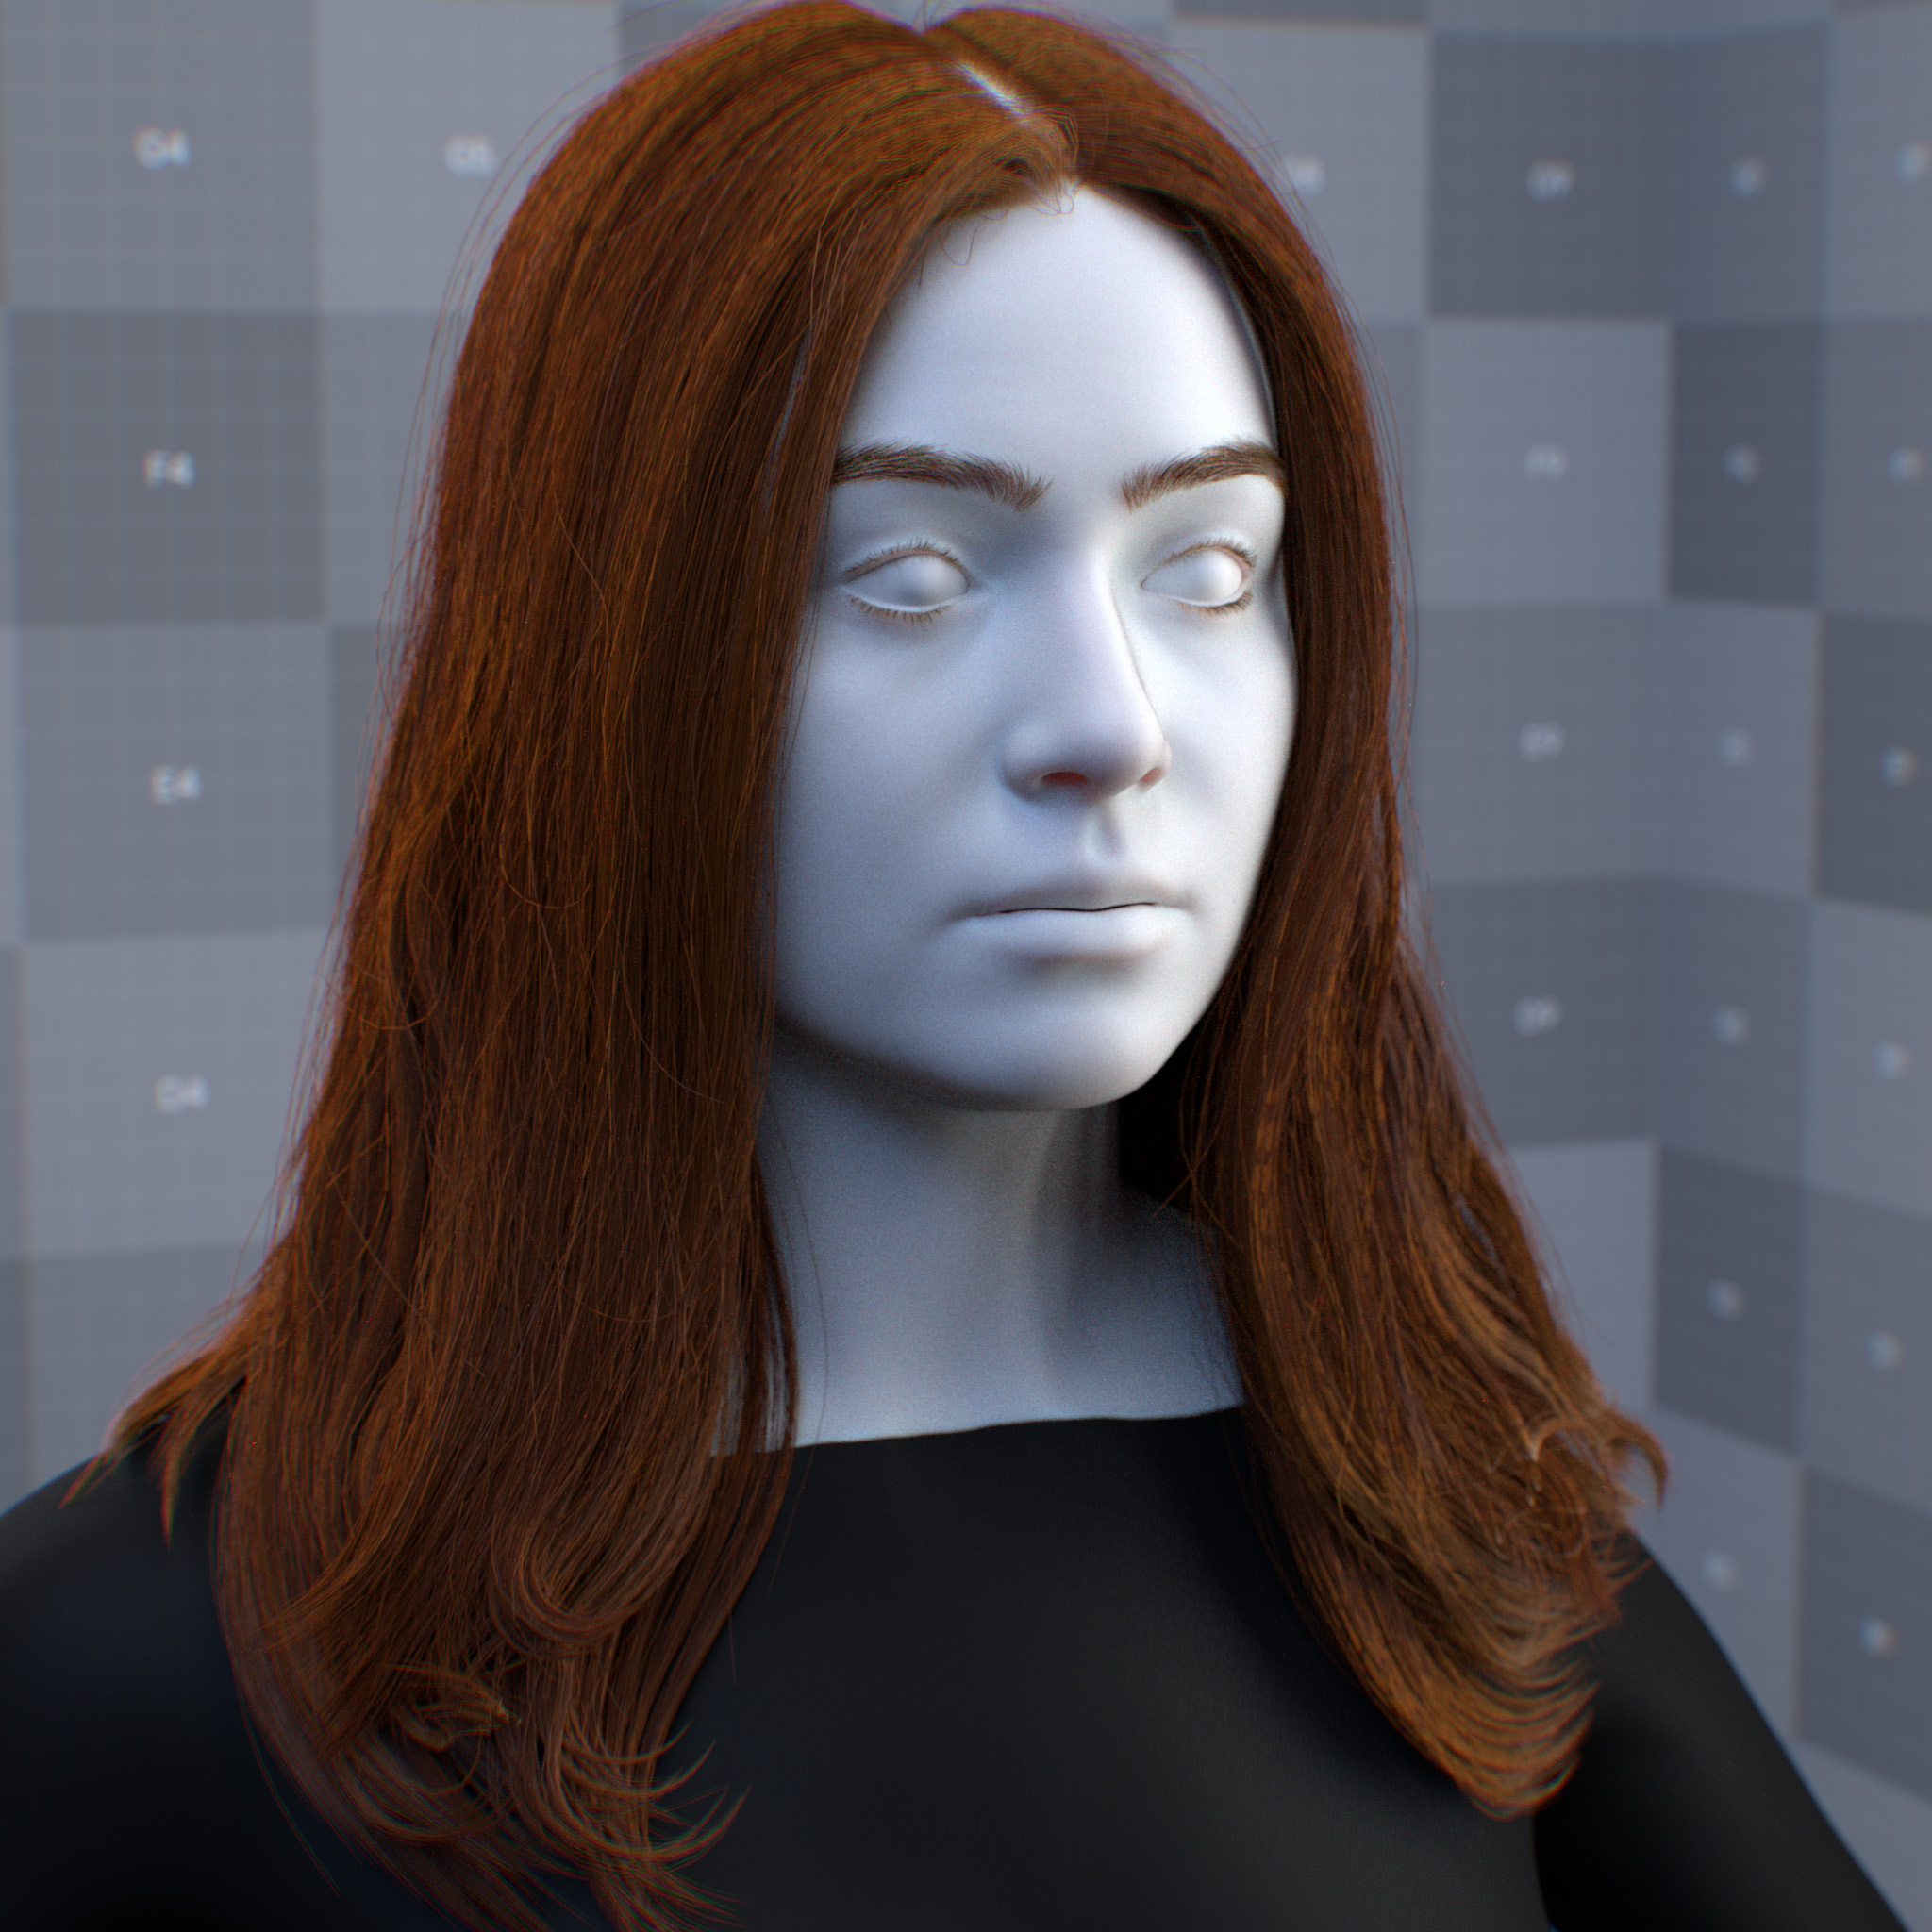
This parameter sets the melanin redness, which is the ratio between brown eumelanin and red pheomelanin. At higher values, the hair fiber becomes redder. The melanin redness has no effects when the melanin concentration parameter is 0.0.
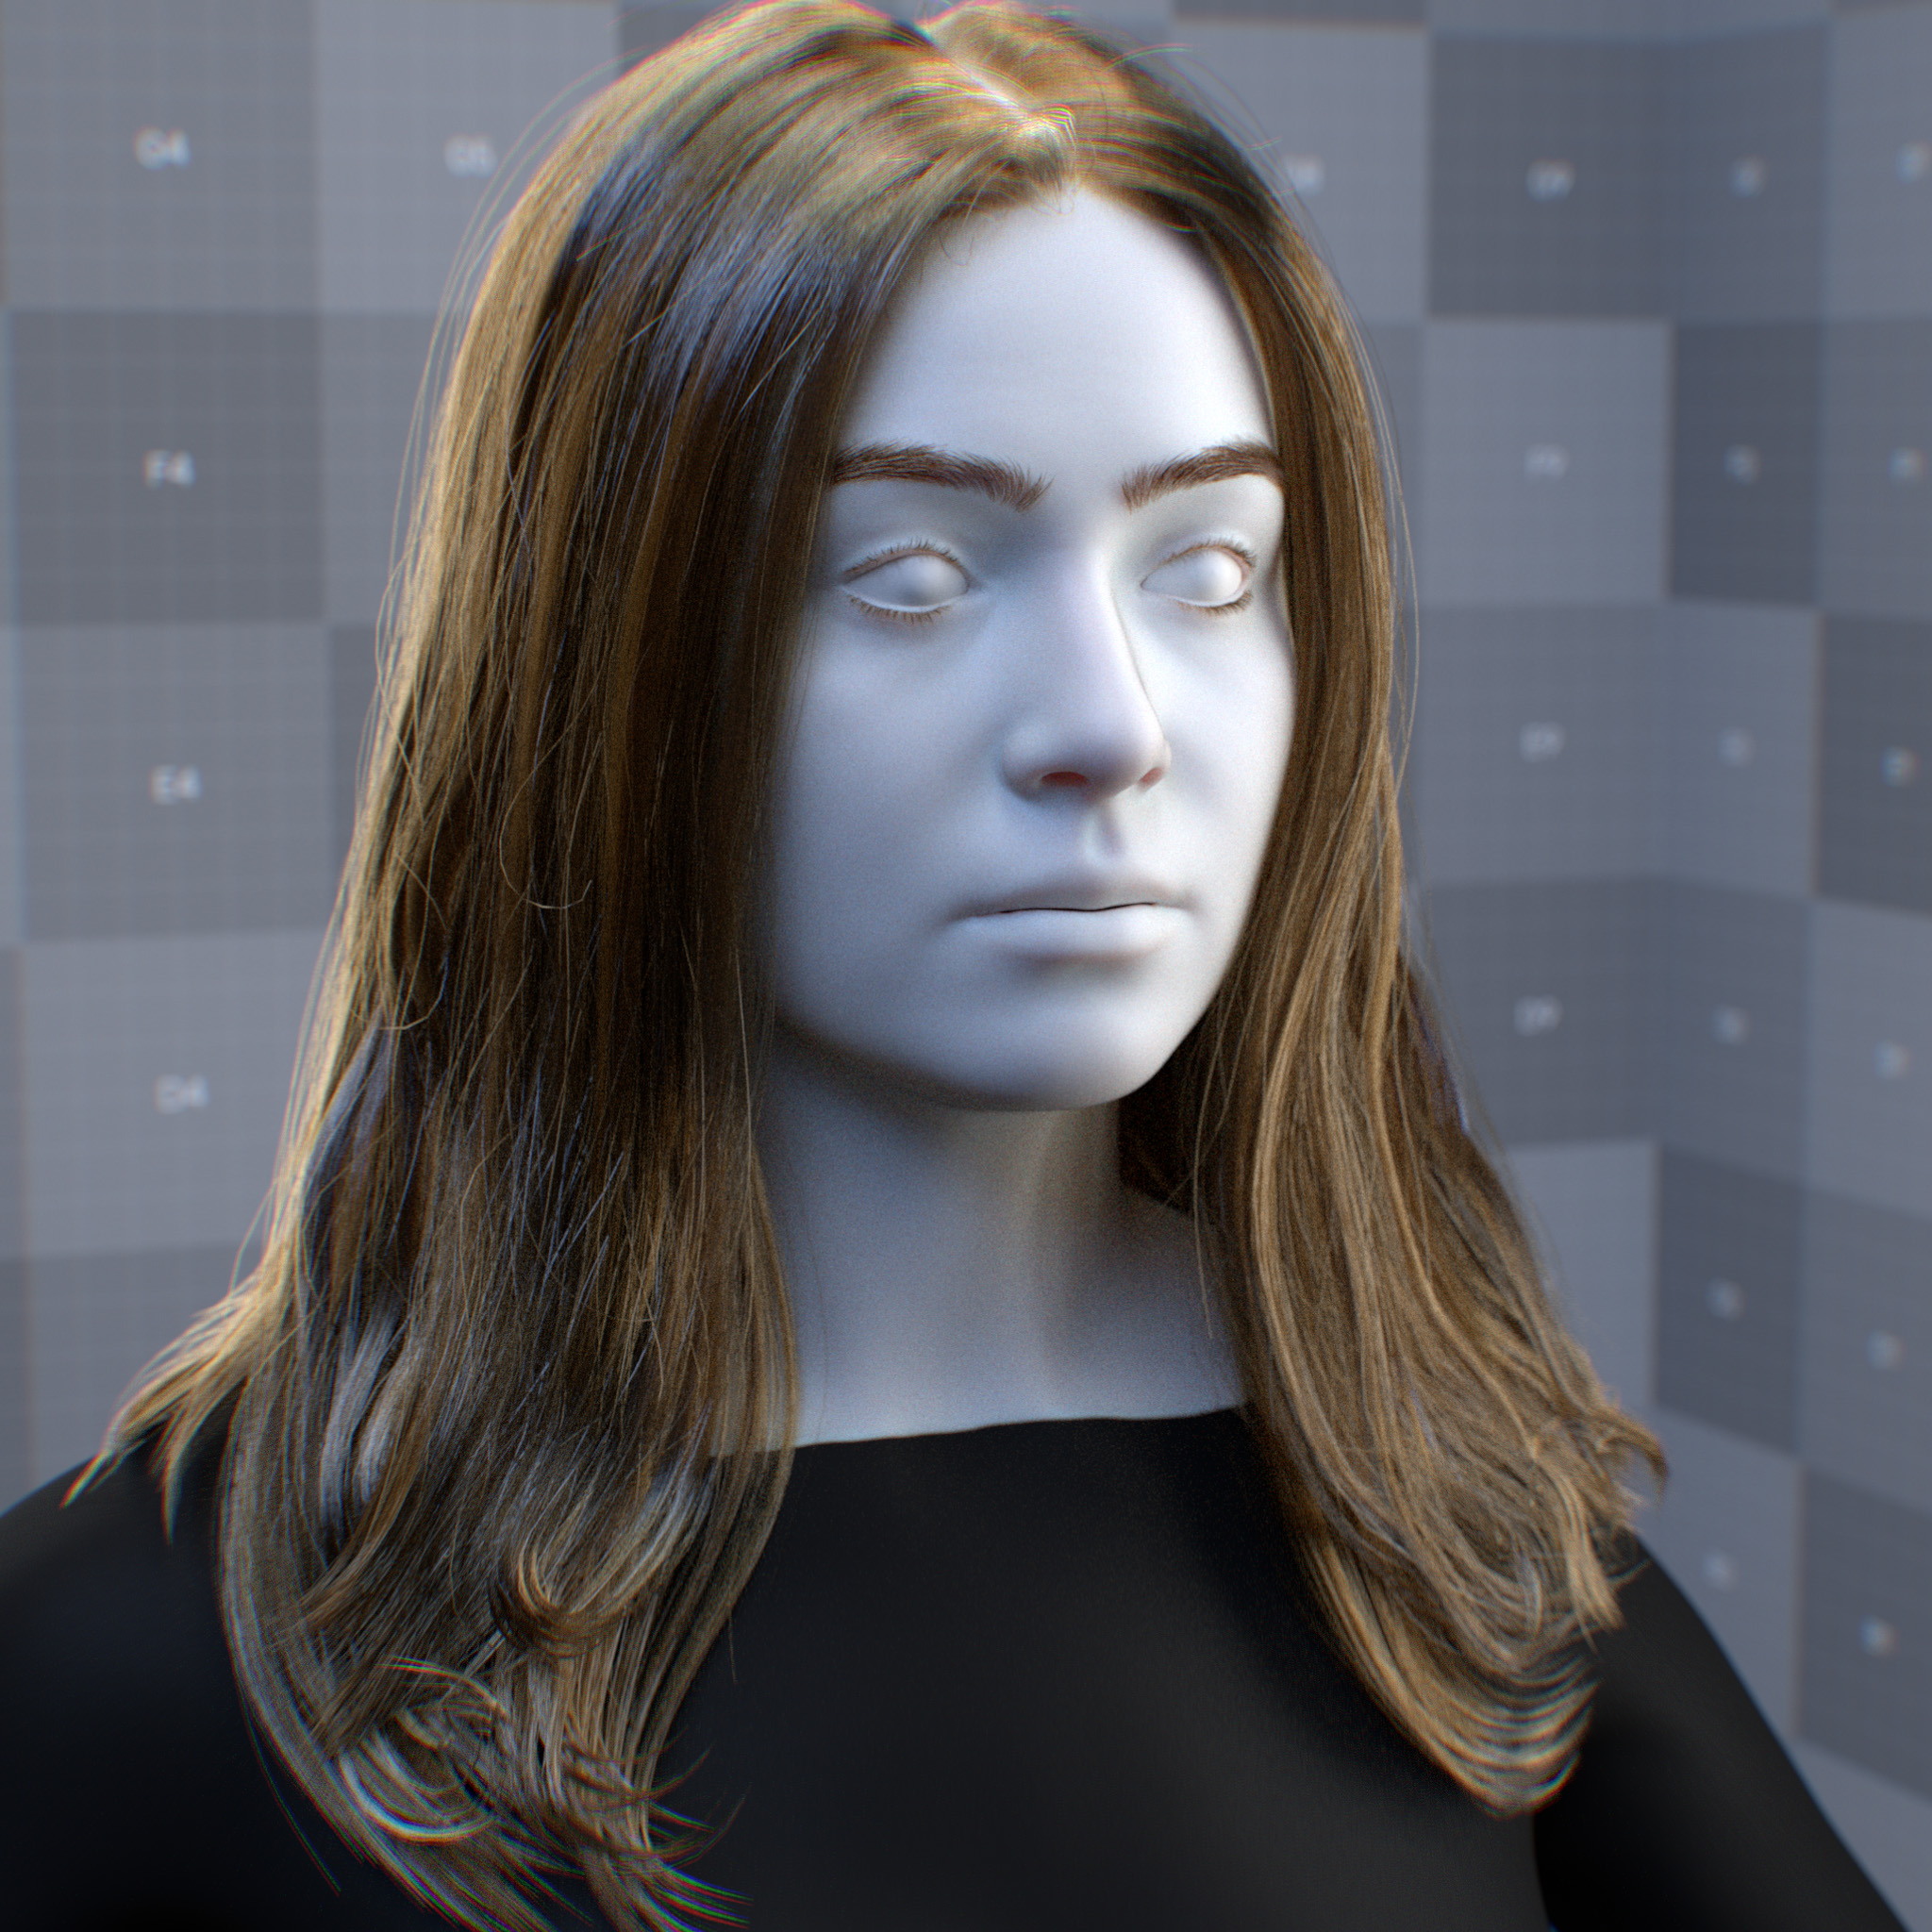
|
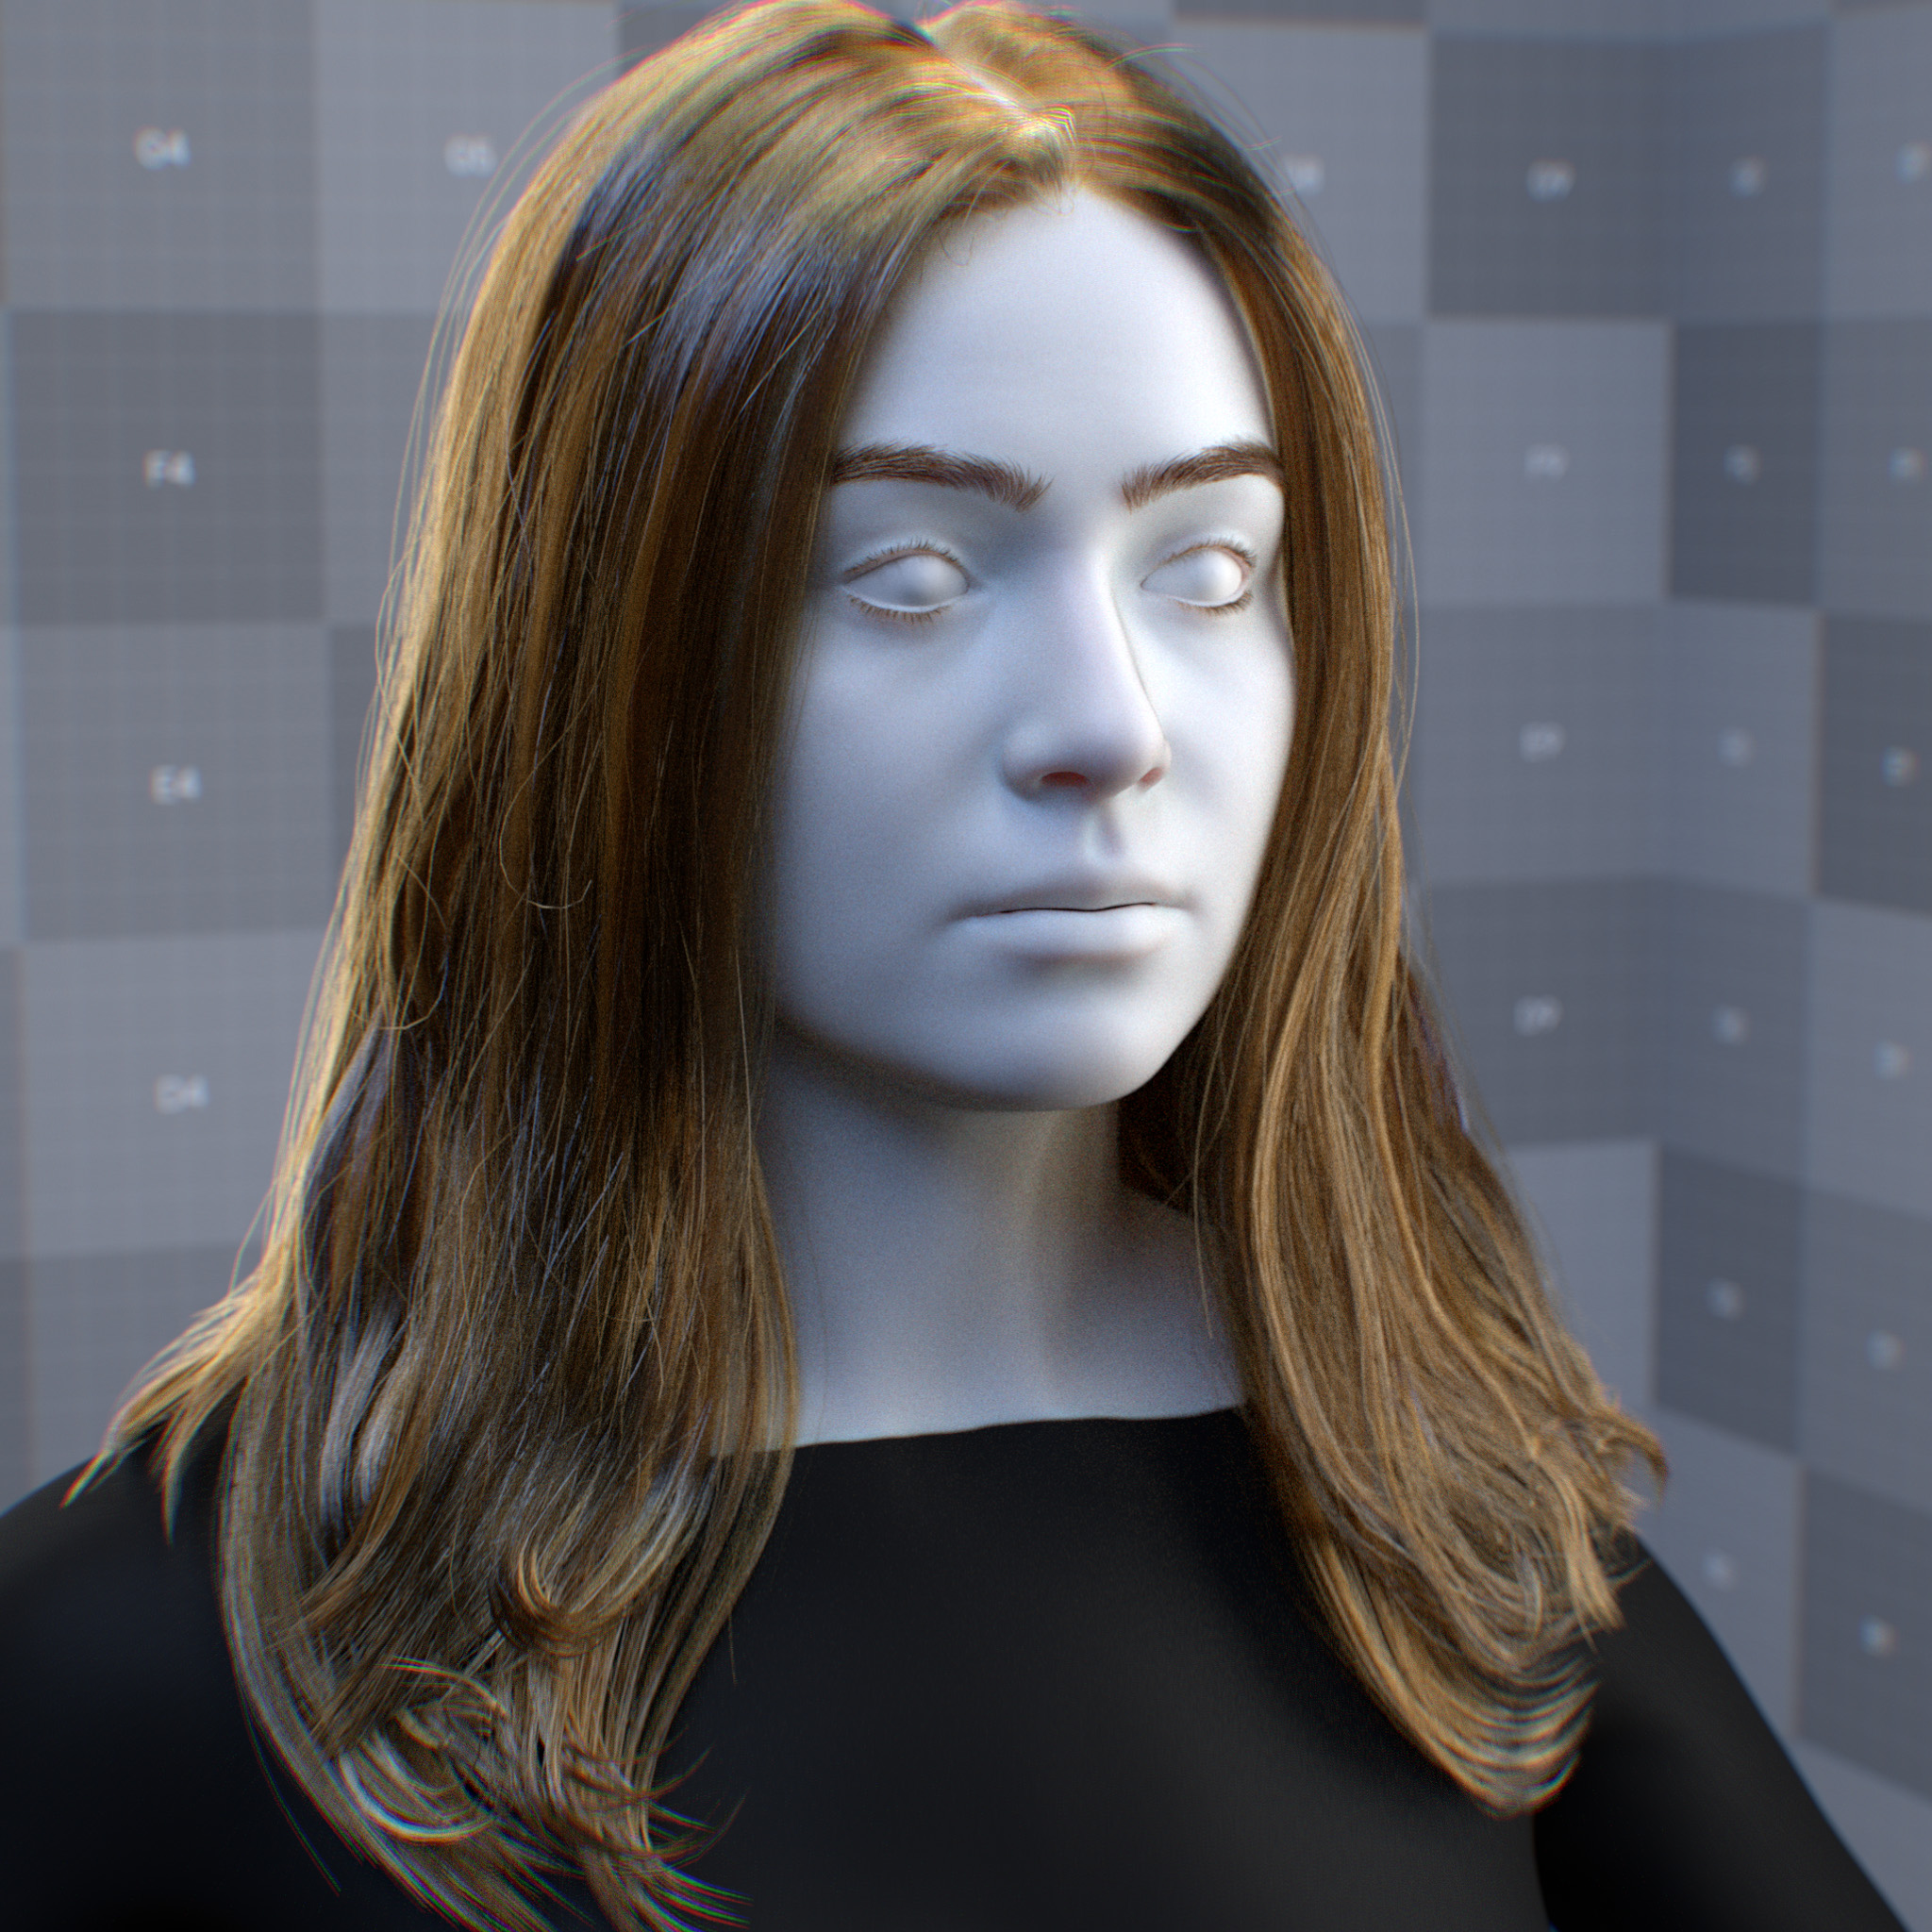
|
|

|
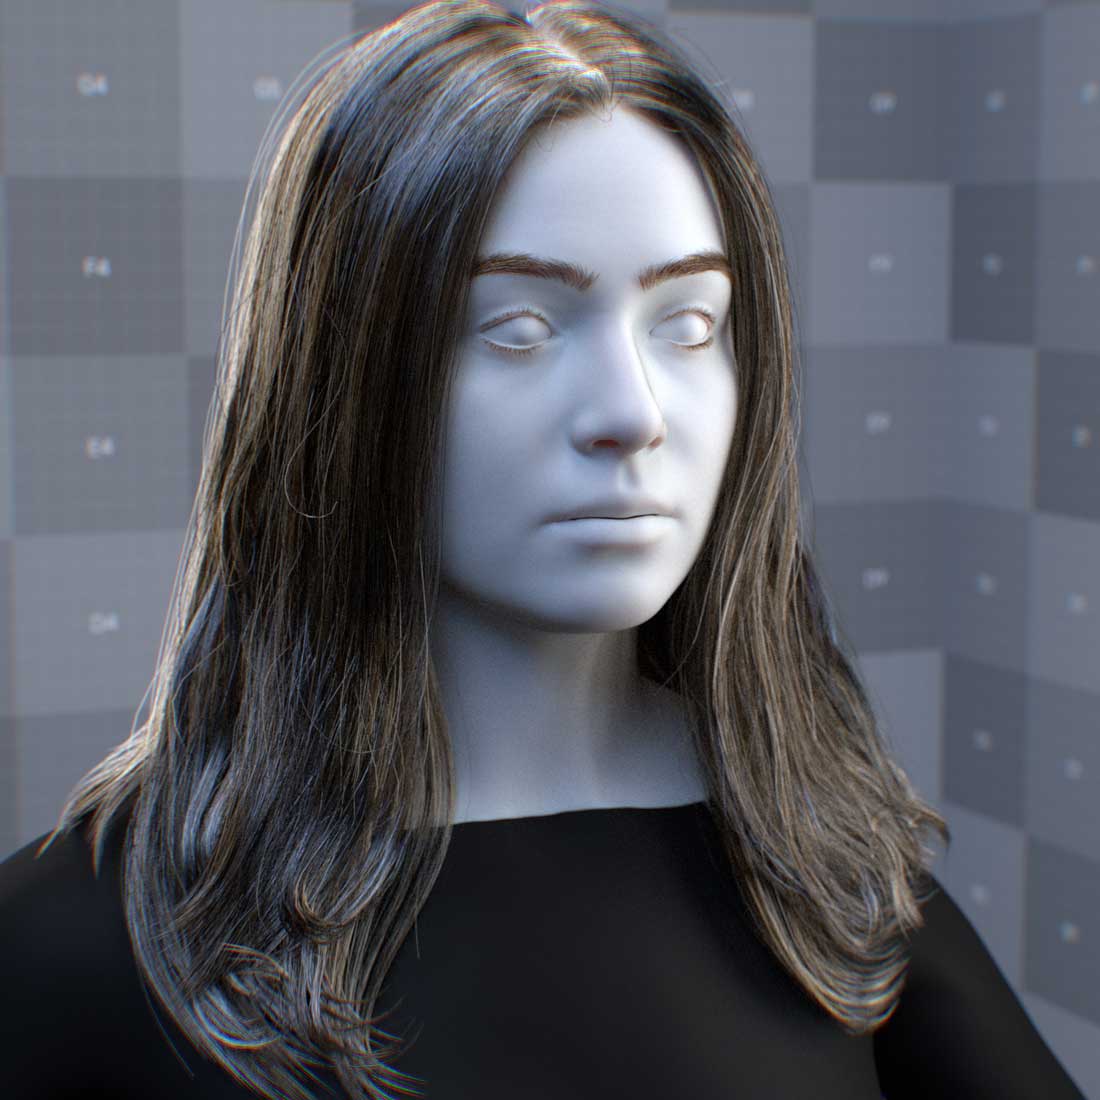
Melanin Randomize
This parameter randomizes the amount of melanin concentration within hair fibers.
Note
The melanin randomization is not supported yet, one may map a texture noise to the melanin concentration parameter instead.

|
|
Specular
Hair specular creates characteristic highlights and shine through surface reflection (primary), internal reflection (secondary), and light transmission through strands. Each component controls distinct reflection behavior.
Parameters
Display Name |
Name |
Type |
Default |
|---|---|---|---|
specular_reflection_roughness |
float |
0.2 |
|
specular_reflection_anisotropic_roughness |
bool |
false |
|
specular_reflection_azimuthal_roughness |
float |
0.2 |
|
specular_reflection_ior_preset |
enum |
ior_custom |
|
specular_reflection_ior |
float |
1.55 |
|
specular_reflection_shift |
float |
3.0 |
This hair model classifies light paths based on the number of internal reflections. Light paths are named after their event type. The first three light paths are R, TT, and TRT, where R indicates a reflection and T a transmission event.
These primary light paths are modeled as separate lobes with a dedicated longitudinal and azimuthal roughness. In contrast, longer light paths are implicitly accounted for a fourth lobe without additional parameters.
While the fourth lobe needs no azimuthal roughness, the longitudinal roughness of the fourth lobe is set to longitudinal roughness of the “third lobe”.
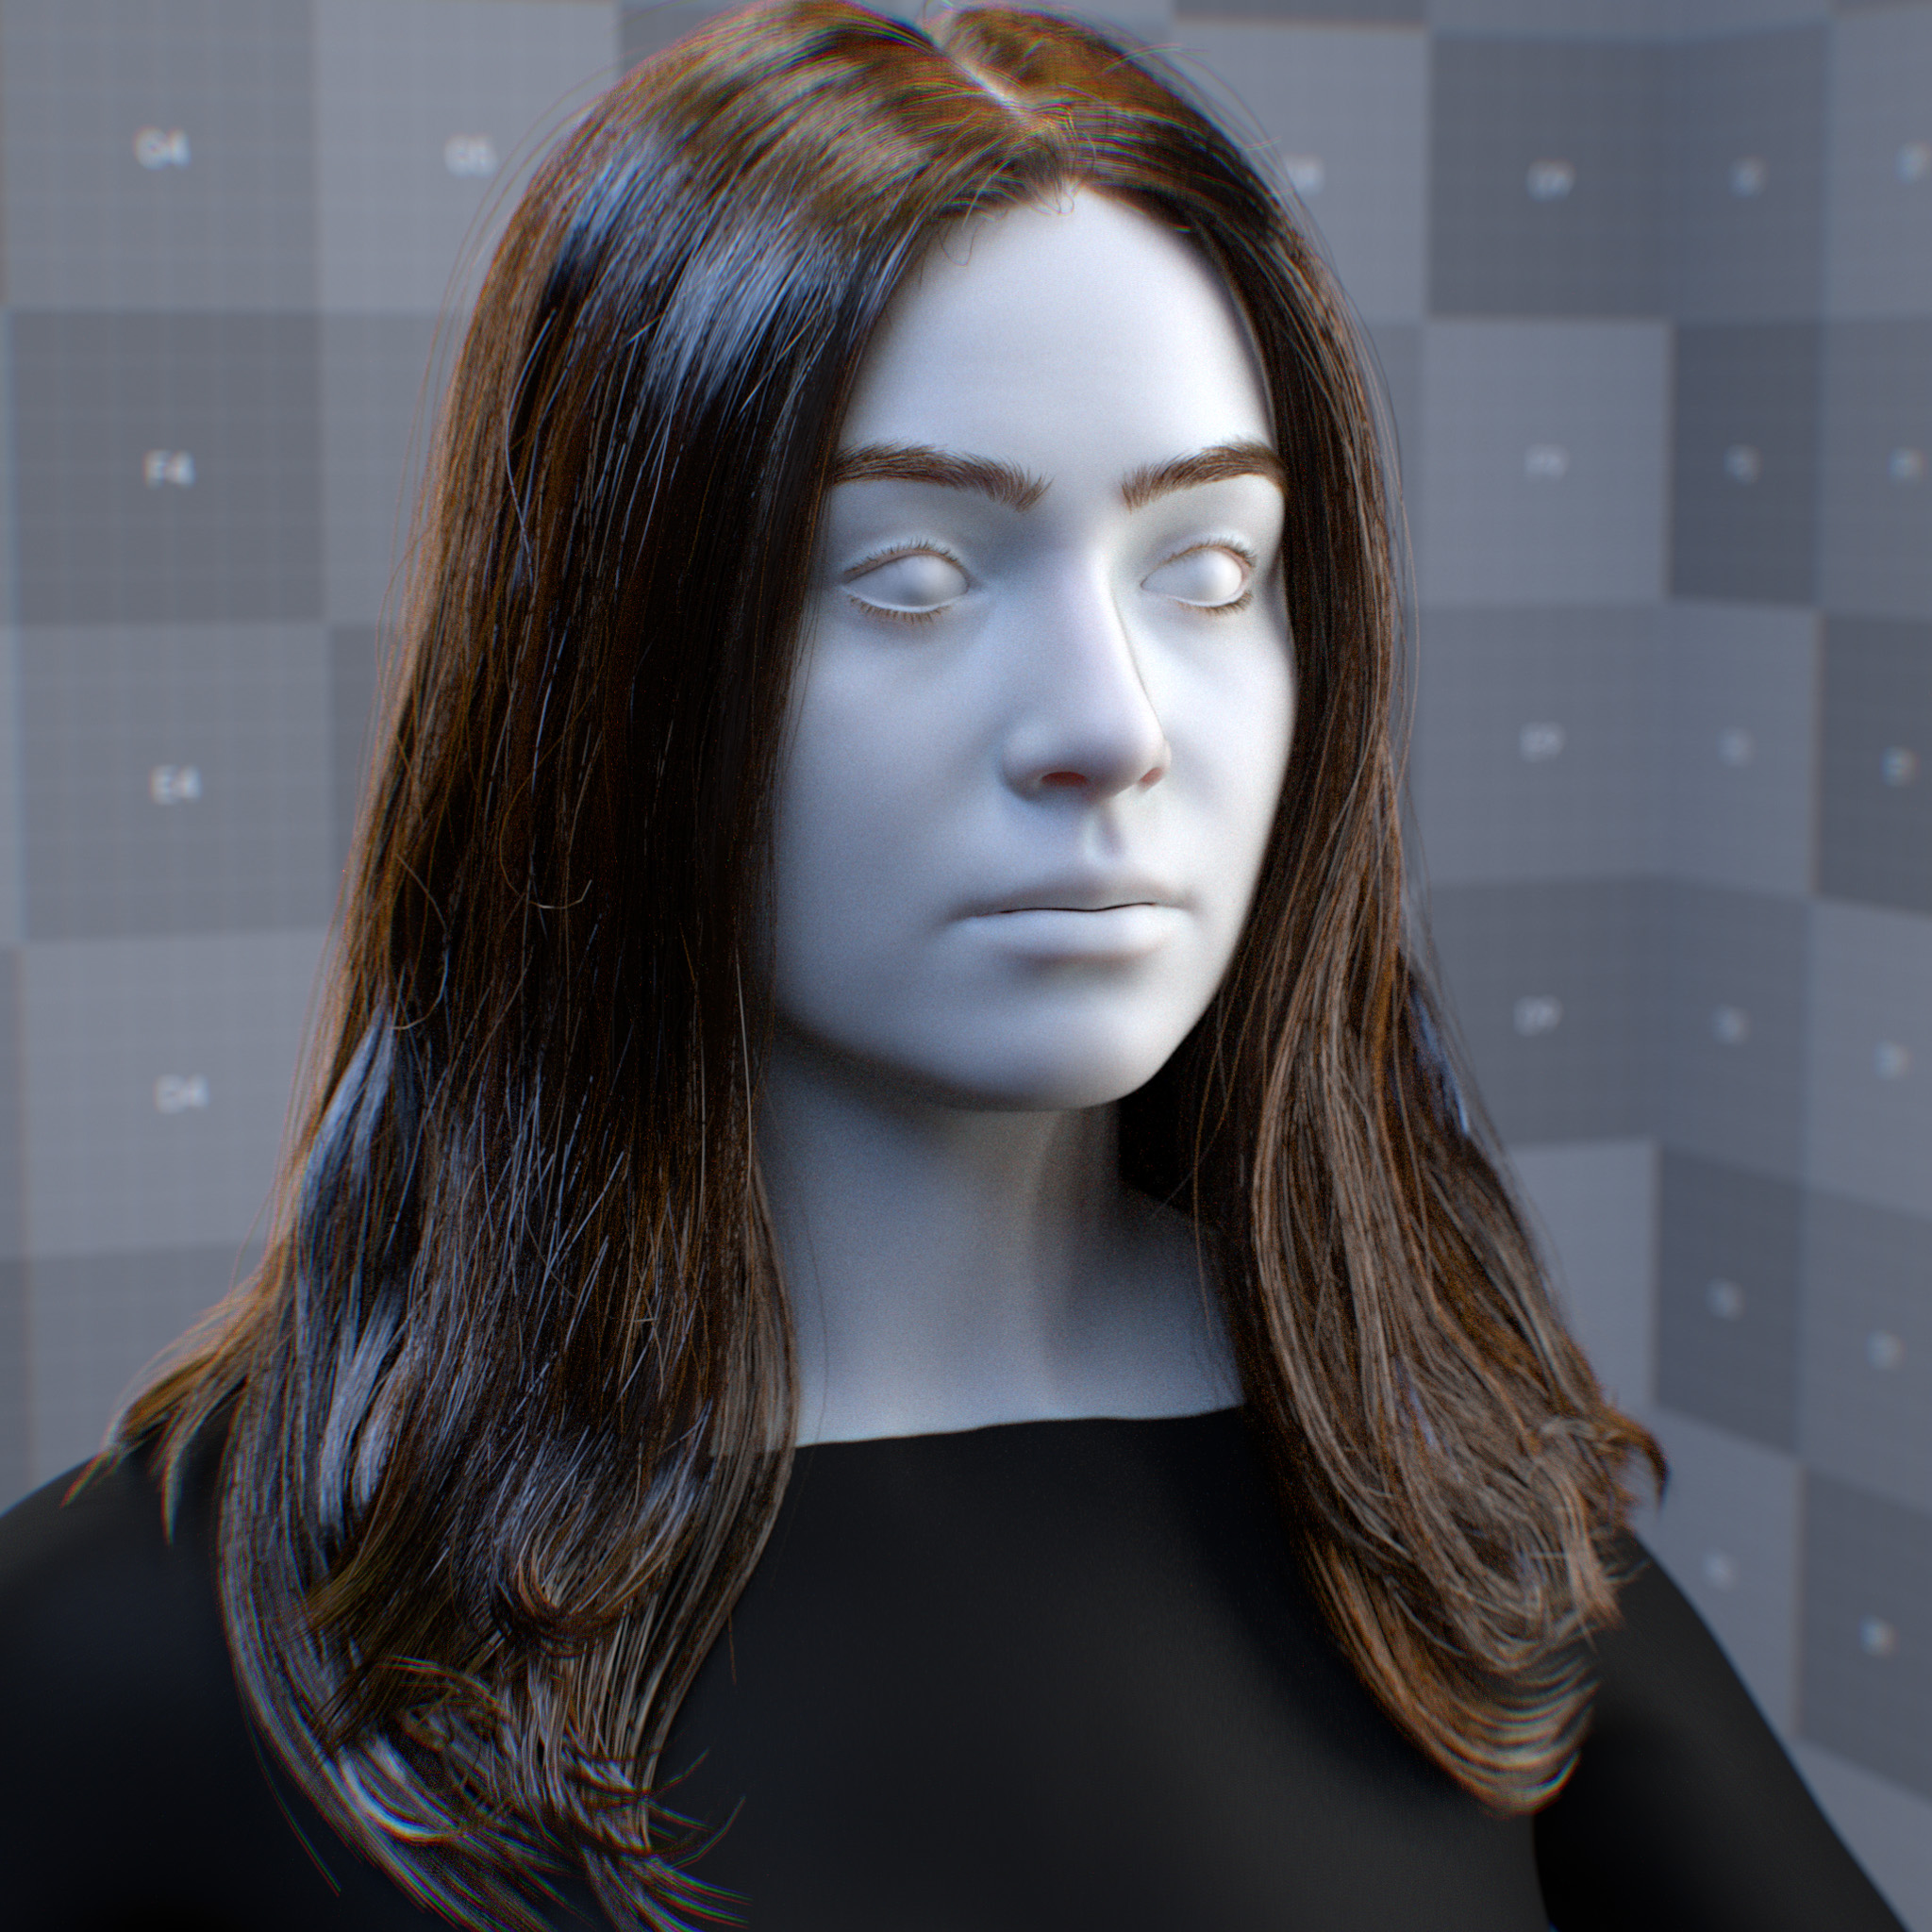
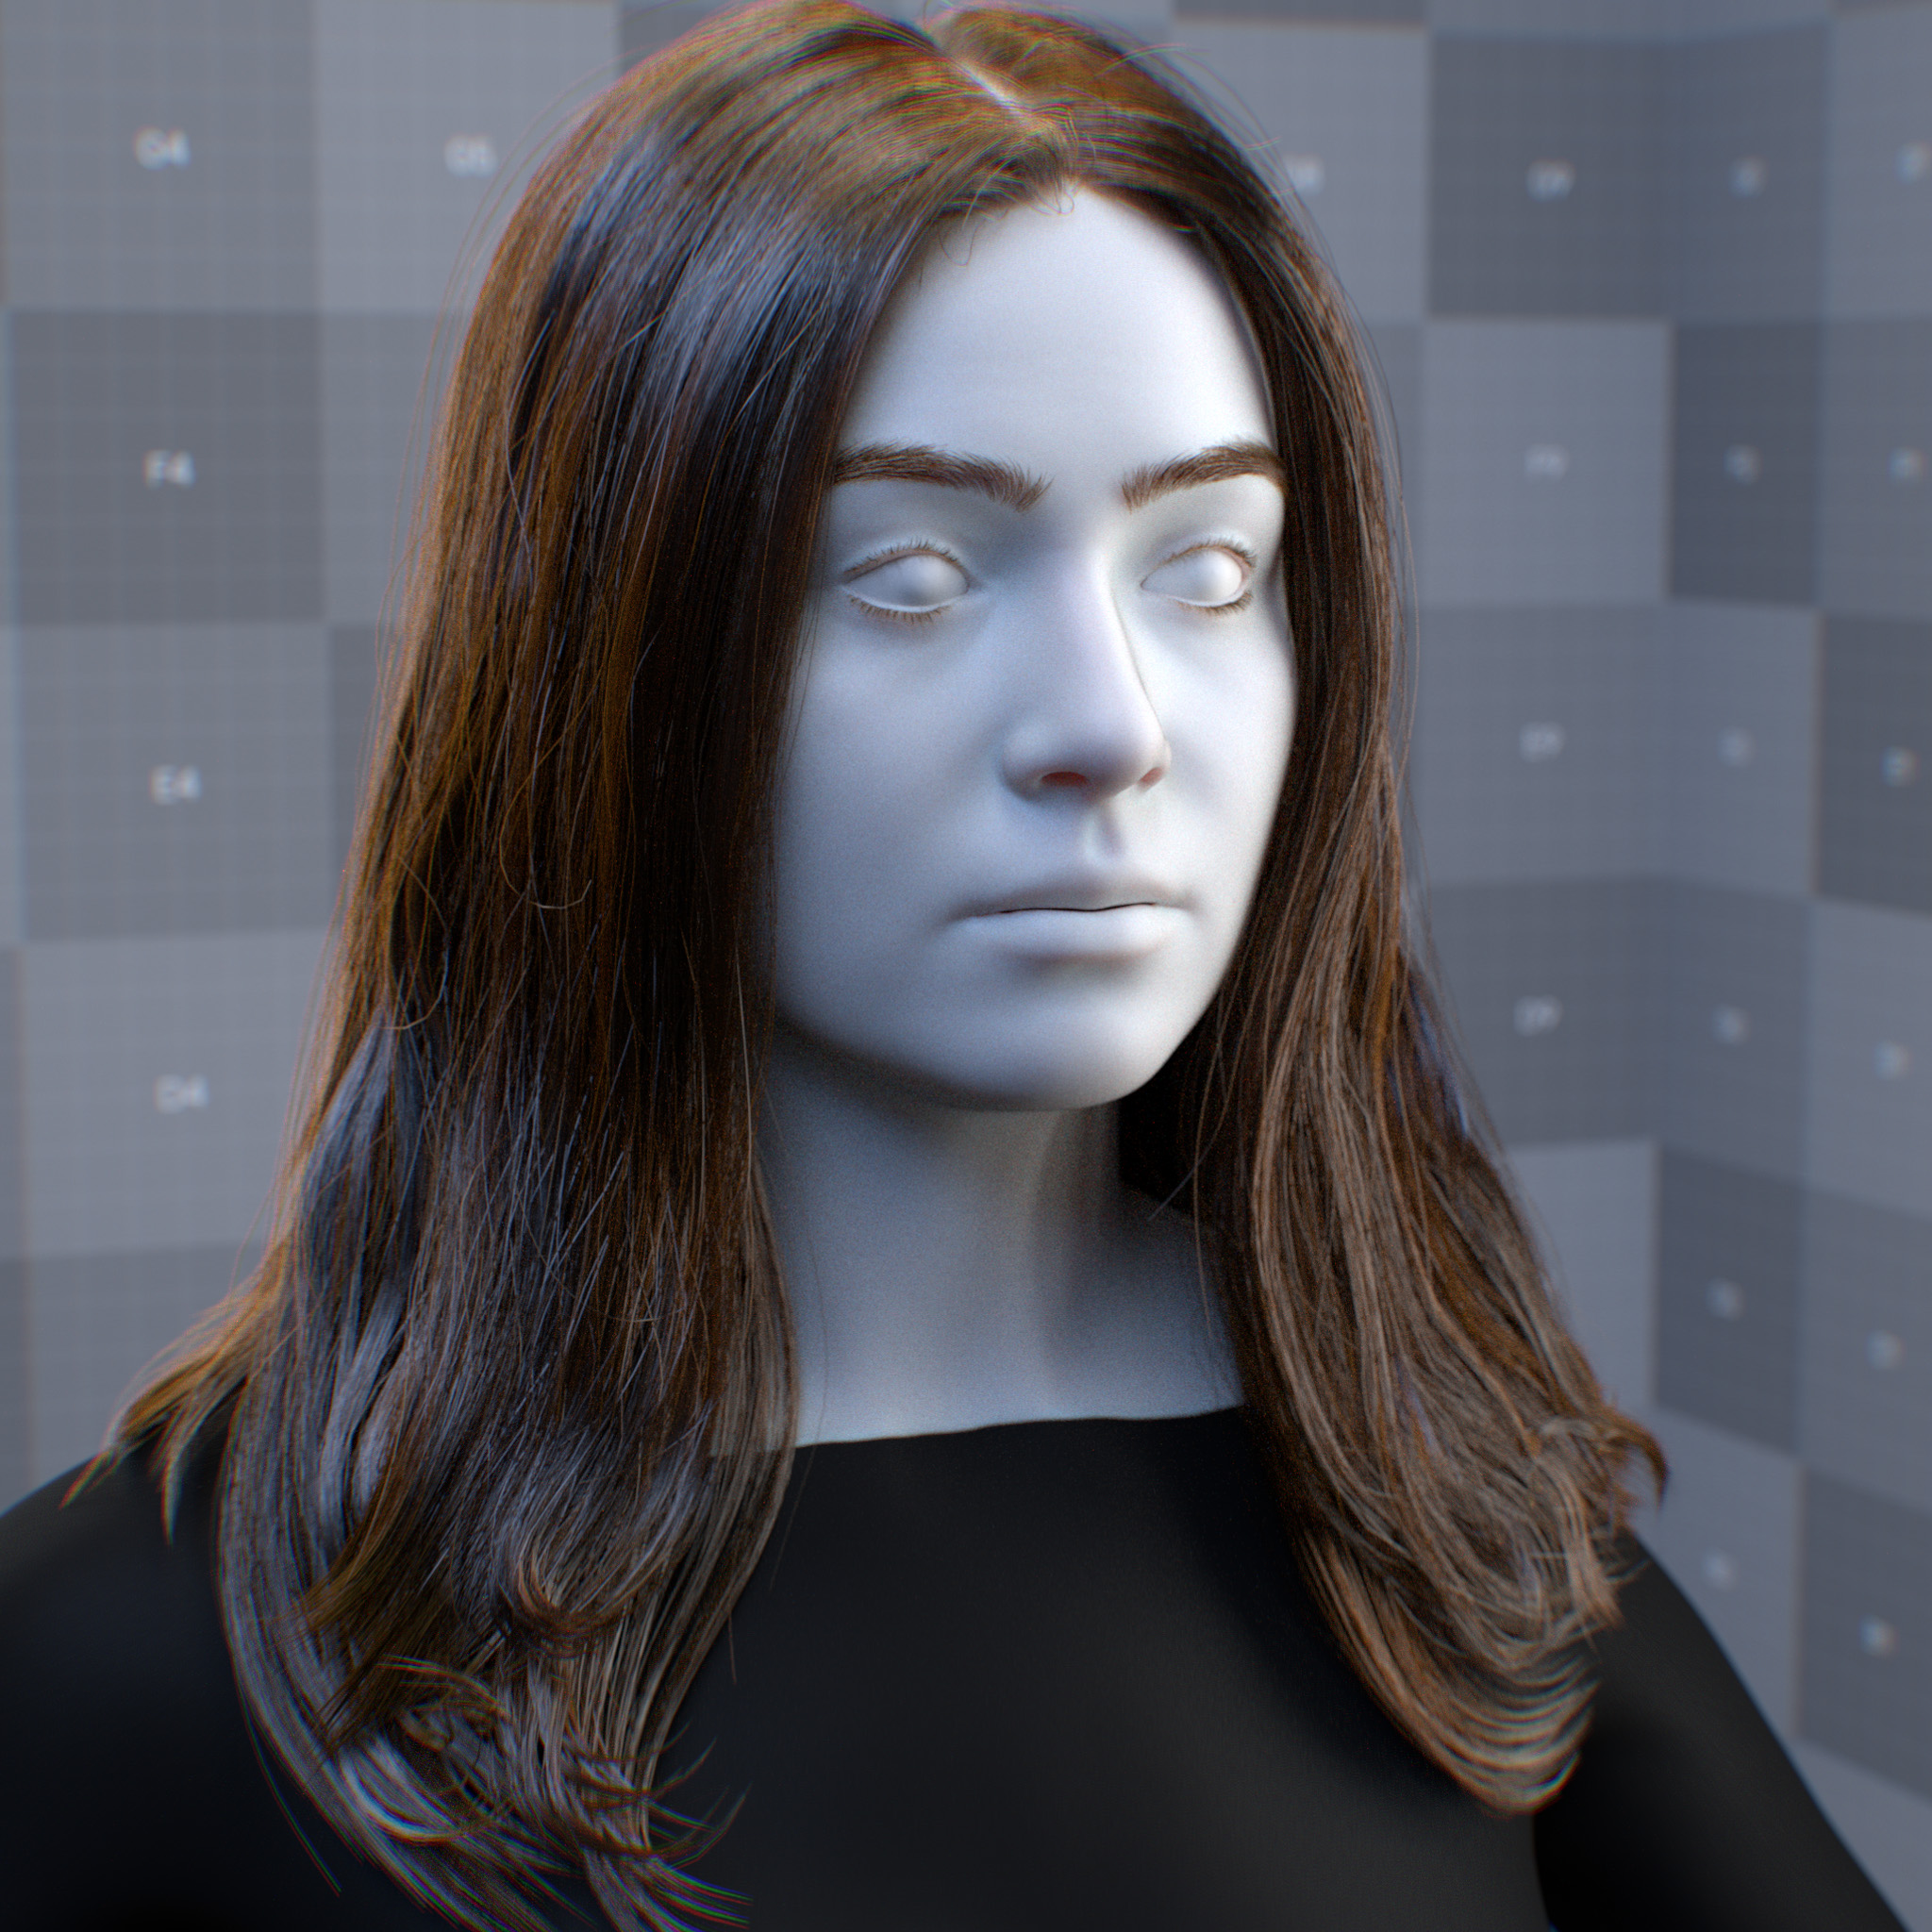
Roughness
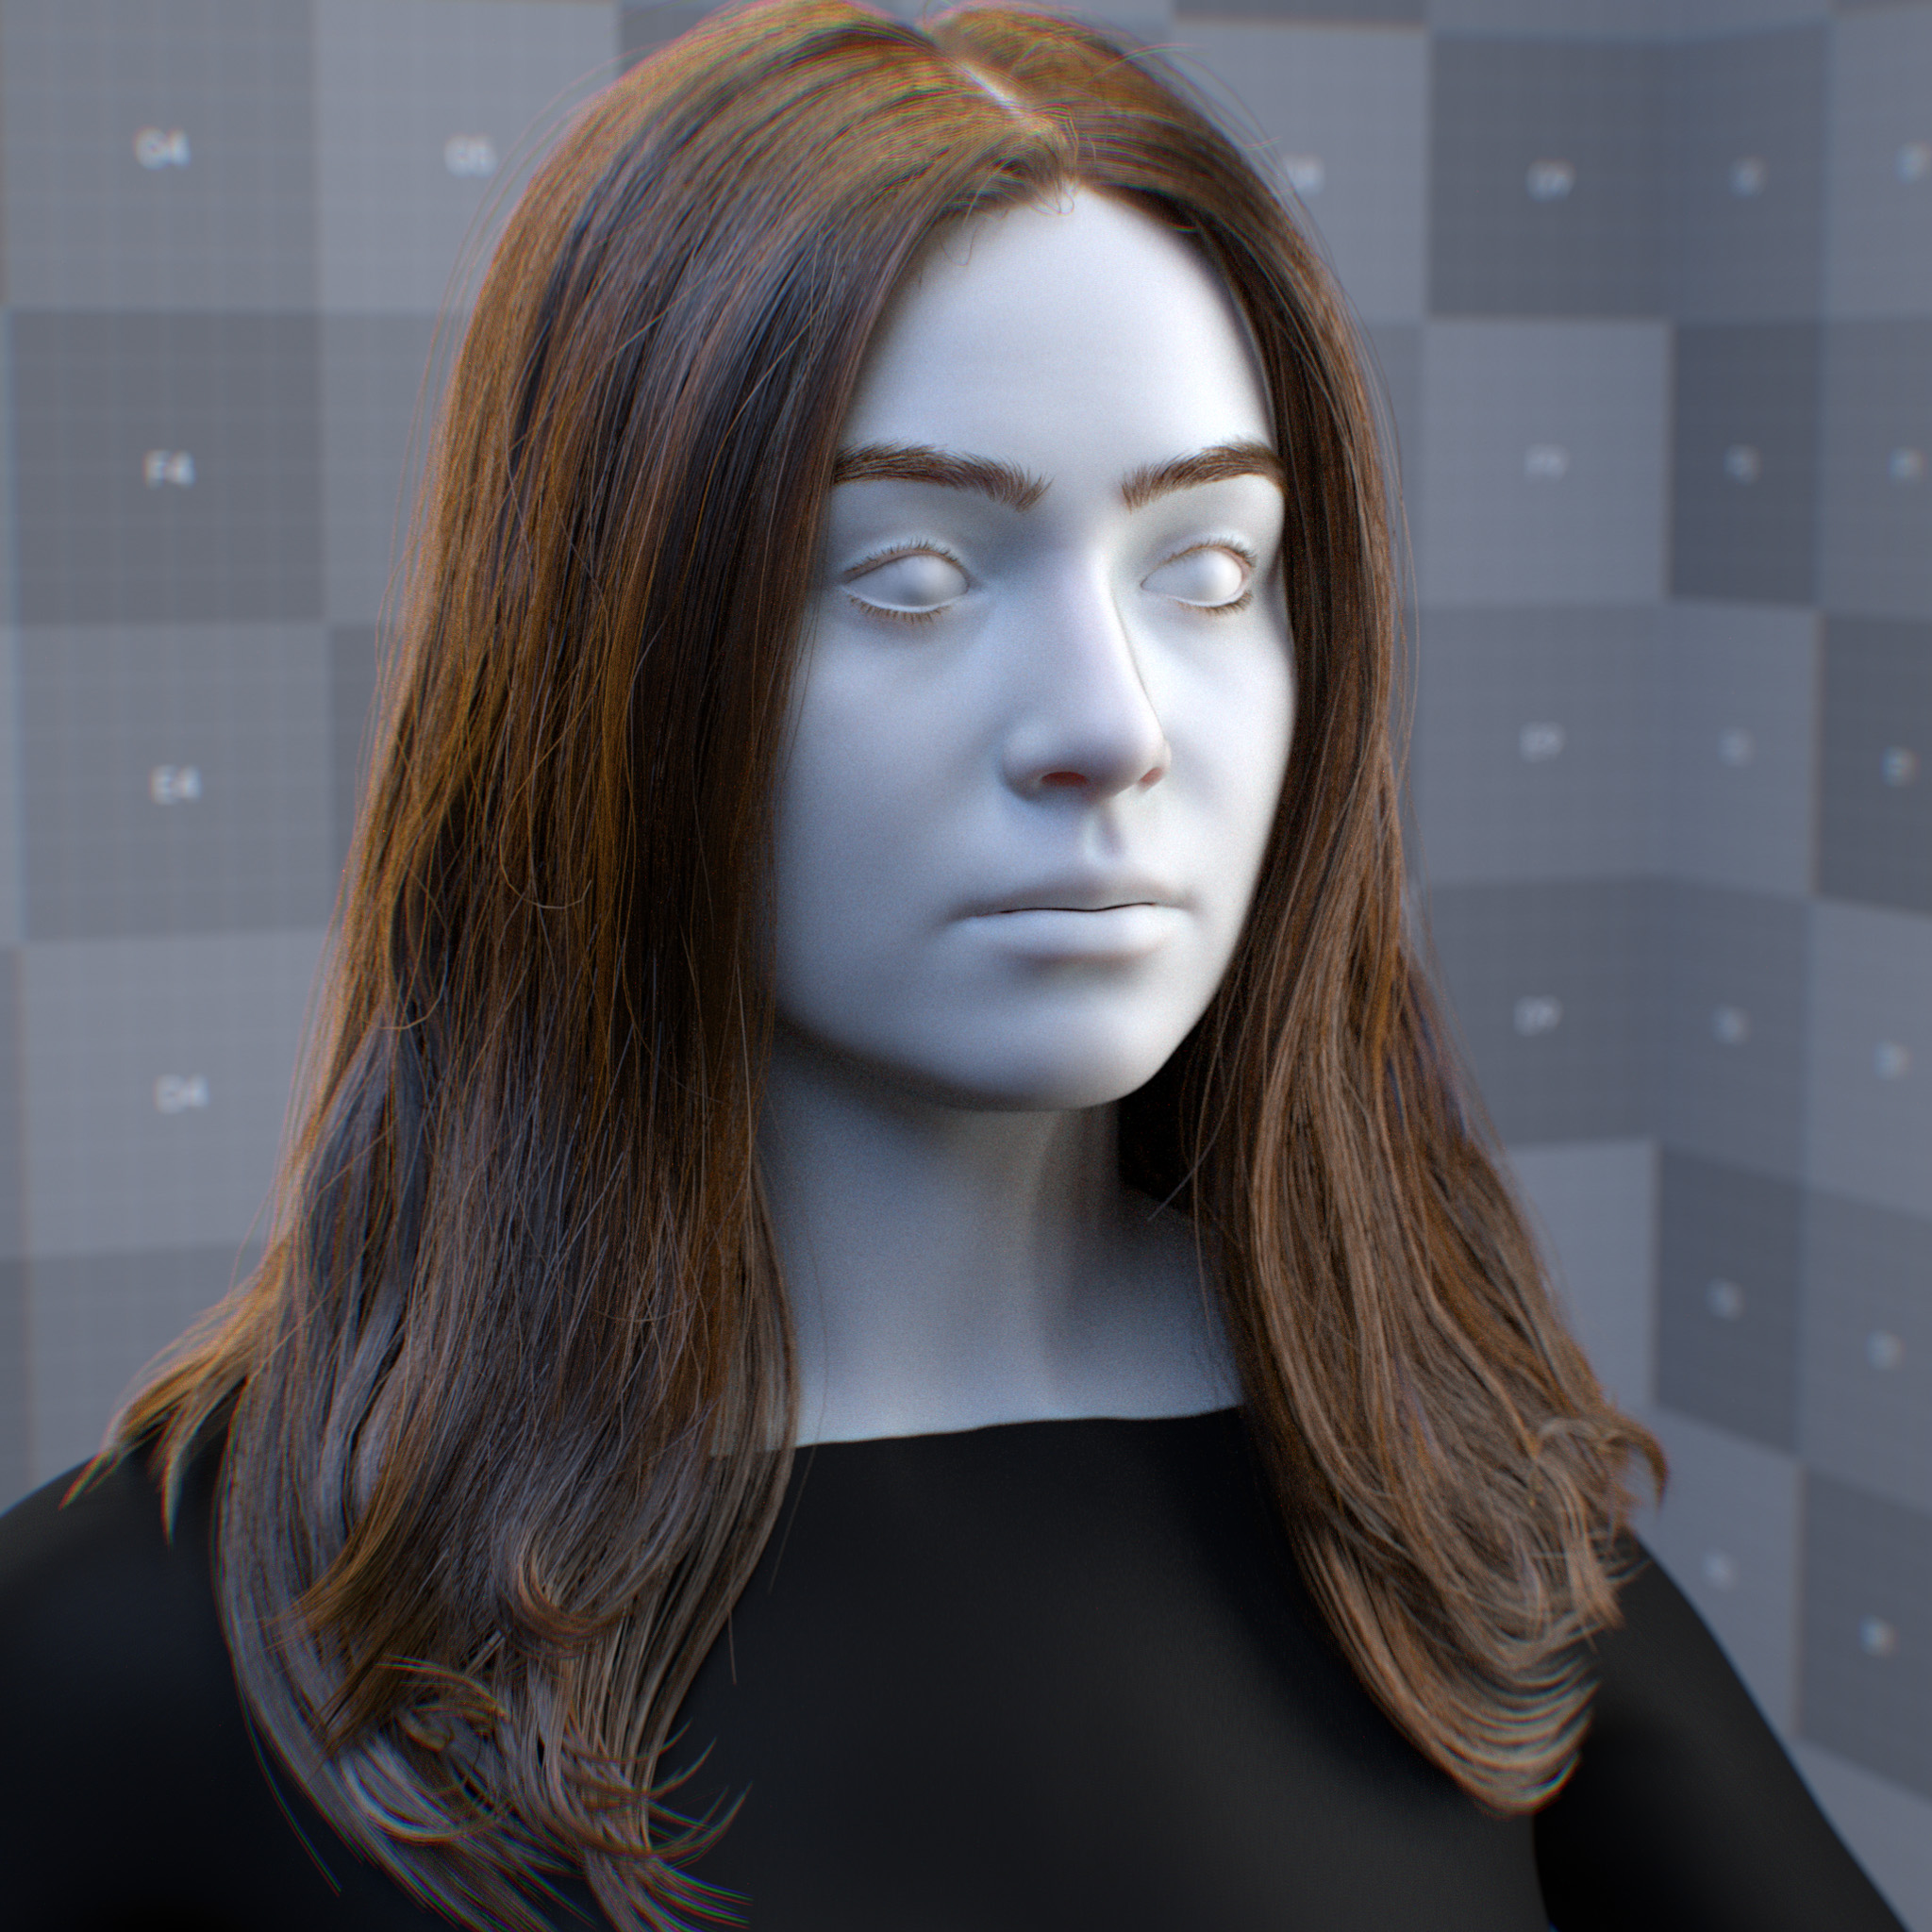
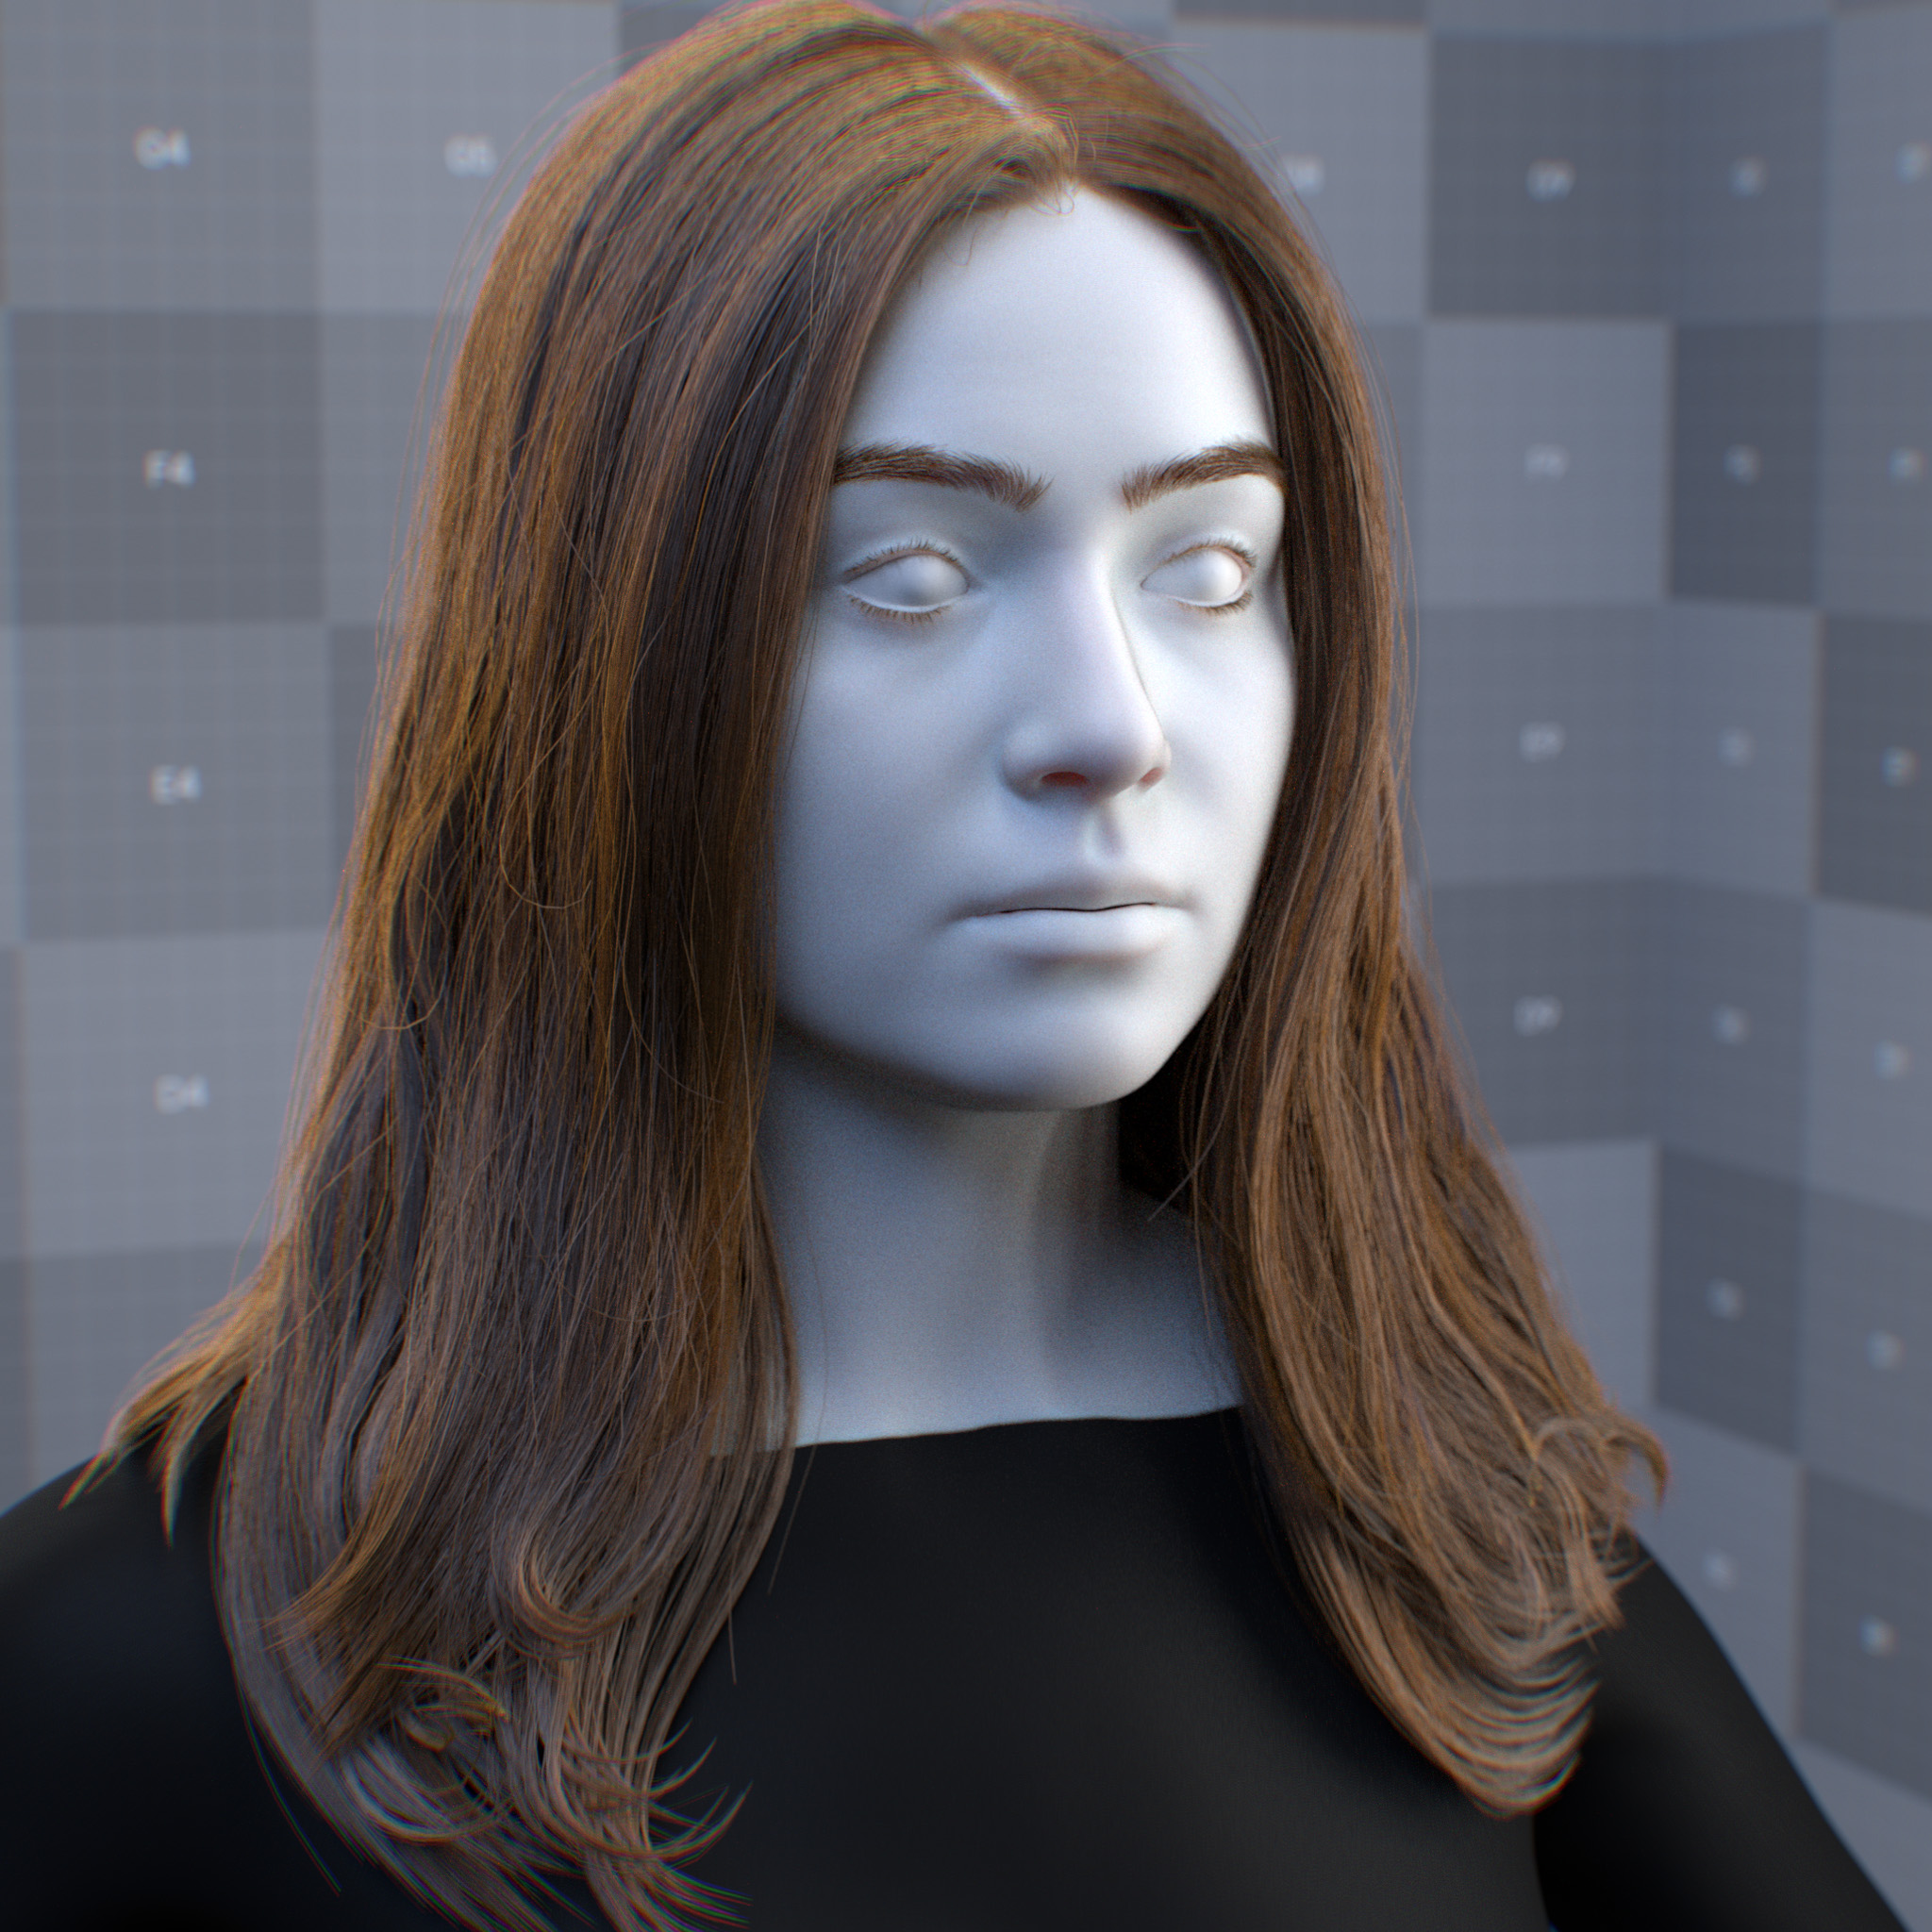
This parameter sets the longitudinal roughness of the reflection along the hair fiber. At 0.0, reflection becomes sharp and bright, while at 1.0, a deviation based on specular_reflection_shift in degrees, for a very rough reflection.
|
|
|
|
Anisotropic Roughness
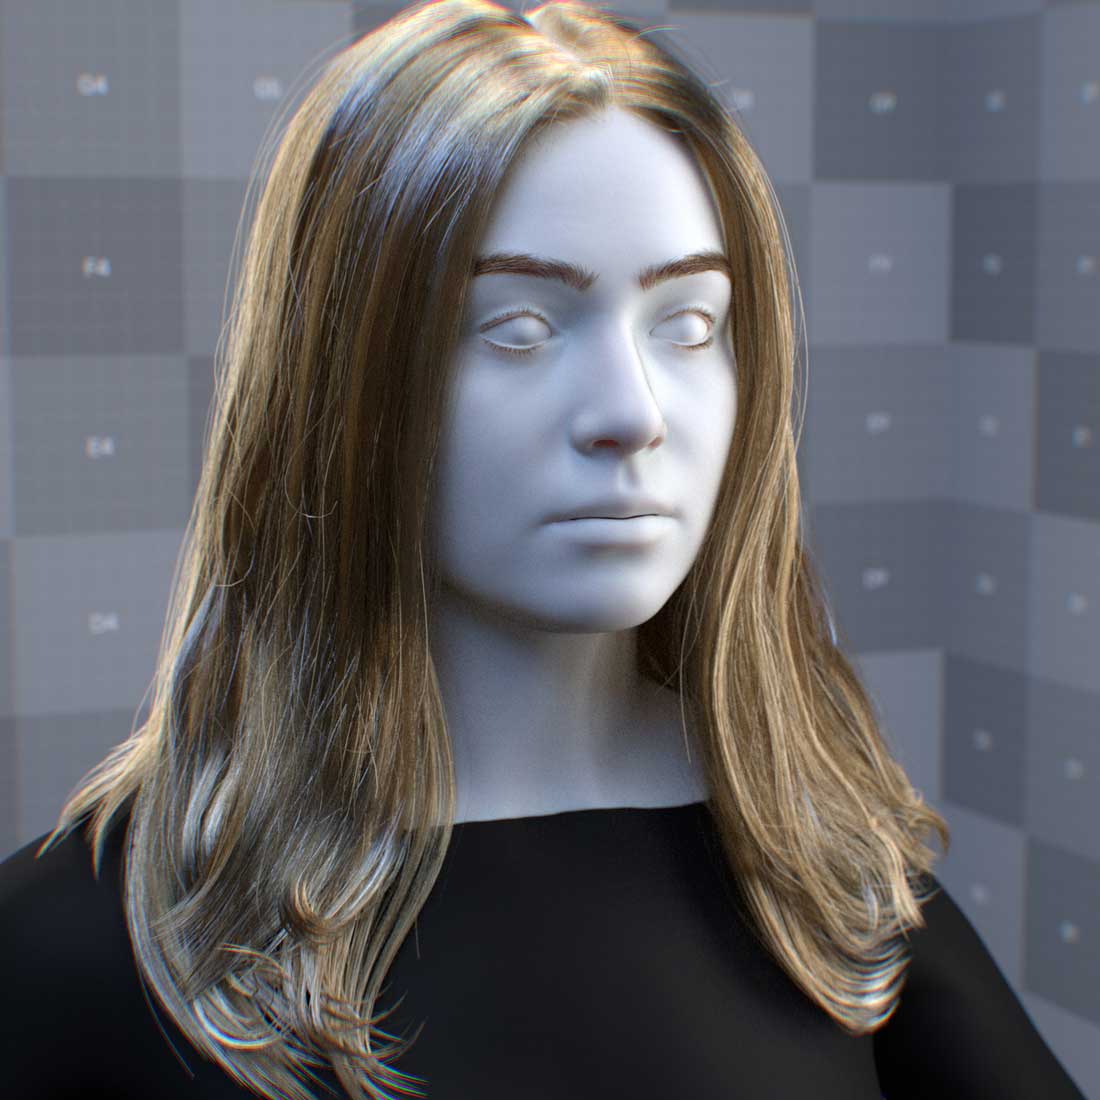
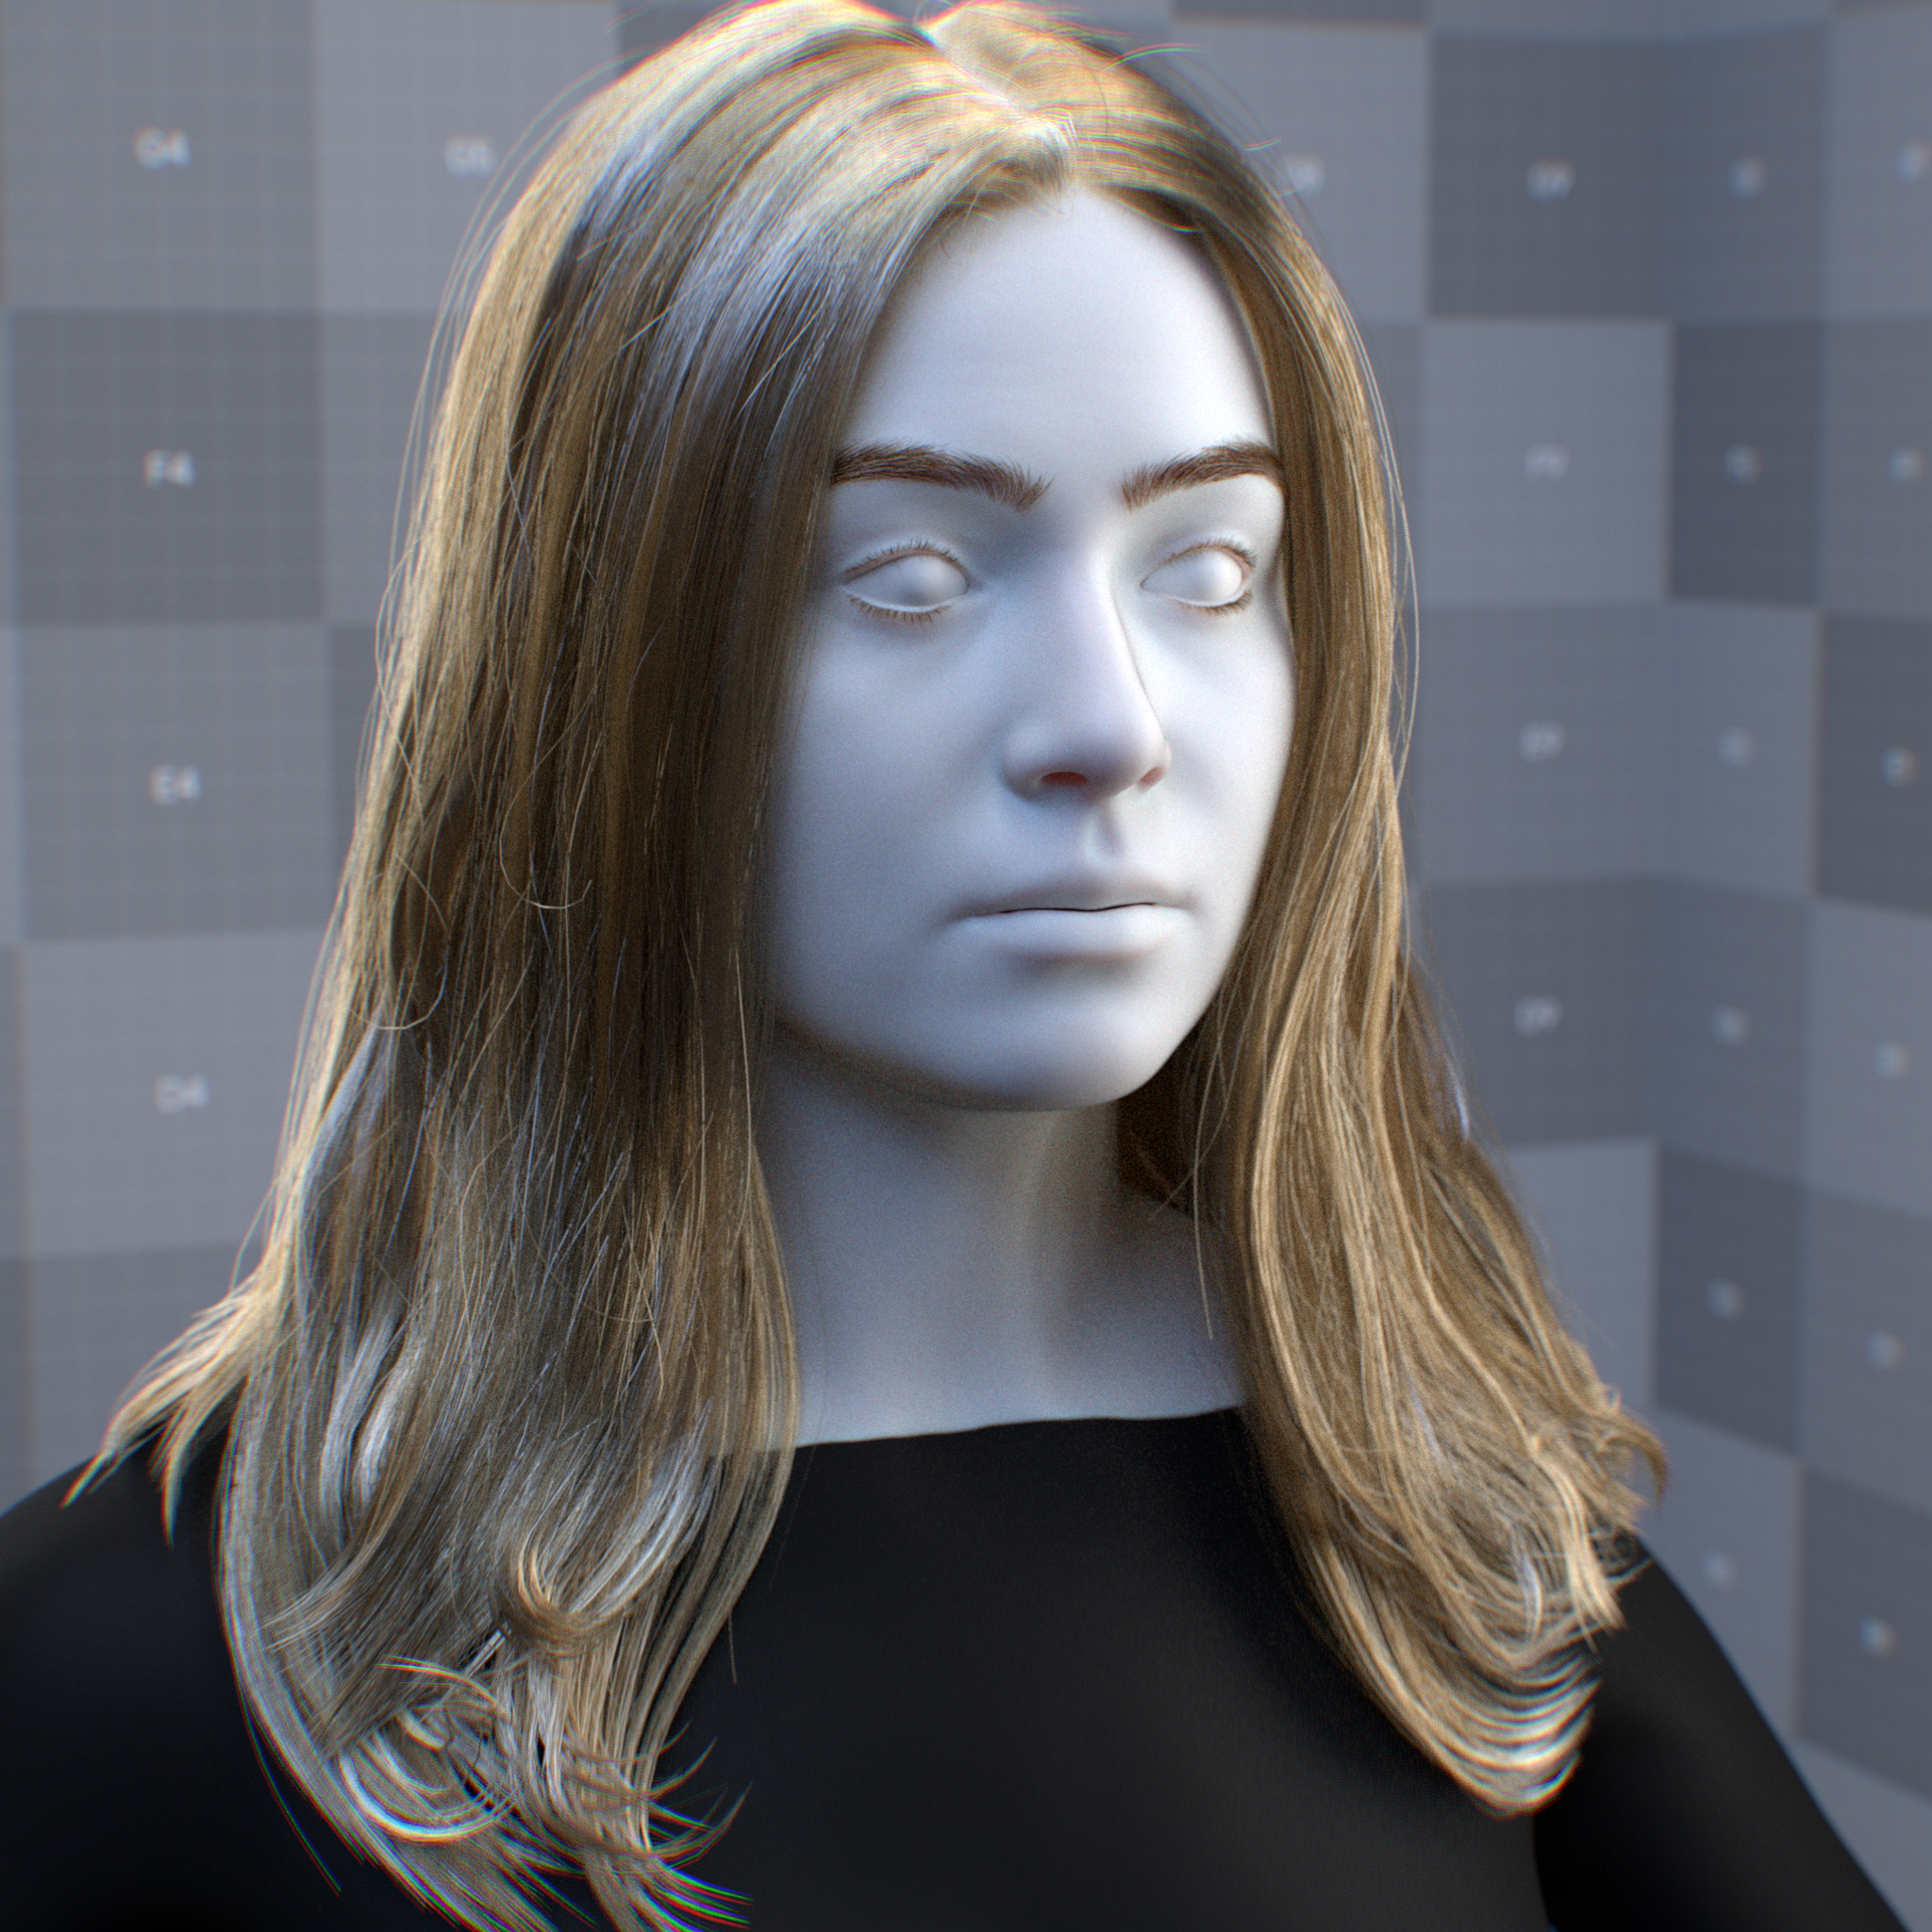
This parameter enables the use of the azimuthal roughness parameter. When disabled, the roughness parameter controls both longitudinal and azimuthal roughness.
Azimuthal Roughness
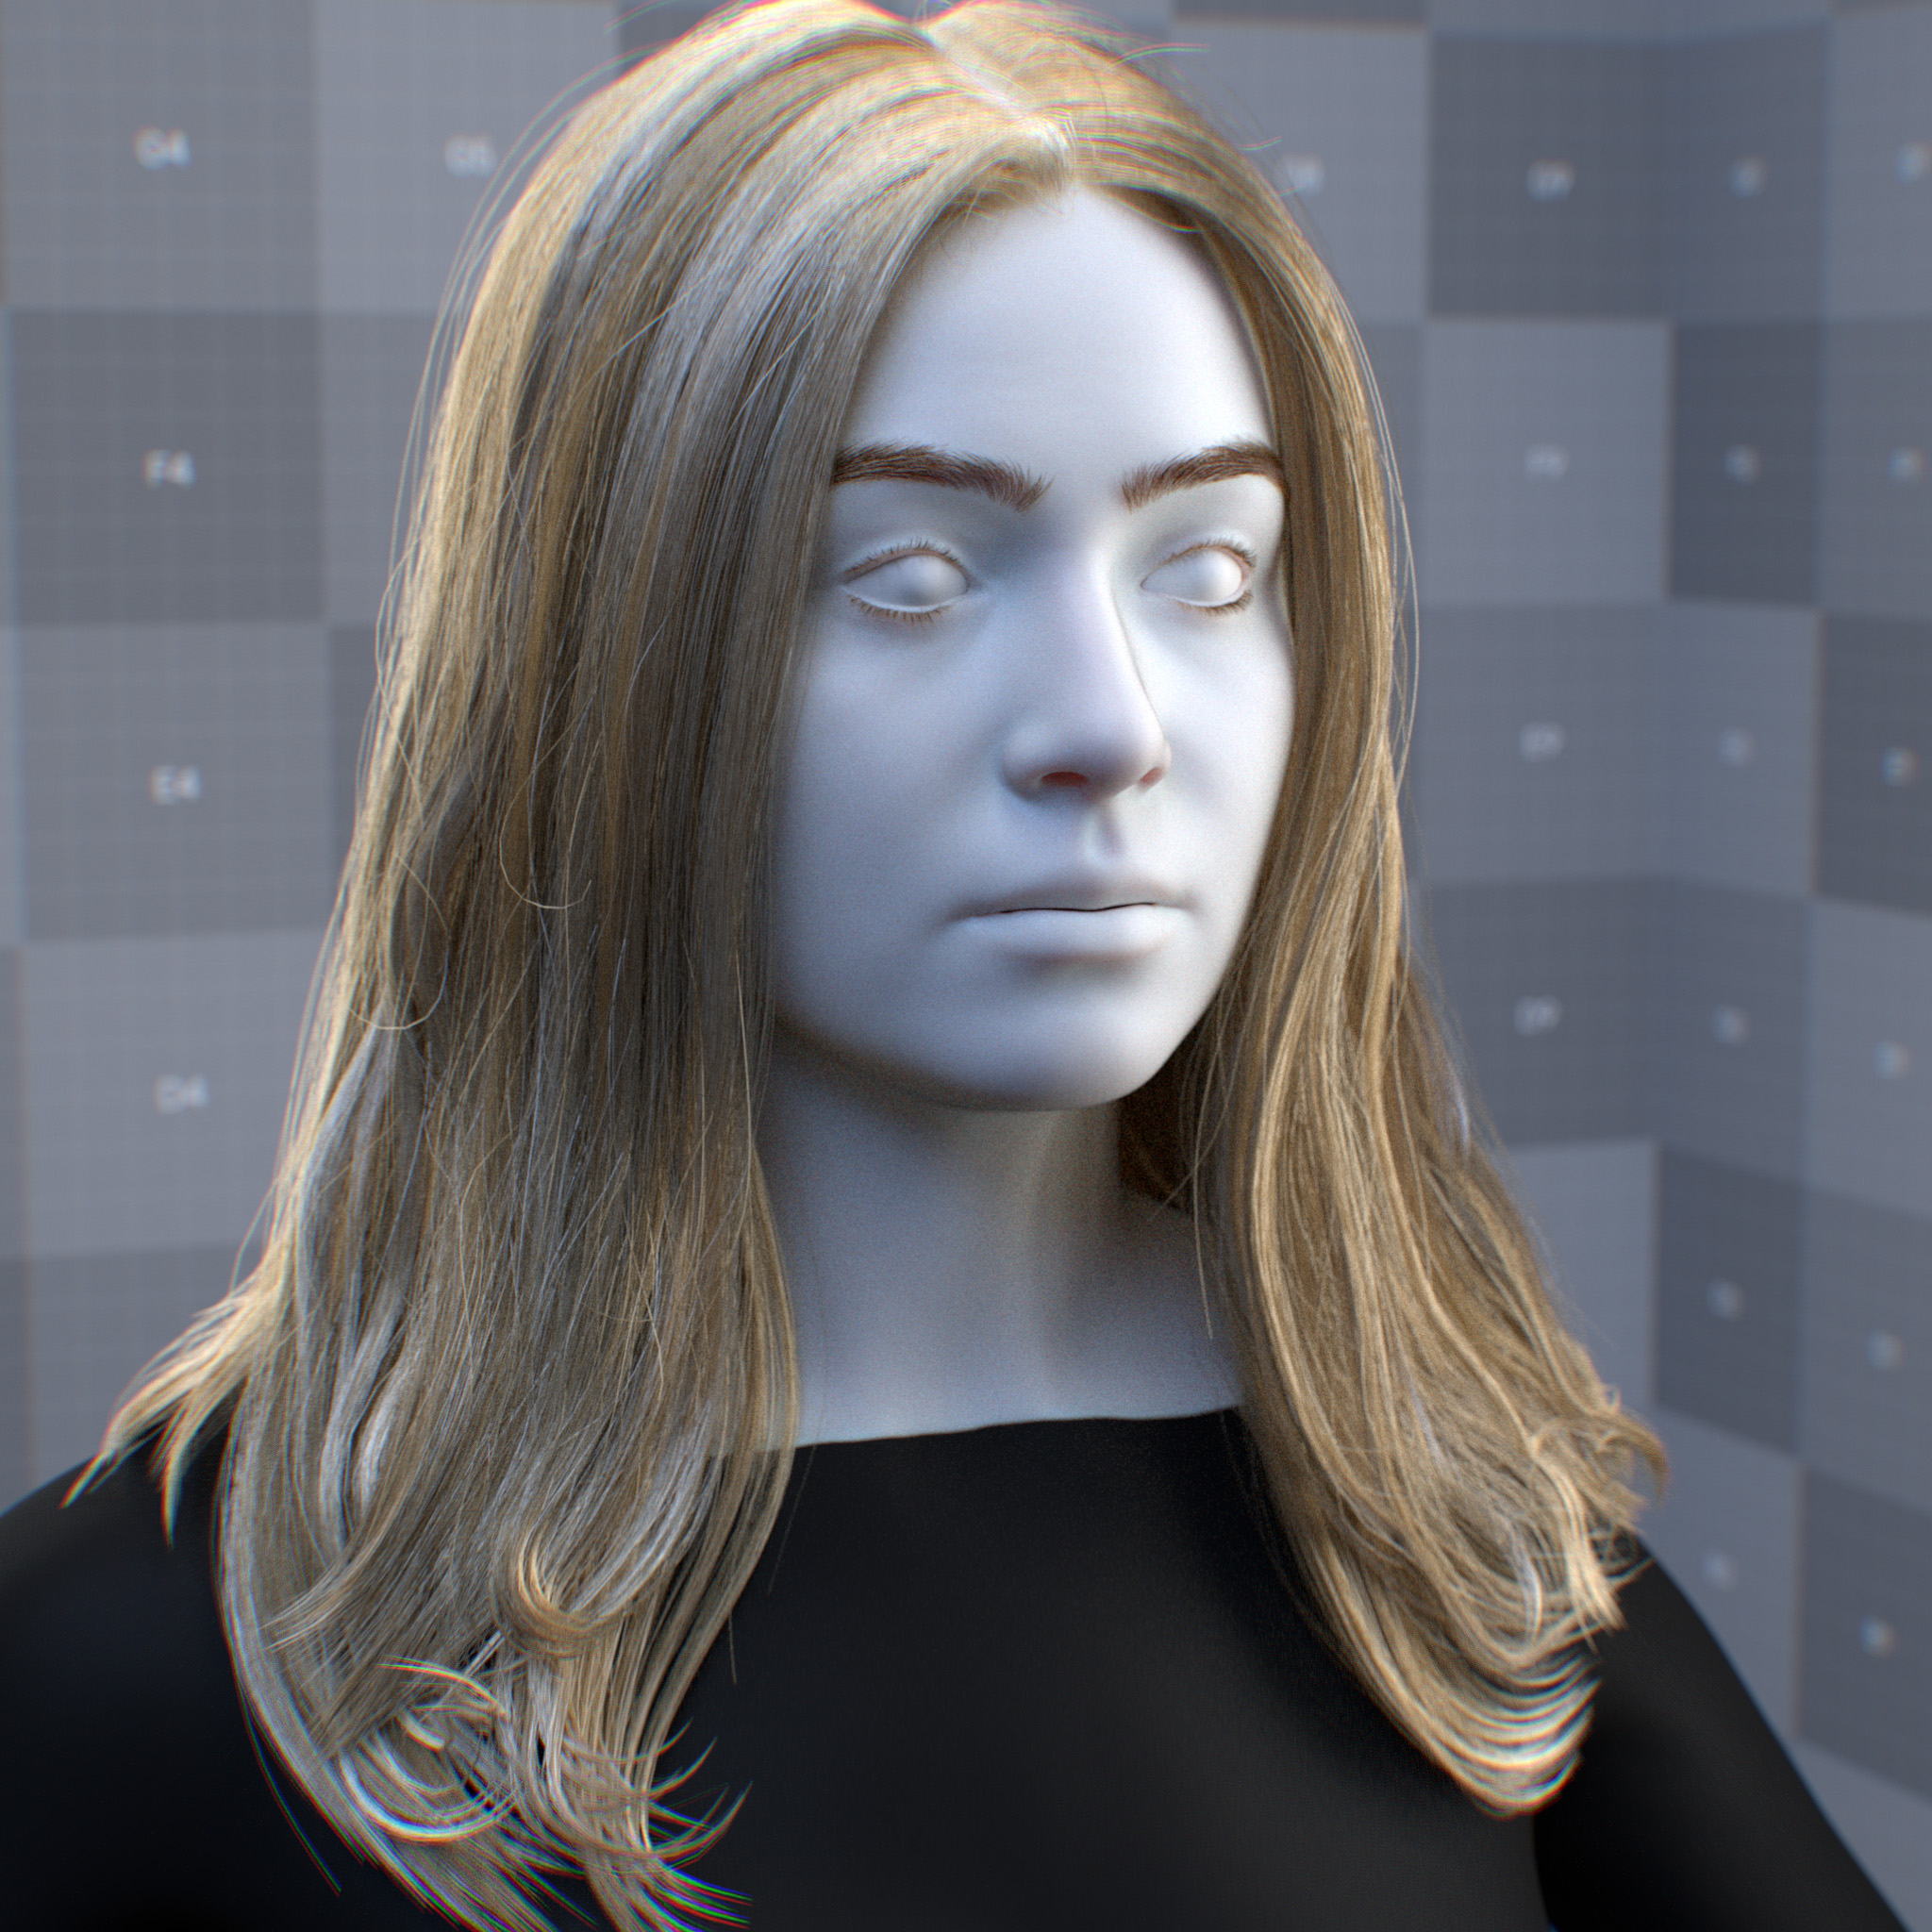
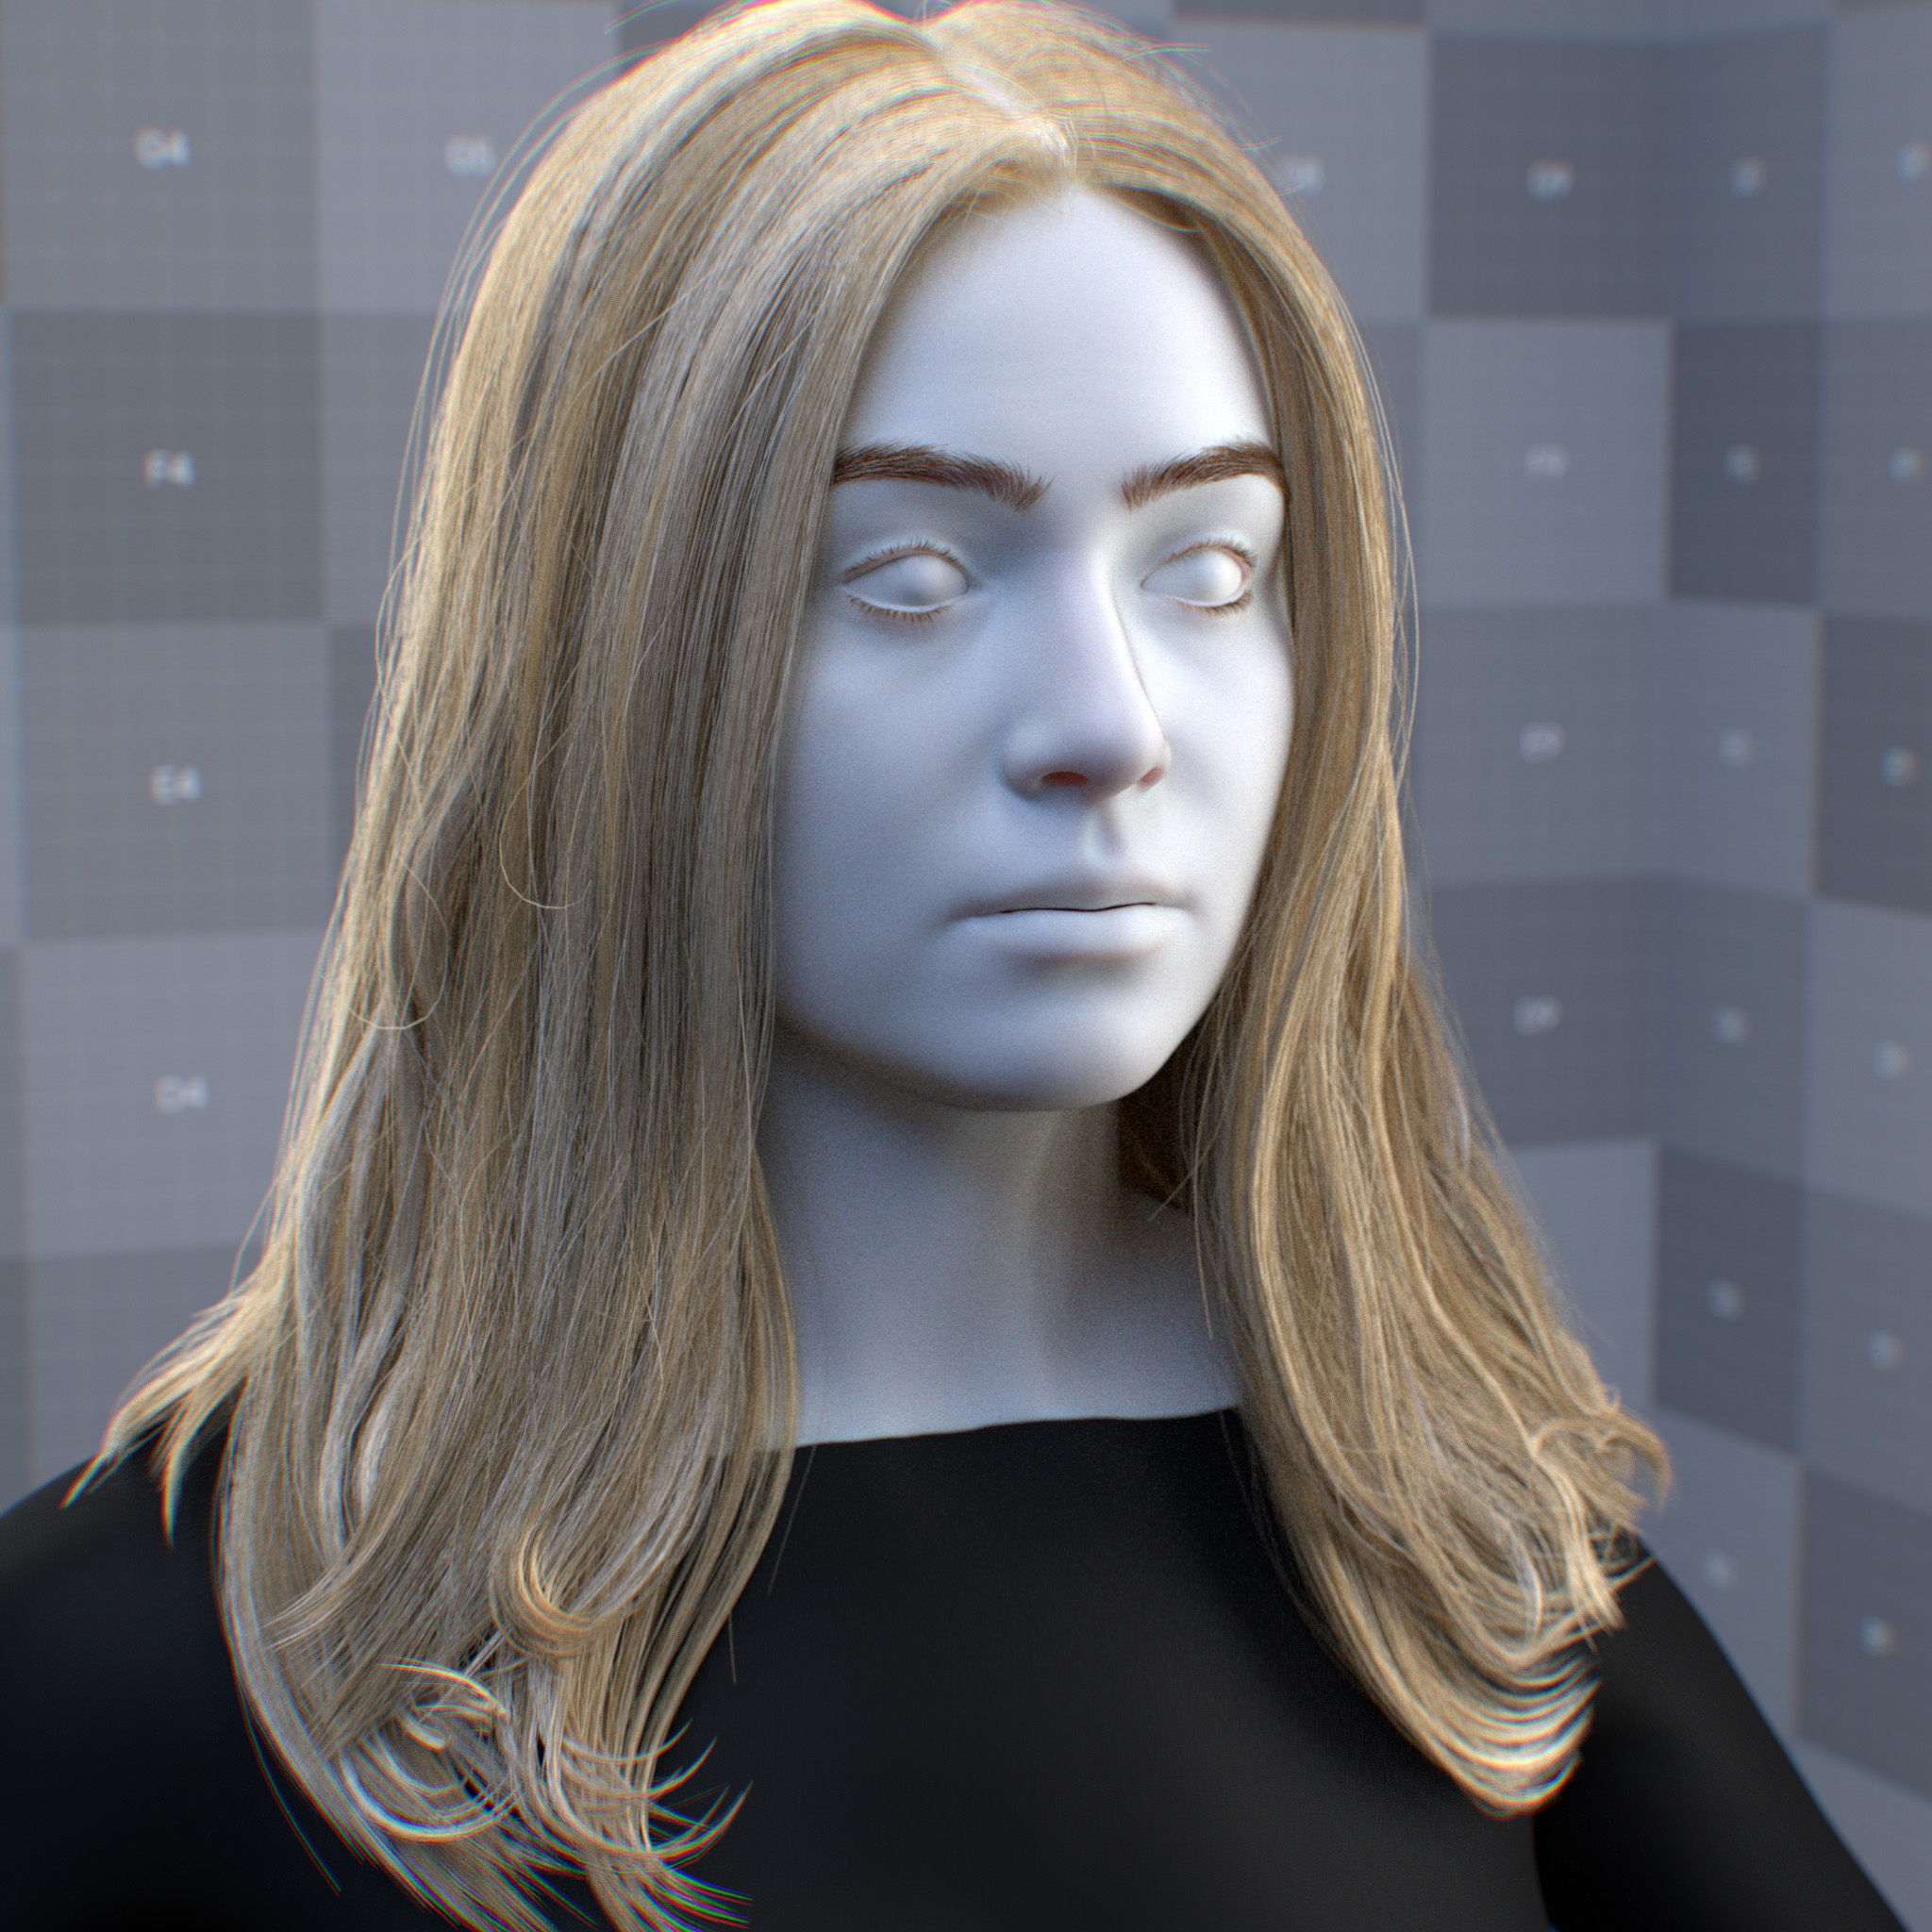
This parameter sets the azimuthal roughness of the reflection in the hair fiber’s tangent direction when the anisotropic roughness parameter is enabled. At a lower value, the reflection looks sharp, while at a higher value, reflection wraps around the hair fiber, giving a smoother look.
One could consider azimuthal roughness as a phase function of the hair fiber’s volume, which changes the translucency and affects the multiple scattering albedo.
Anisotropic Roughness: Disabled# |
Anisotropic Roughness: Enabled# |
Anisotropic Roughness: Enabled# |
Anisotropic Roughness: Enabled# |
IOR Preset
This parameter presents a list of known IORs (index of refractions) for various materials, including hair and wet hair. One can use custom IOR by setting this parameter to ior_custom and a value for the specular reflection’s IOR parameter.
IOR
This parameter sets the index of refraction. Individual hair fibers are modeled as dielectric cylinders, with hair fiber reflecting off and transmitting into the fiber depending on the IOR.
At a lower IOR value, hair fibers exhibit strong forward scattering, while at a higher IOR value, stronger reflection.
Tip
The IOR for typical human hair is about 1.55. A lower value can give hair fibers a muted look, while a higher value gives a wet look.
Shift (degree)
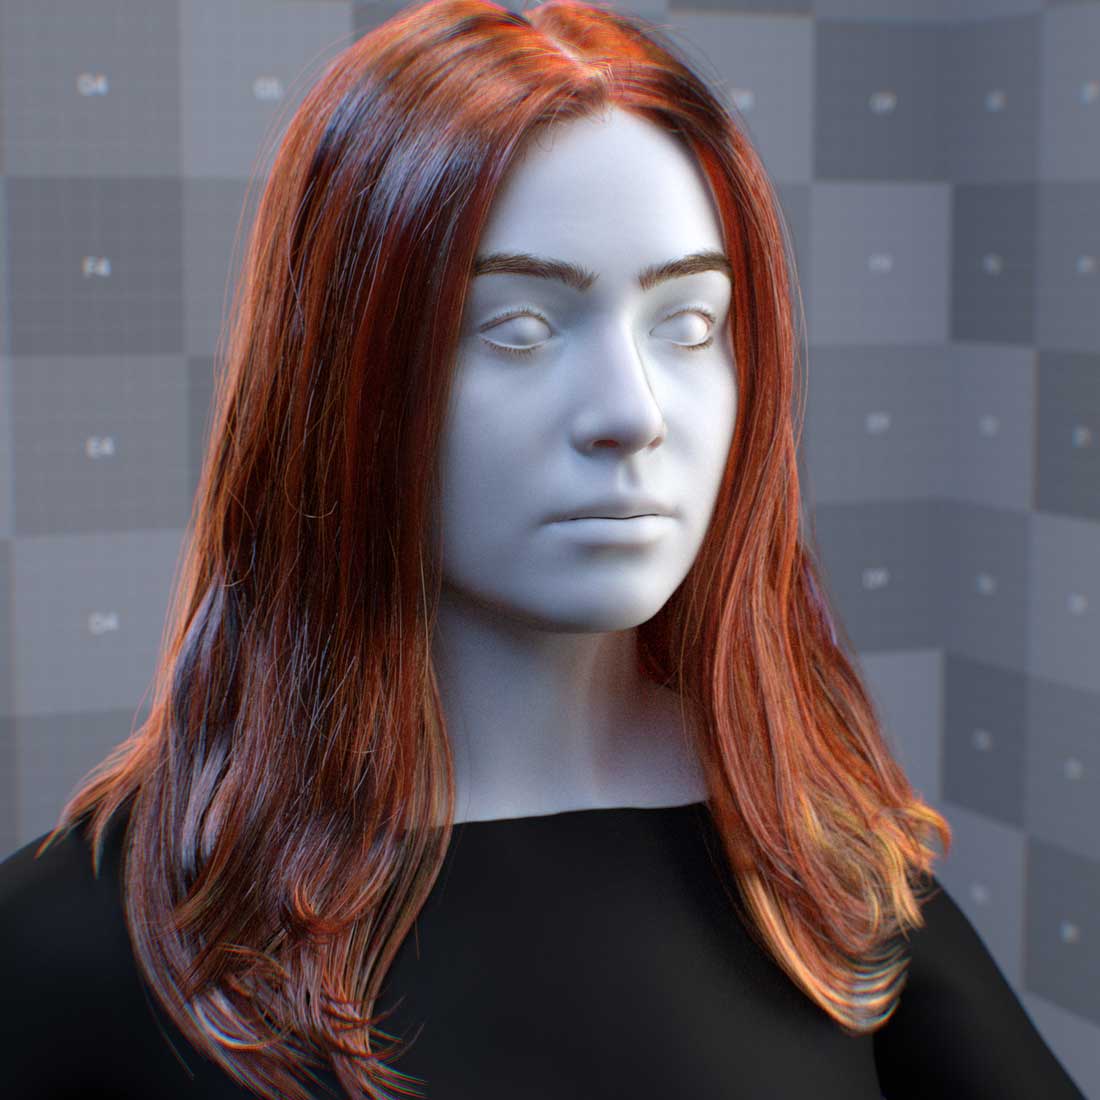
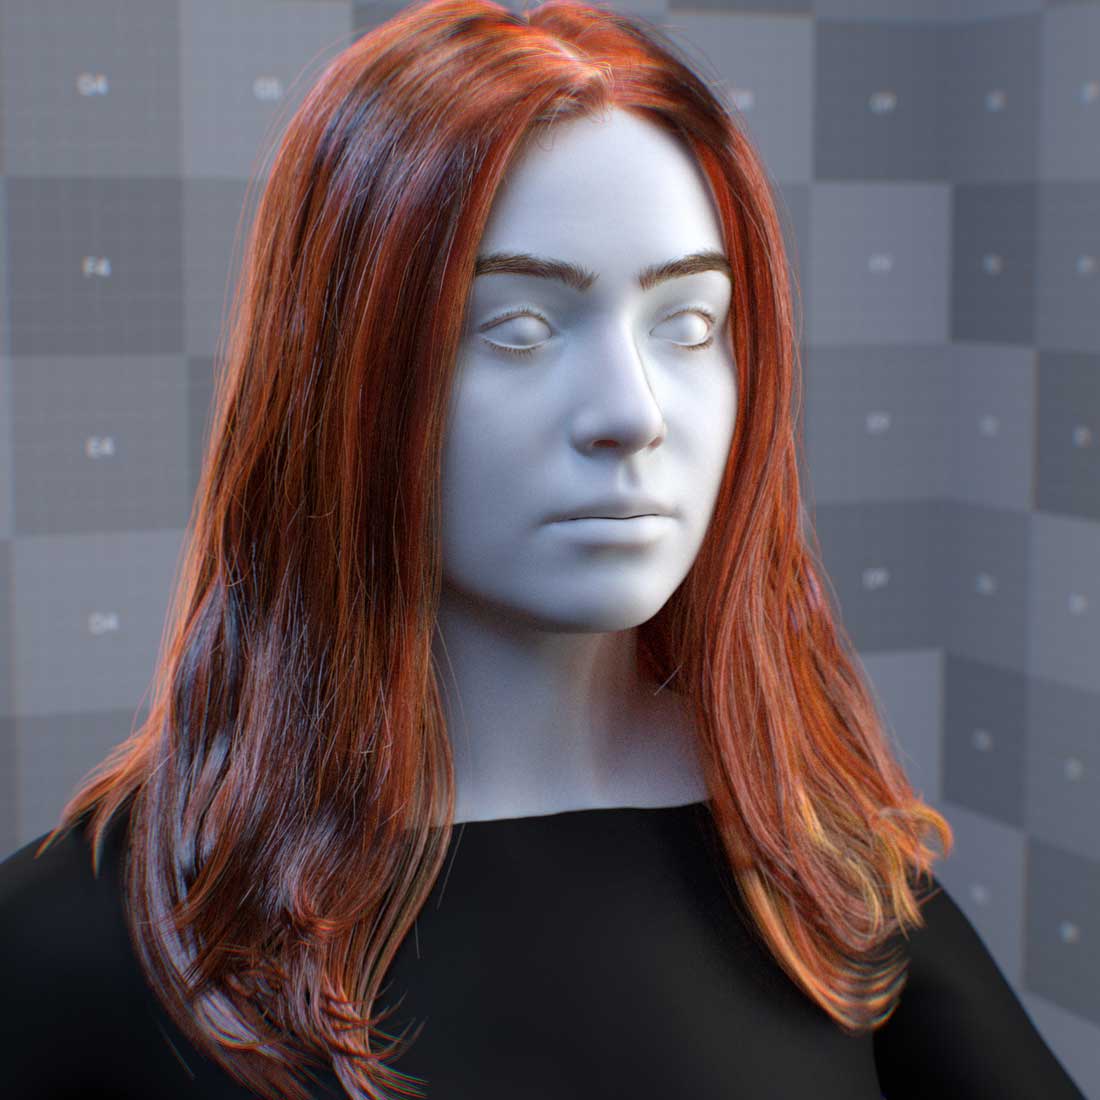
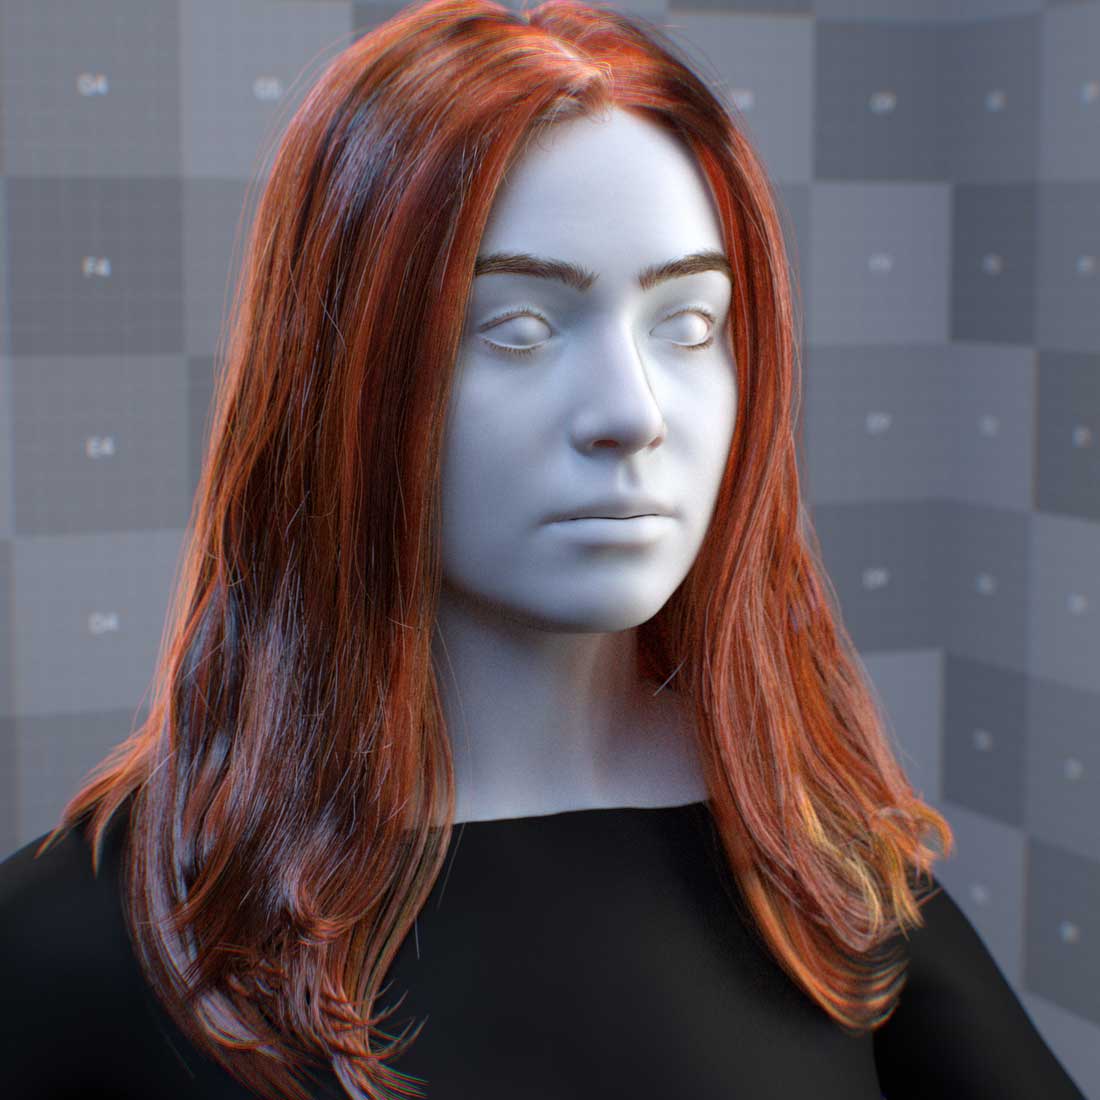
This parameter sets the angle of the hair fiber’s scales. values above 0.0 shift the primary and the secondary specular reflections away from the hair fiber’s root, while values less than 0.0 shift the specular reflection toward the root.
Recommended values for human hair:
Hair Origin |
Scale angle (degrees) |
|---|---|
Piedmont |
2.8 ± 0.2 |
Light brown European |
2.9 ± 0.3 |
Dark brown European |
3.0 ± 0.2 |
Indian |
3.7 ± 0.3 |
Japanese |
3.6 ± 0.3 |
Chinese |
3.6 ± 0.4 |
African-American |
2.3 ± 0.4 |
|

|
|
|
Diffuse
Diffuse reflection in hair shaders controls how light scatters through the hair fiber’s cortex. This property affects the overall base color visibility and soft scattering behavior of hair strands under direct and indirect lighting.
Parameters
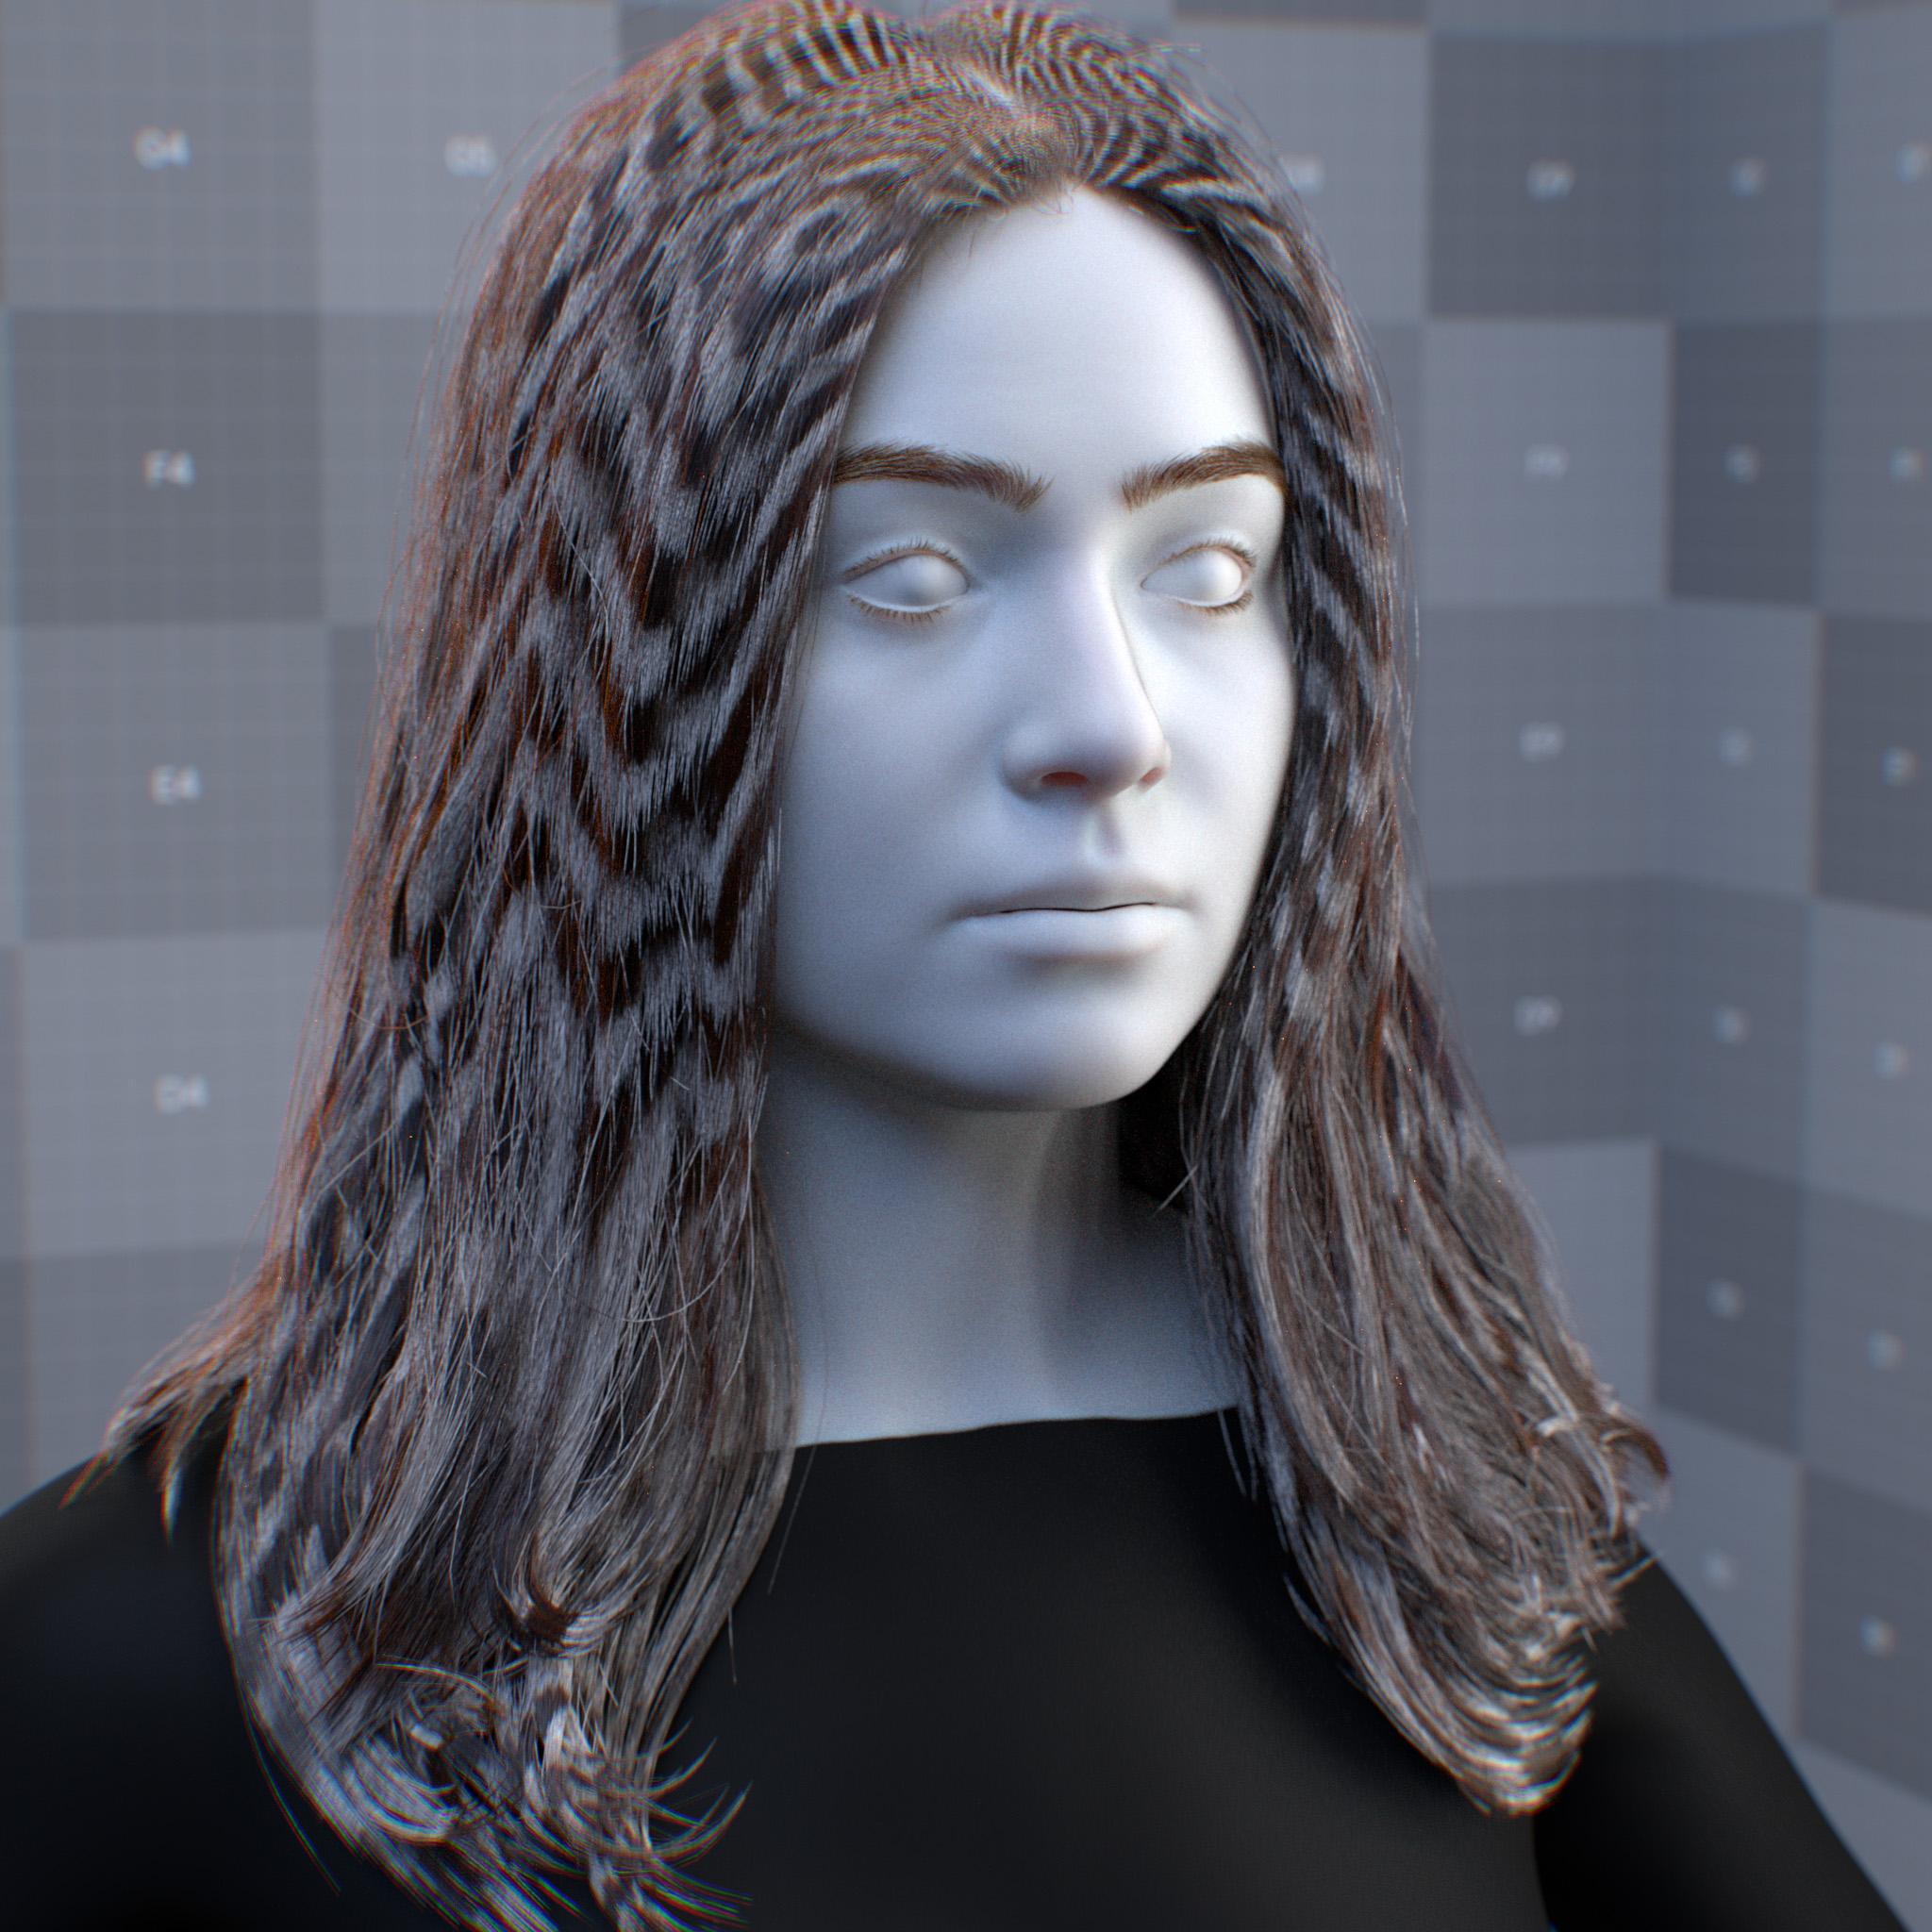
It adds a Lambertian diffuse component for greater control over the look of hair fibers.
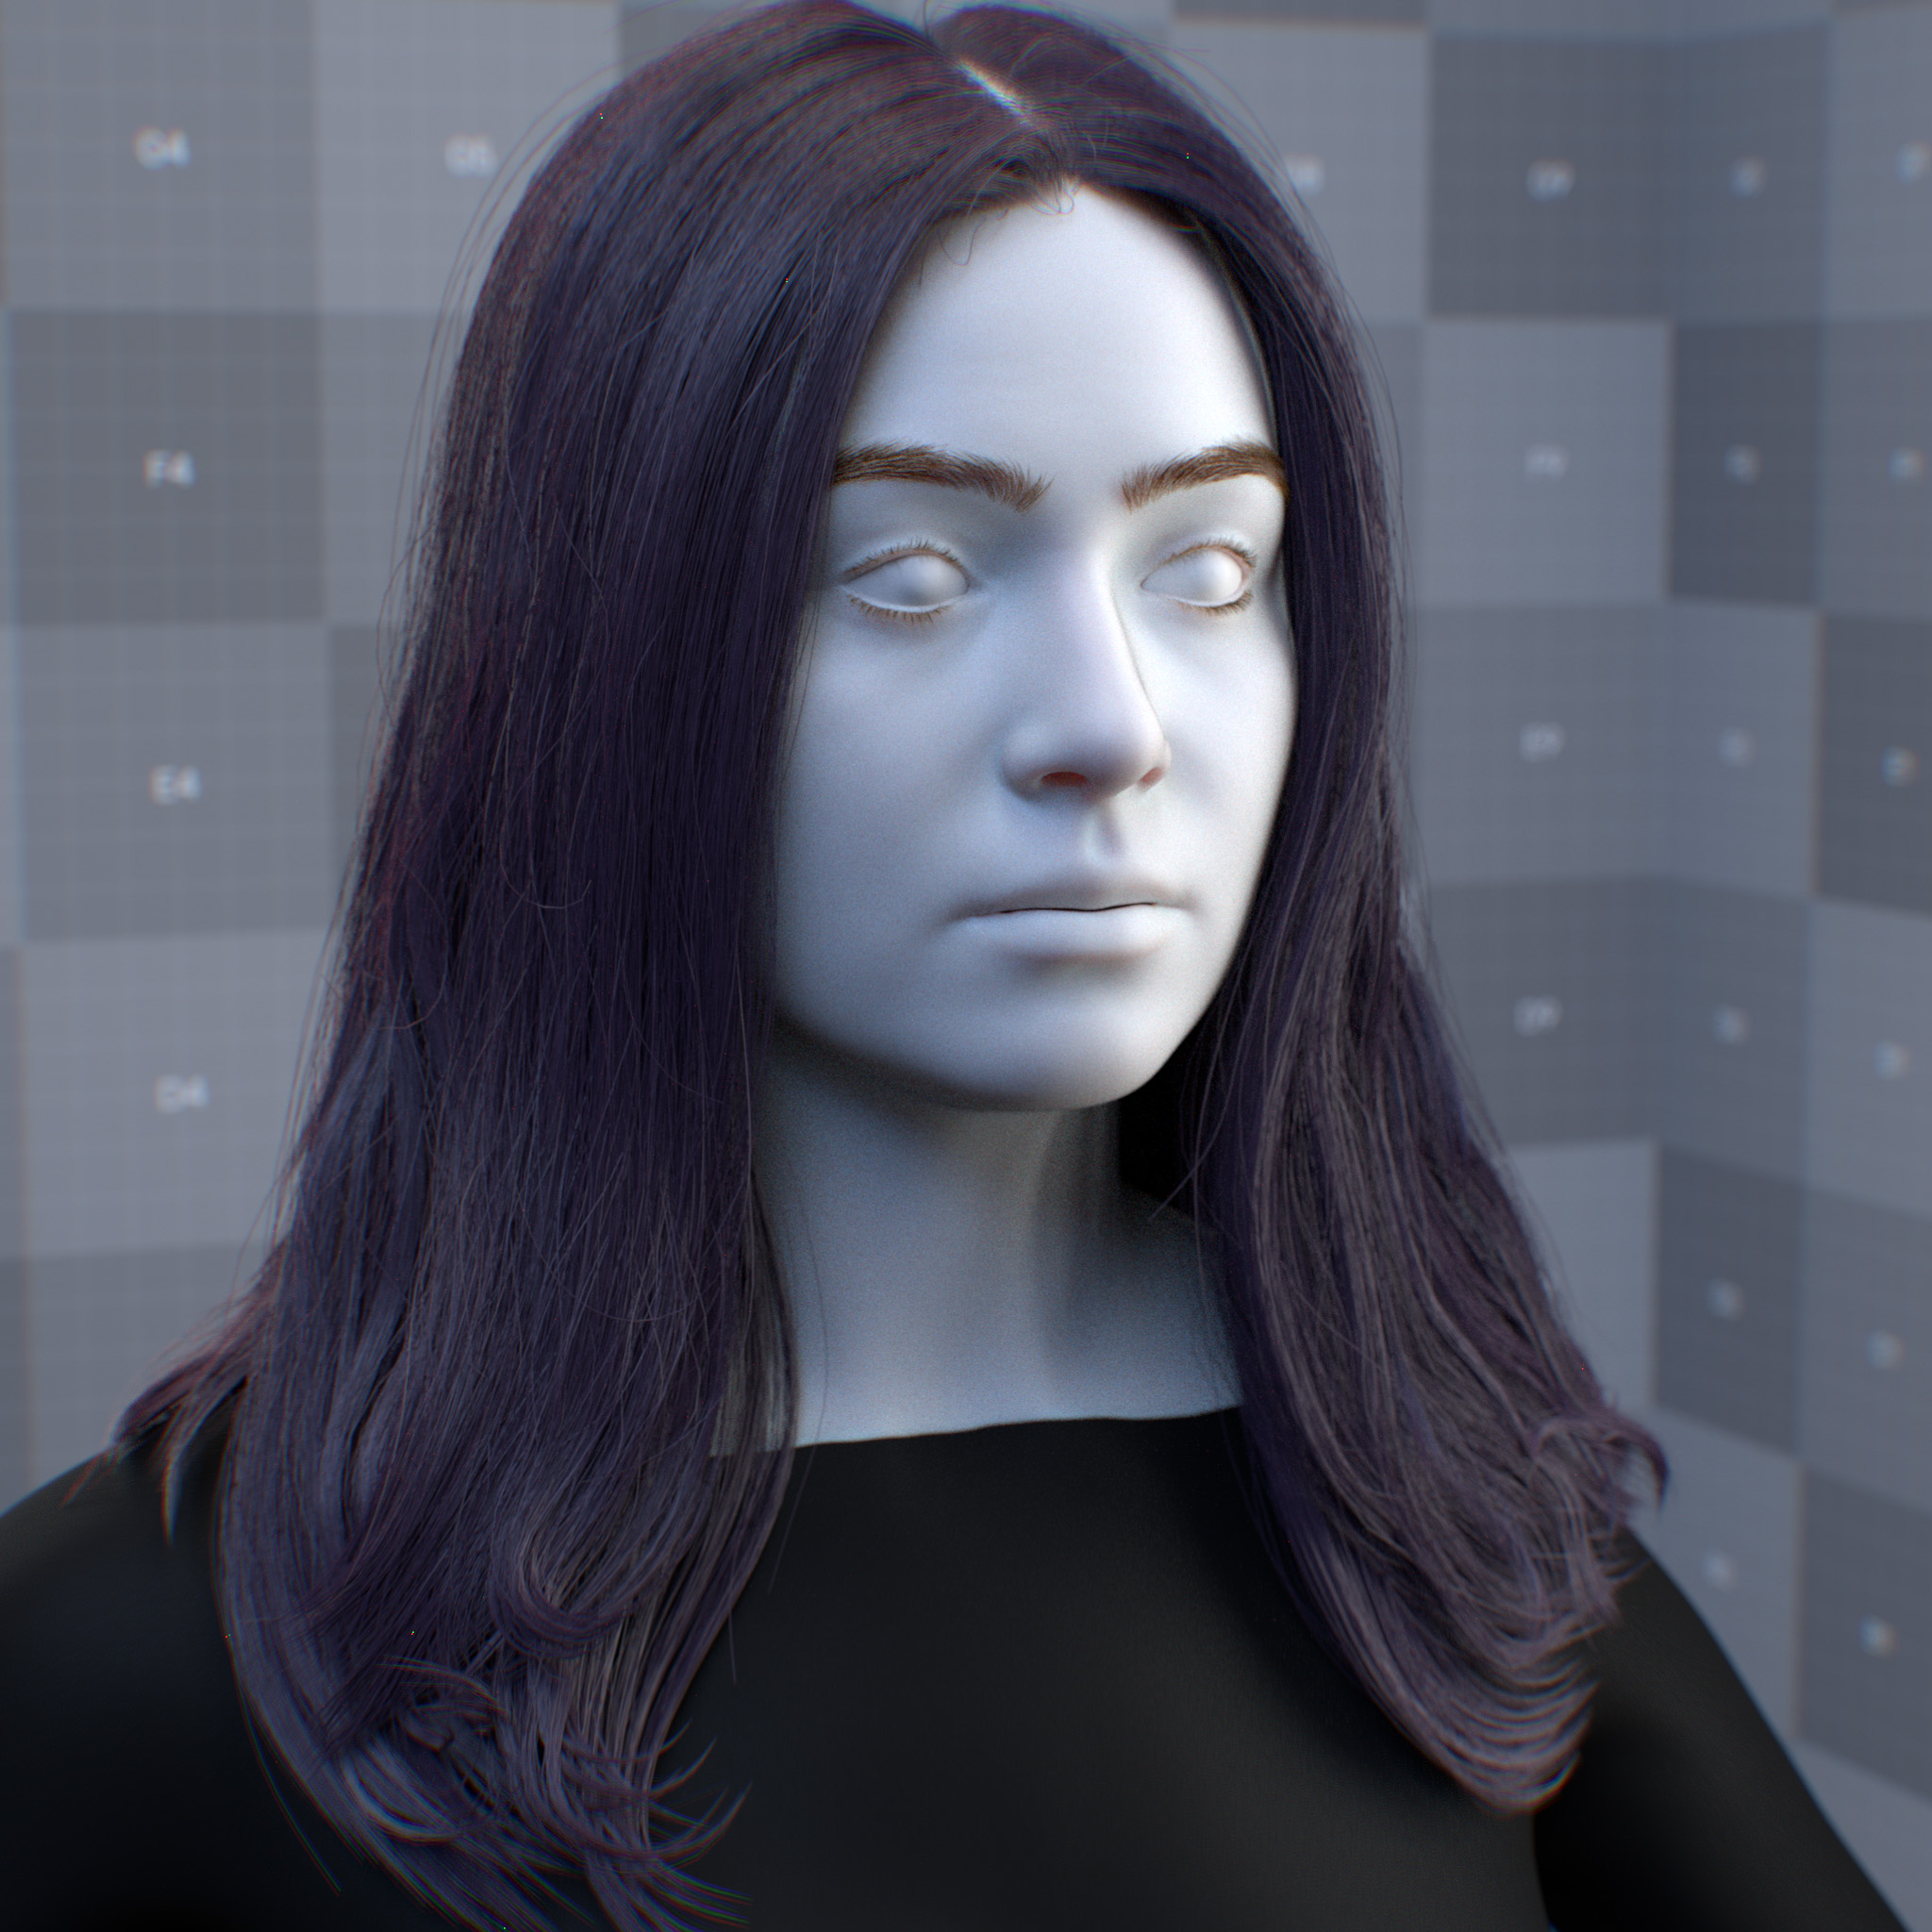
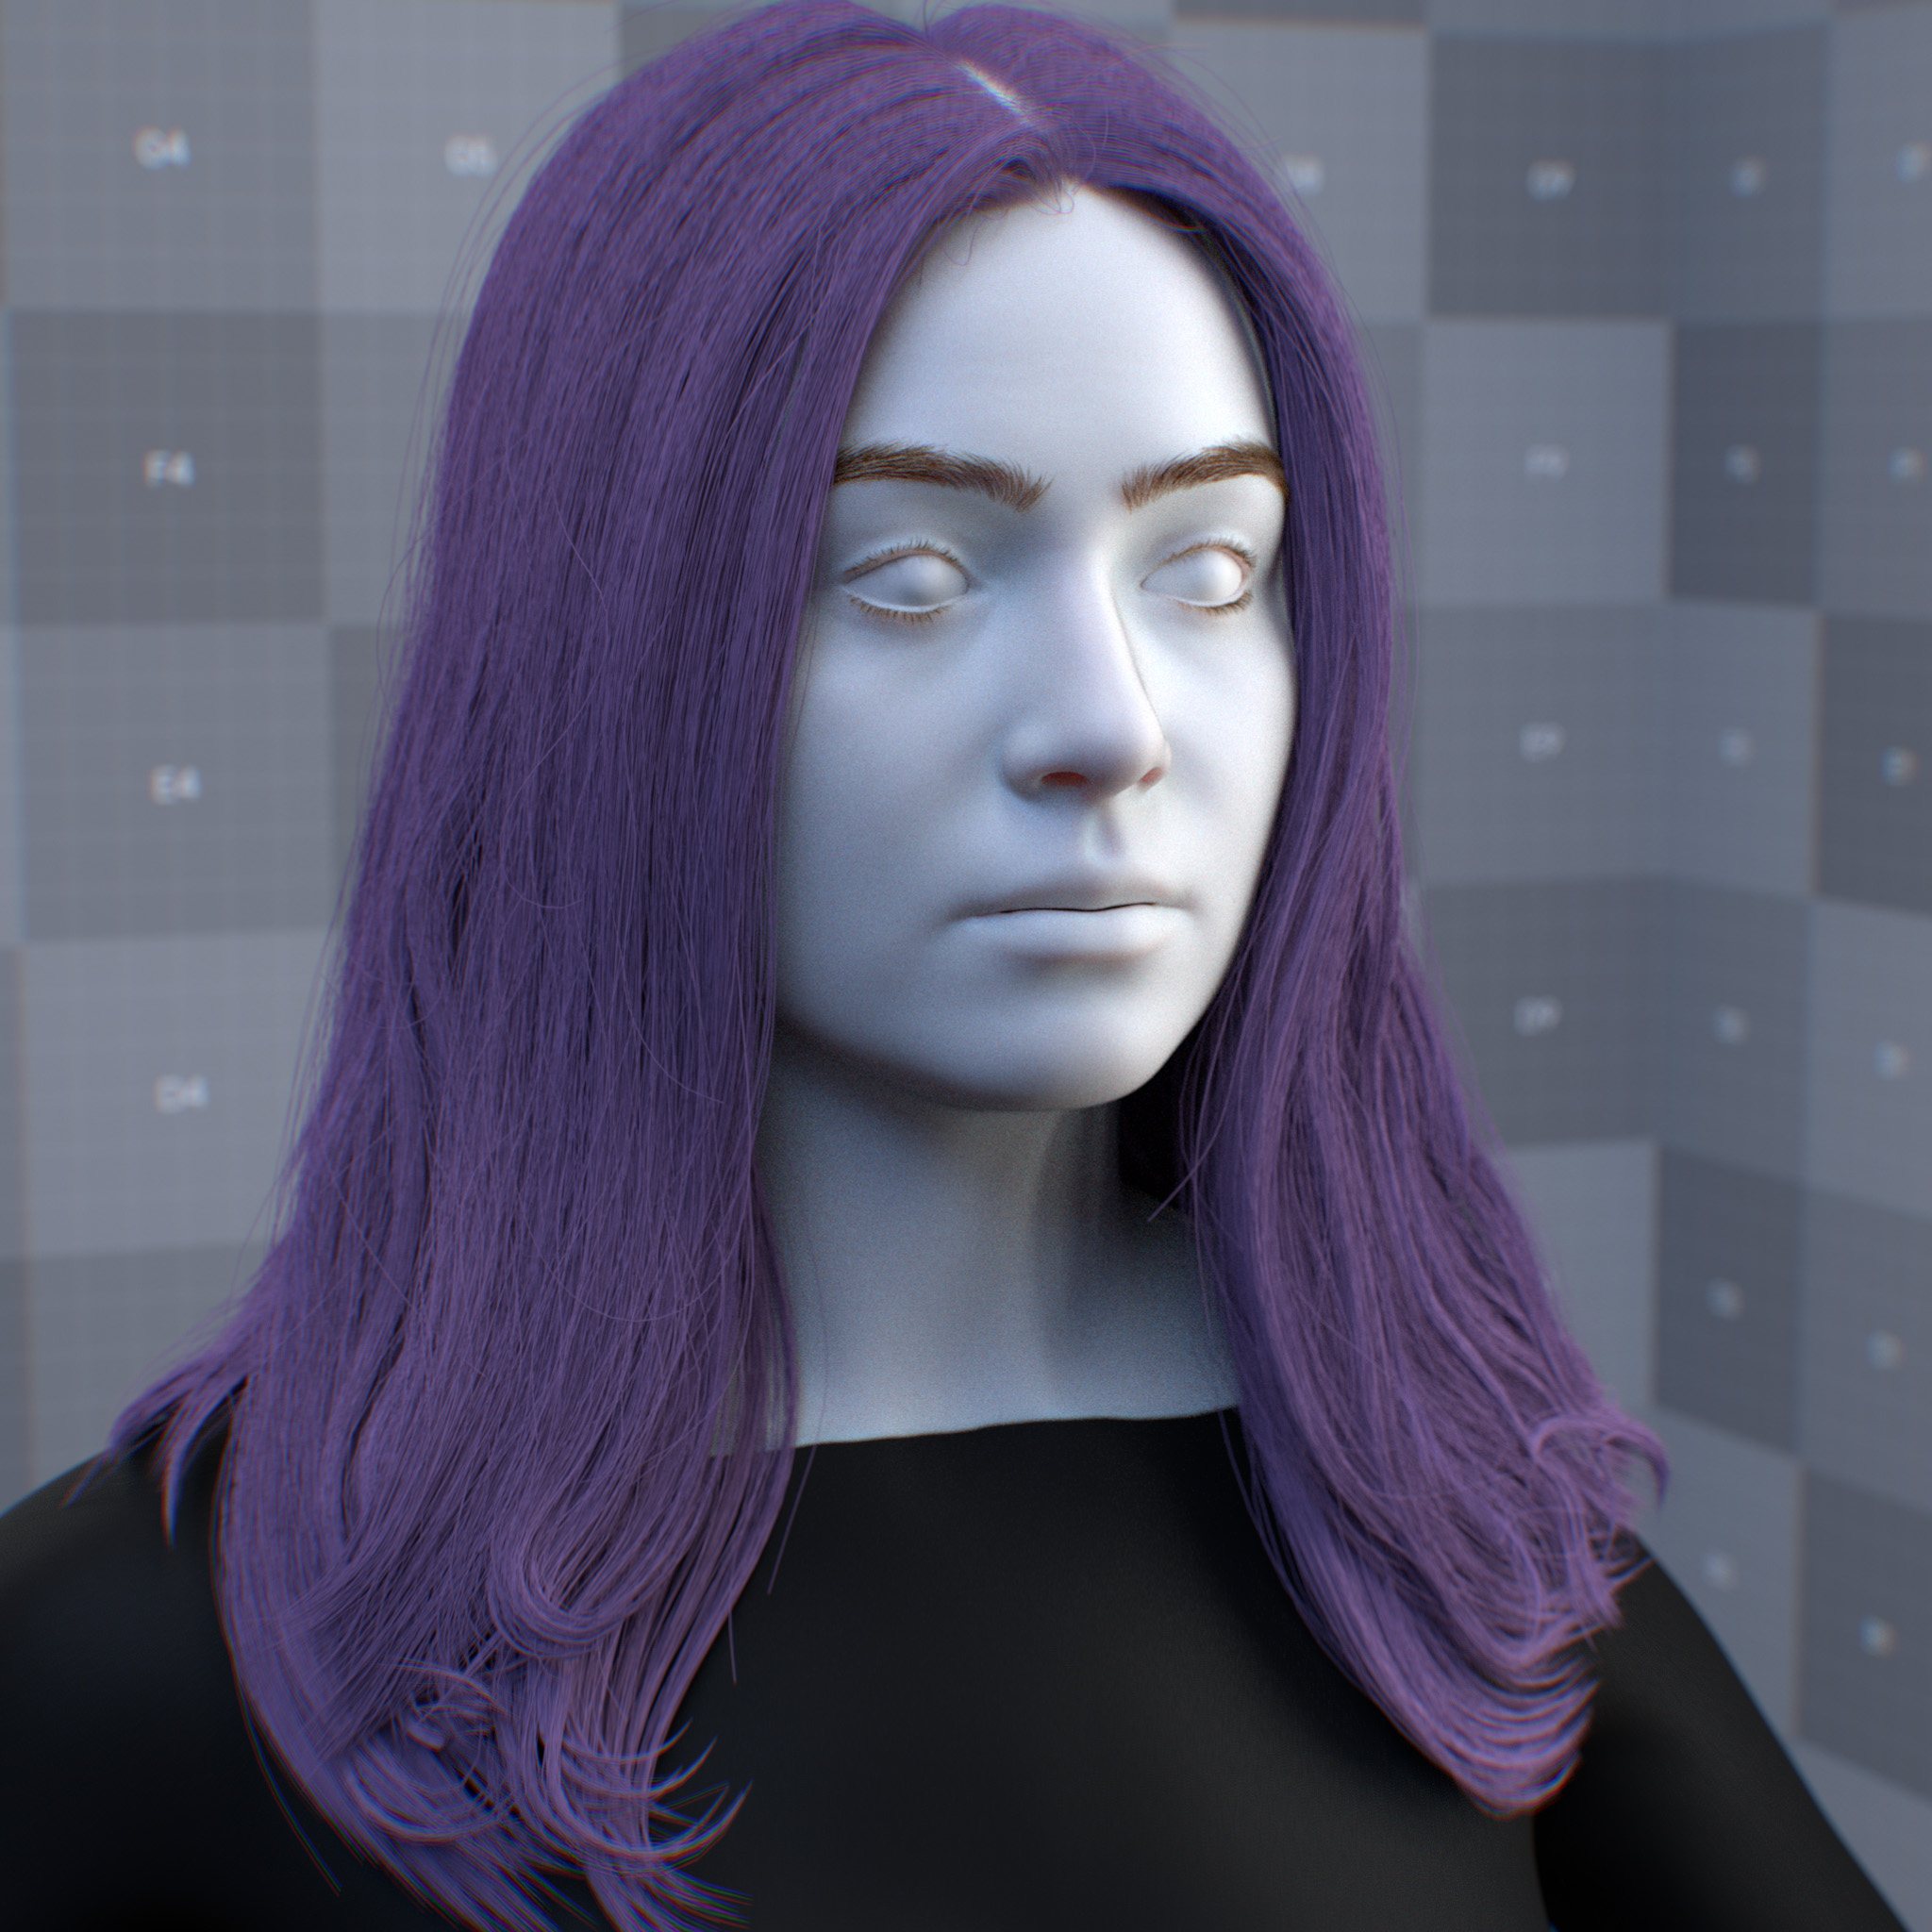
Weight
This parameter sets the weight of the additional diffuse reflection component. At 0.0, the hair fiber exhibits specular scattering, while at 1.0, completely diffuse scattering.
Note
A healthy-looking human hair fiber does not have any diffuse component. However, the diffuse component can create effects such as makeup, dirty or damaged hair, and fabric threads.
|
|
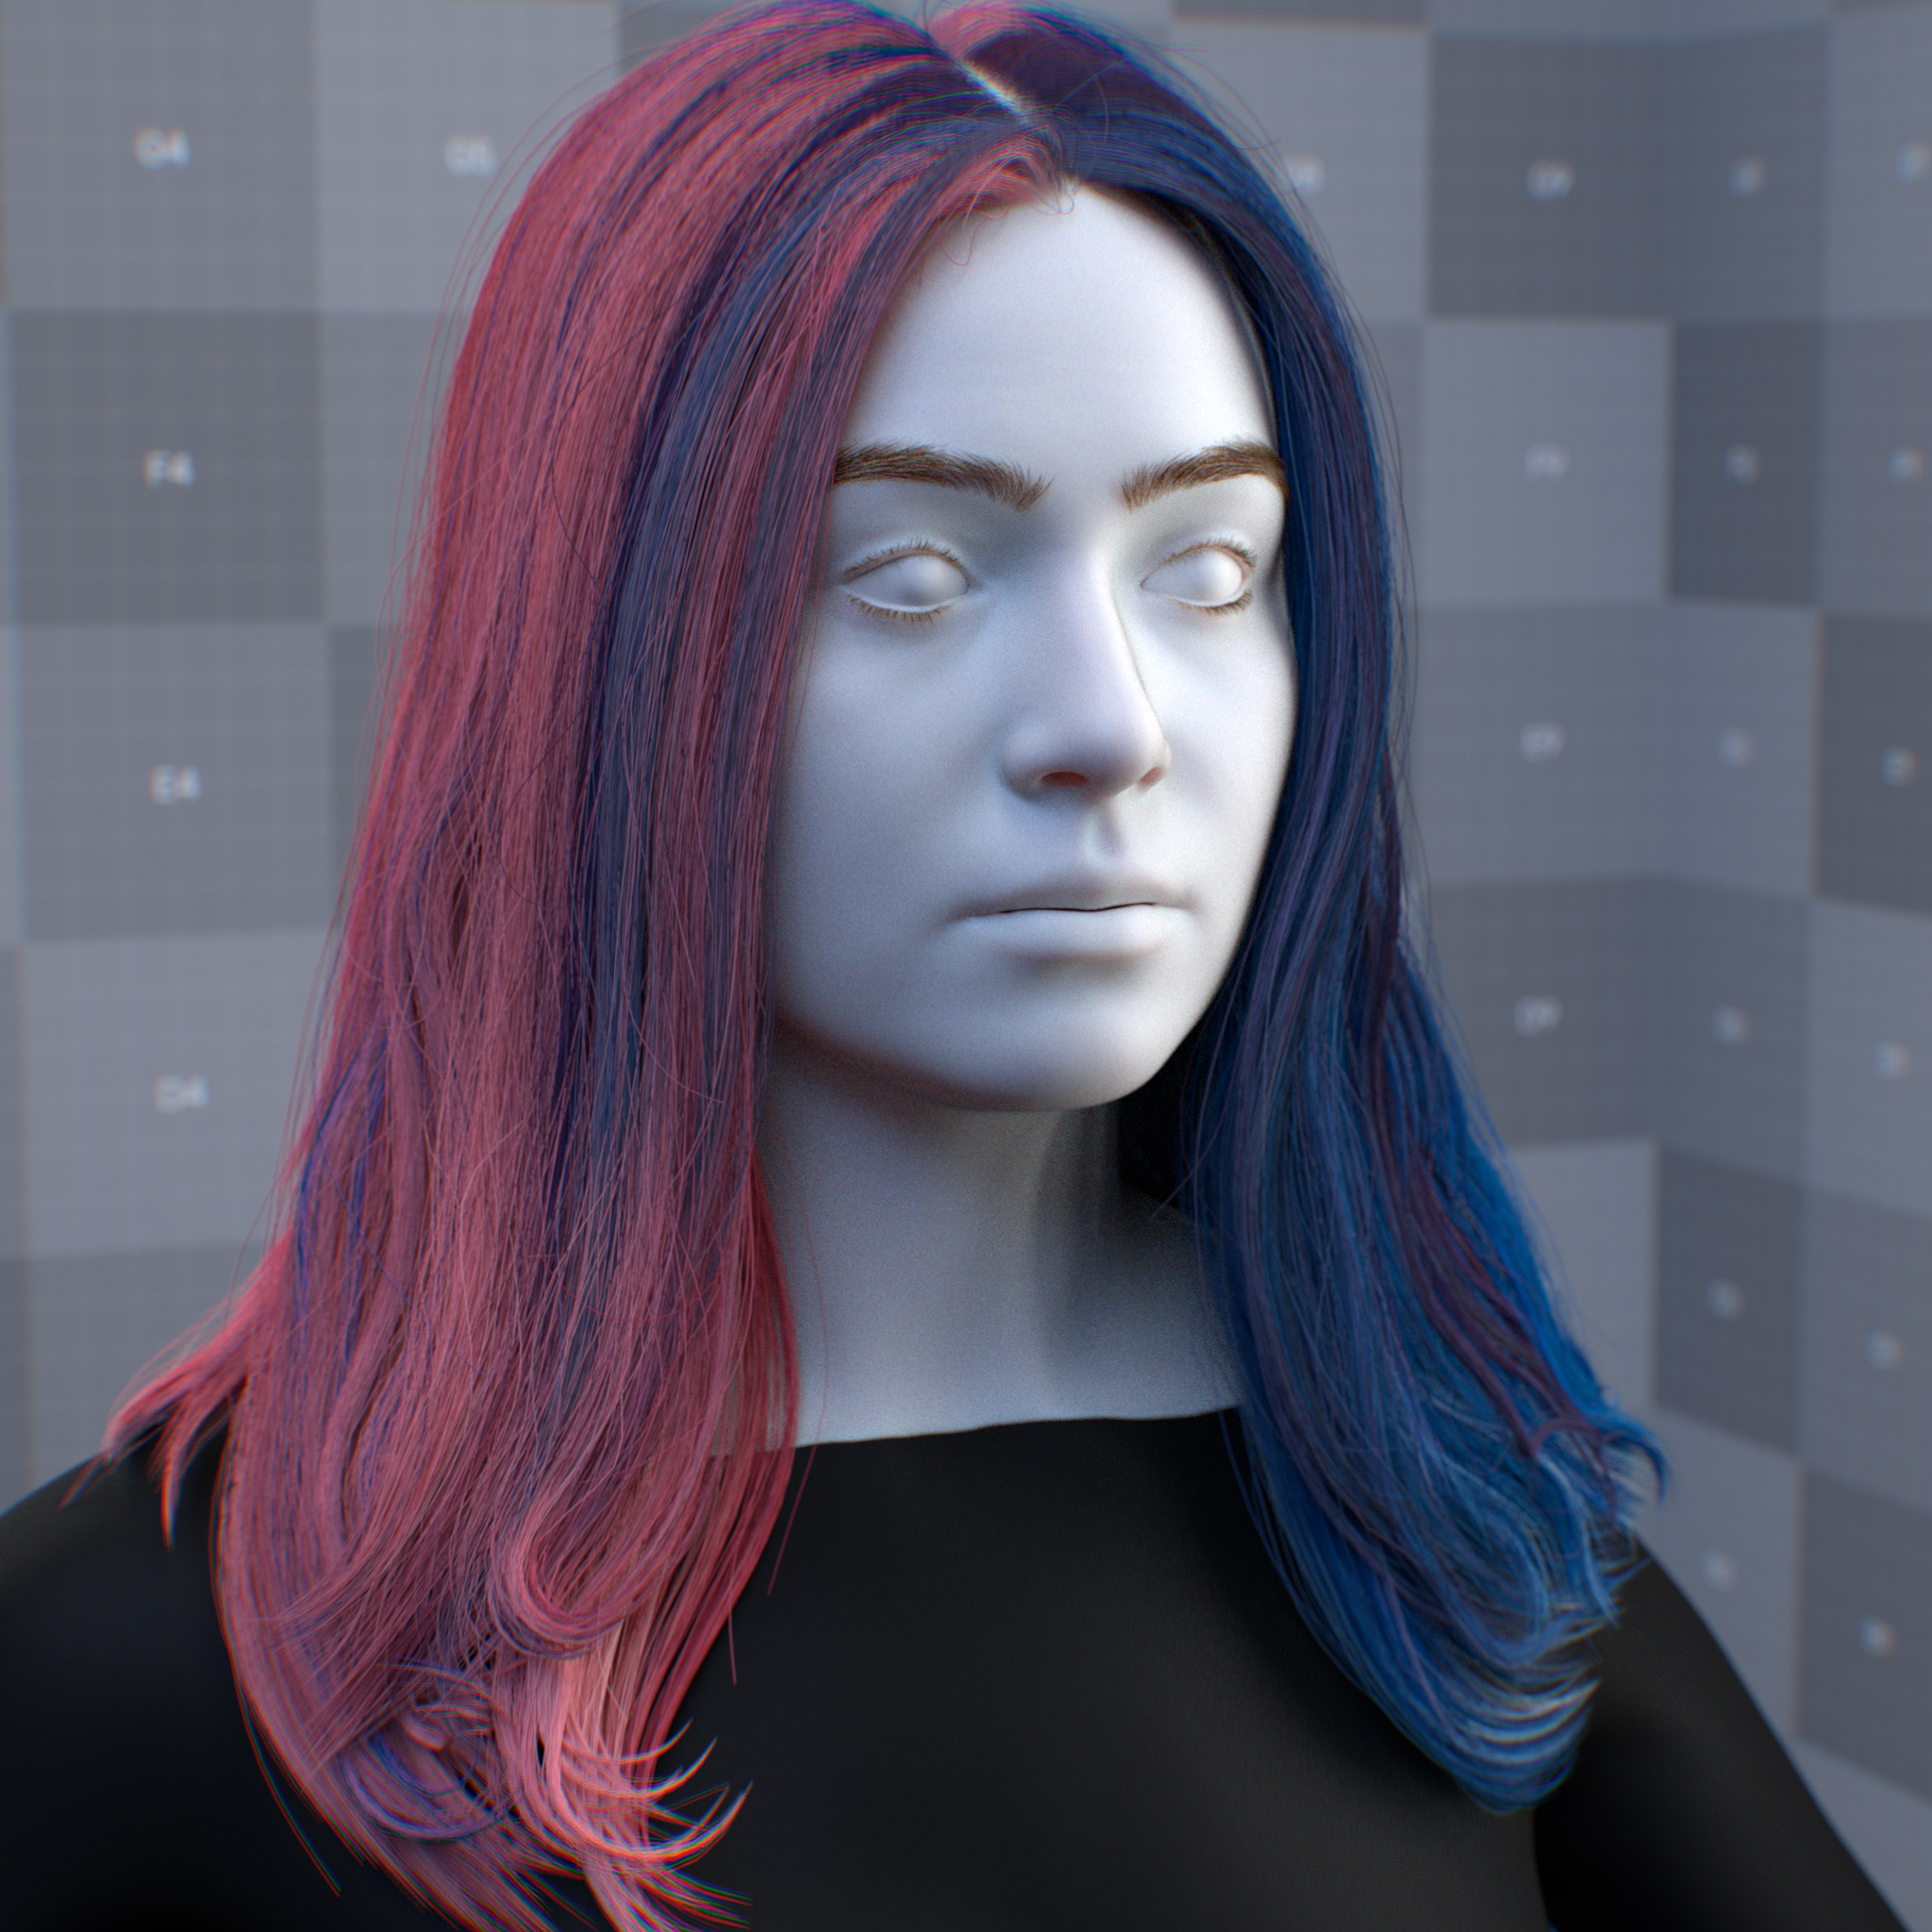
Color
This parameter sets the color of the diffuse scattering component.
|
|
Emission
Hair emission controls self-illumination effects in hair strands, useful for creating bioluminescent or glowing hair effects. This property works independently of diffuse and specular properties
Parameters
Display Name |
Name |
Type |
Default |
|---|---|---|---|
emission_weight |
float |
0.0 |
|
emission_mode |
enum |
emission_lx |
|
emission_intensity |
float |
1.0 |
|
emission_color |
color |
1.0, 1.0, 1.0 |
|
emission_use_temperature |
bool |
false |
|
emission_temperature |
float |
6500.0 |
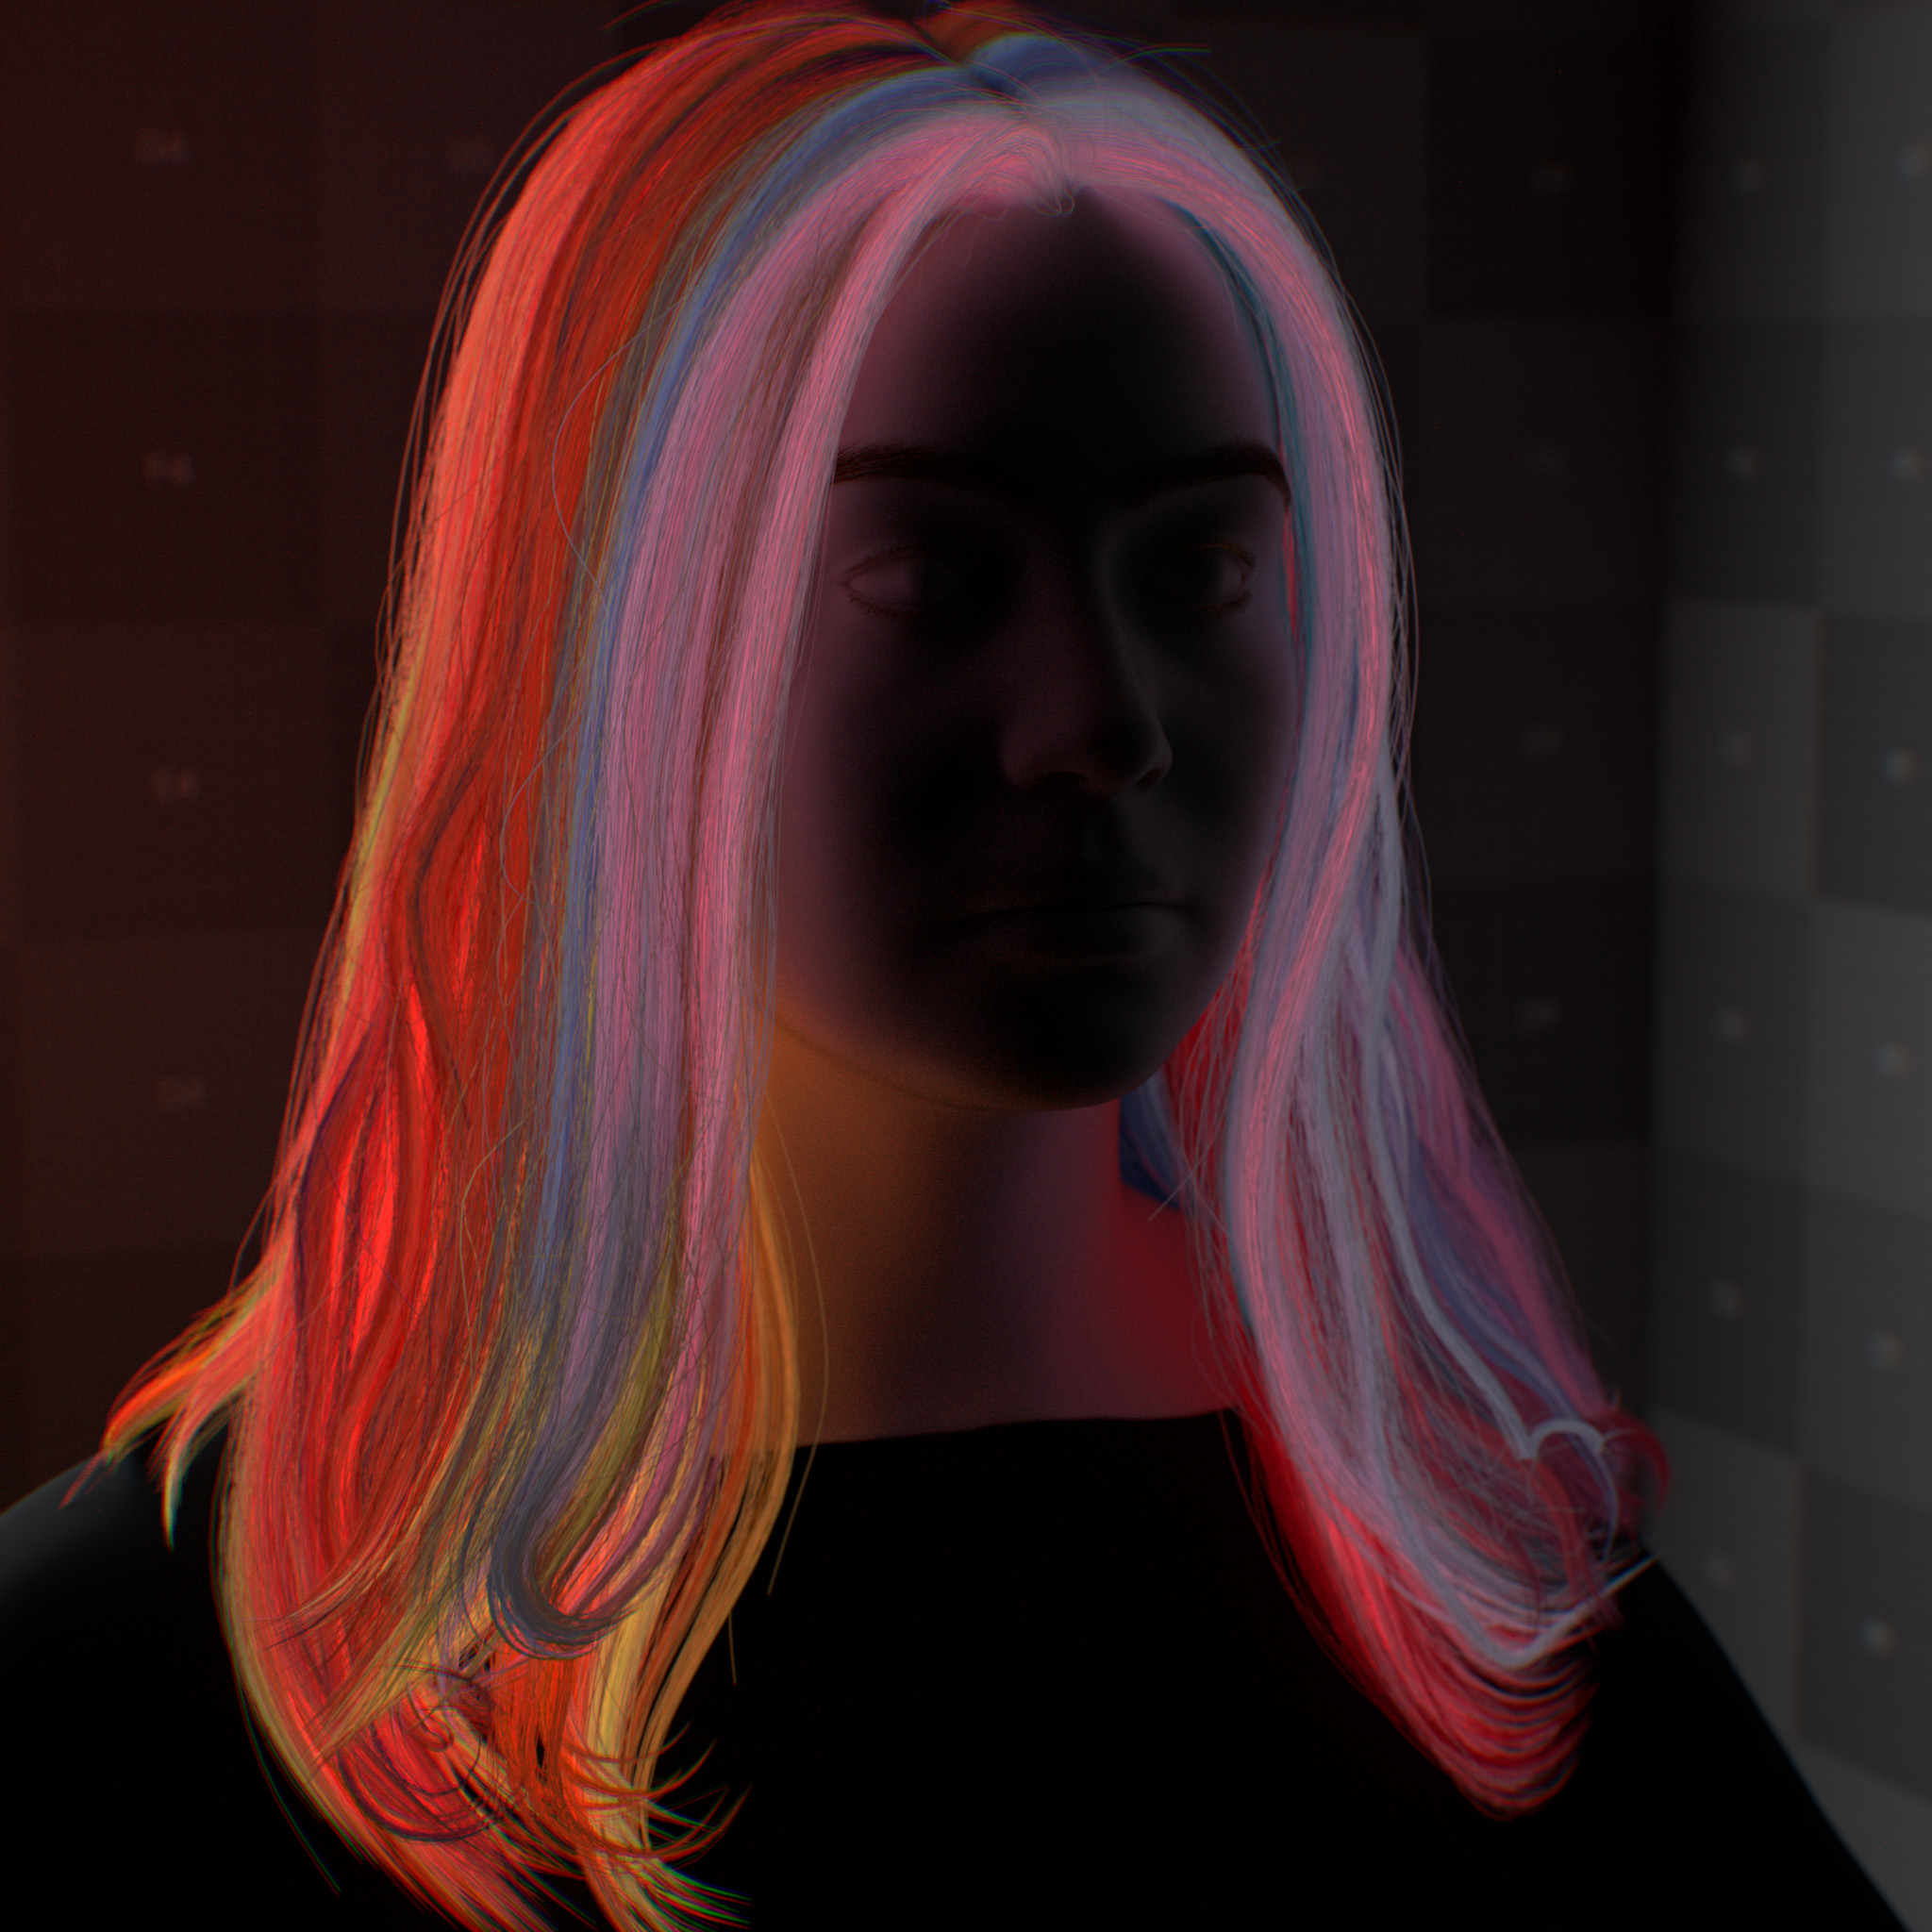
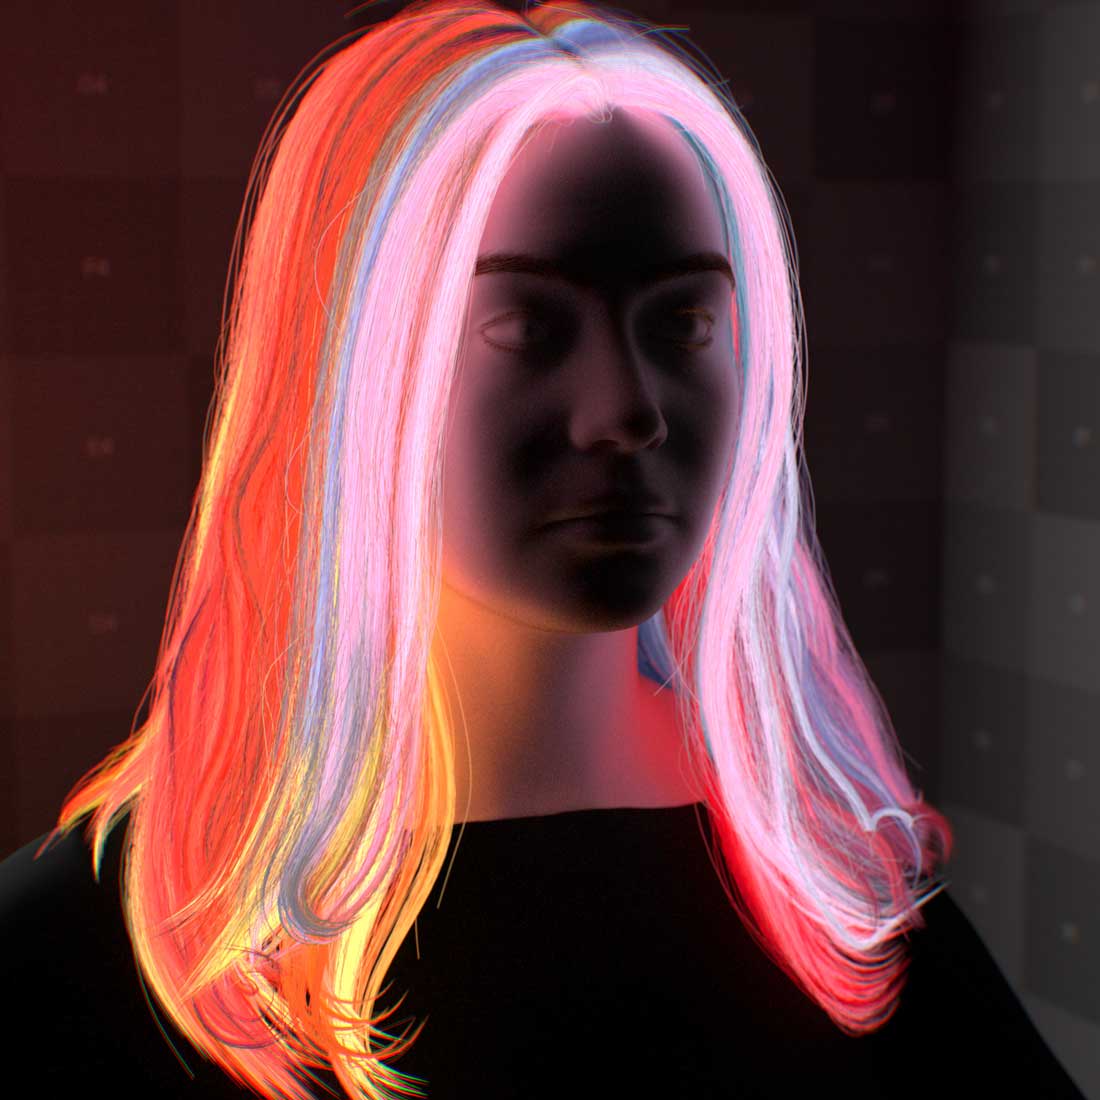
This layer adds an additional directionally uniform EDF, which describes the light-emitting properties of the surface.
Note
Realistic hair fibers do not have any emissive property, and these are just for artistic control.
Note
In the RTX – Interactive (Path Tracing) mode, to reduce the noise in the indirectly lit area using emissive materials, one may need to increase the Total Samples per Pixel.
Please see RTX Interactive (Path Tracing) mode render settings for more information.
Weight
This parameter sets the amount of light emission from the surface.
|
|
Emission Mode
This parameter specifies the physical units to use for the emission intensity.
1. “Nit” is the unit of luminance and describes the surface power of a visible light source. The overall illumination of the scene changes depends on the size of the light source.
One nit is equal to one candela per square meter. 1 nit = 1 cd/m^2
The candela per square meter is the base unit of luminance. Candela is the base unit for luminous intensity.
A light source that emits one candela of luminous intensity onto an area of one square meter has a luminance of one candela per square meter or one nit. As an example, a calibrated monitor has a brightness of 120 cd/m^2 or 120 nits.
2. “Lux” is the unit of illuminance and describes the total amount of visible light that a light source emits. The overall illumination of the scene does not change depending on the size of the light source.
One lux is equal to one lumen per square meter. 1 lux = 1 lm/m^2
A light source that emits one candela of luminous intensity from an area of one steradian has a luminous flux of one lumen.
A light source that emits one lumen of luminous flux onto an area of one square meter has an illuminance of one lux. As an example, very bright sunlight has a brightness of 120,000 lux.
Intensity
This parameter sets the emission intensity. The emission mode parameter sets the physical unit for this parameter.
A few examples of illuminance under various lighting conditions:
Lighting Condition |
Illuminance (lx) |
|---|---|
Sunlight |
100,000 - 120,000 |
Daylight |
10,000 - 25,000 |
Overcast |
1000 |
Twilight |
10 |
Full moon |
0.05 – 0.3 |
Ceiling lamp |
400 - 800 |
Table lamp |
200 - 300 |
Candle light |
12.57 |
Color
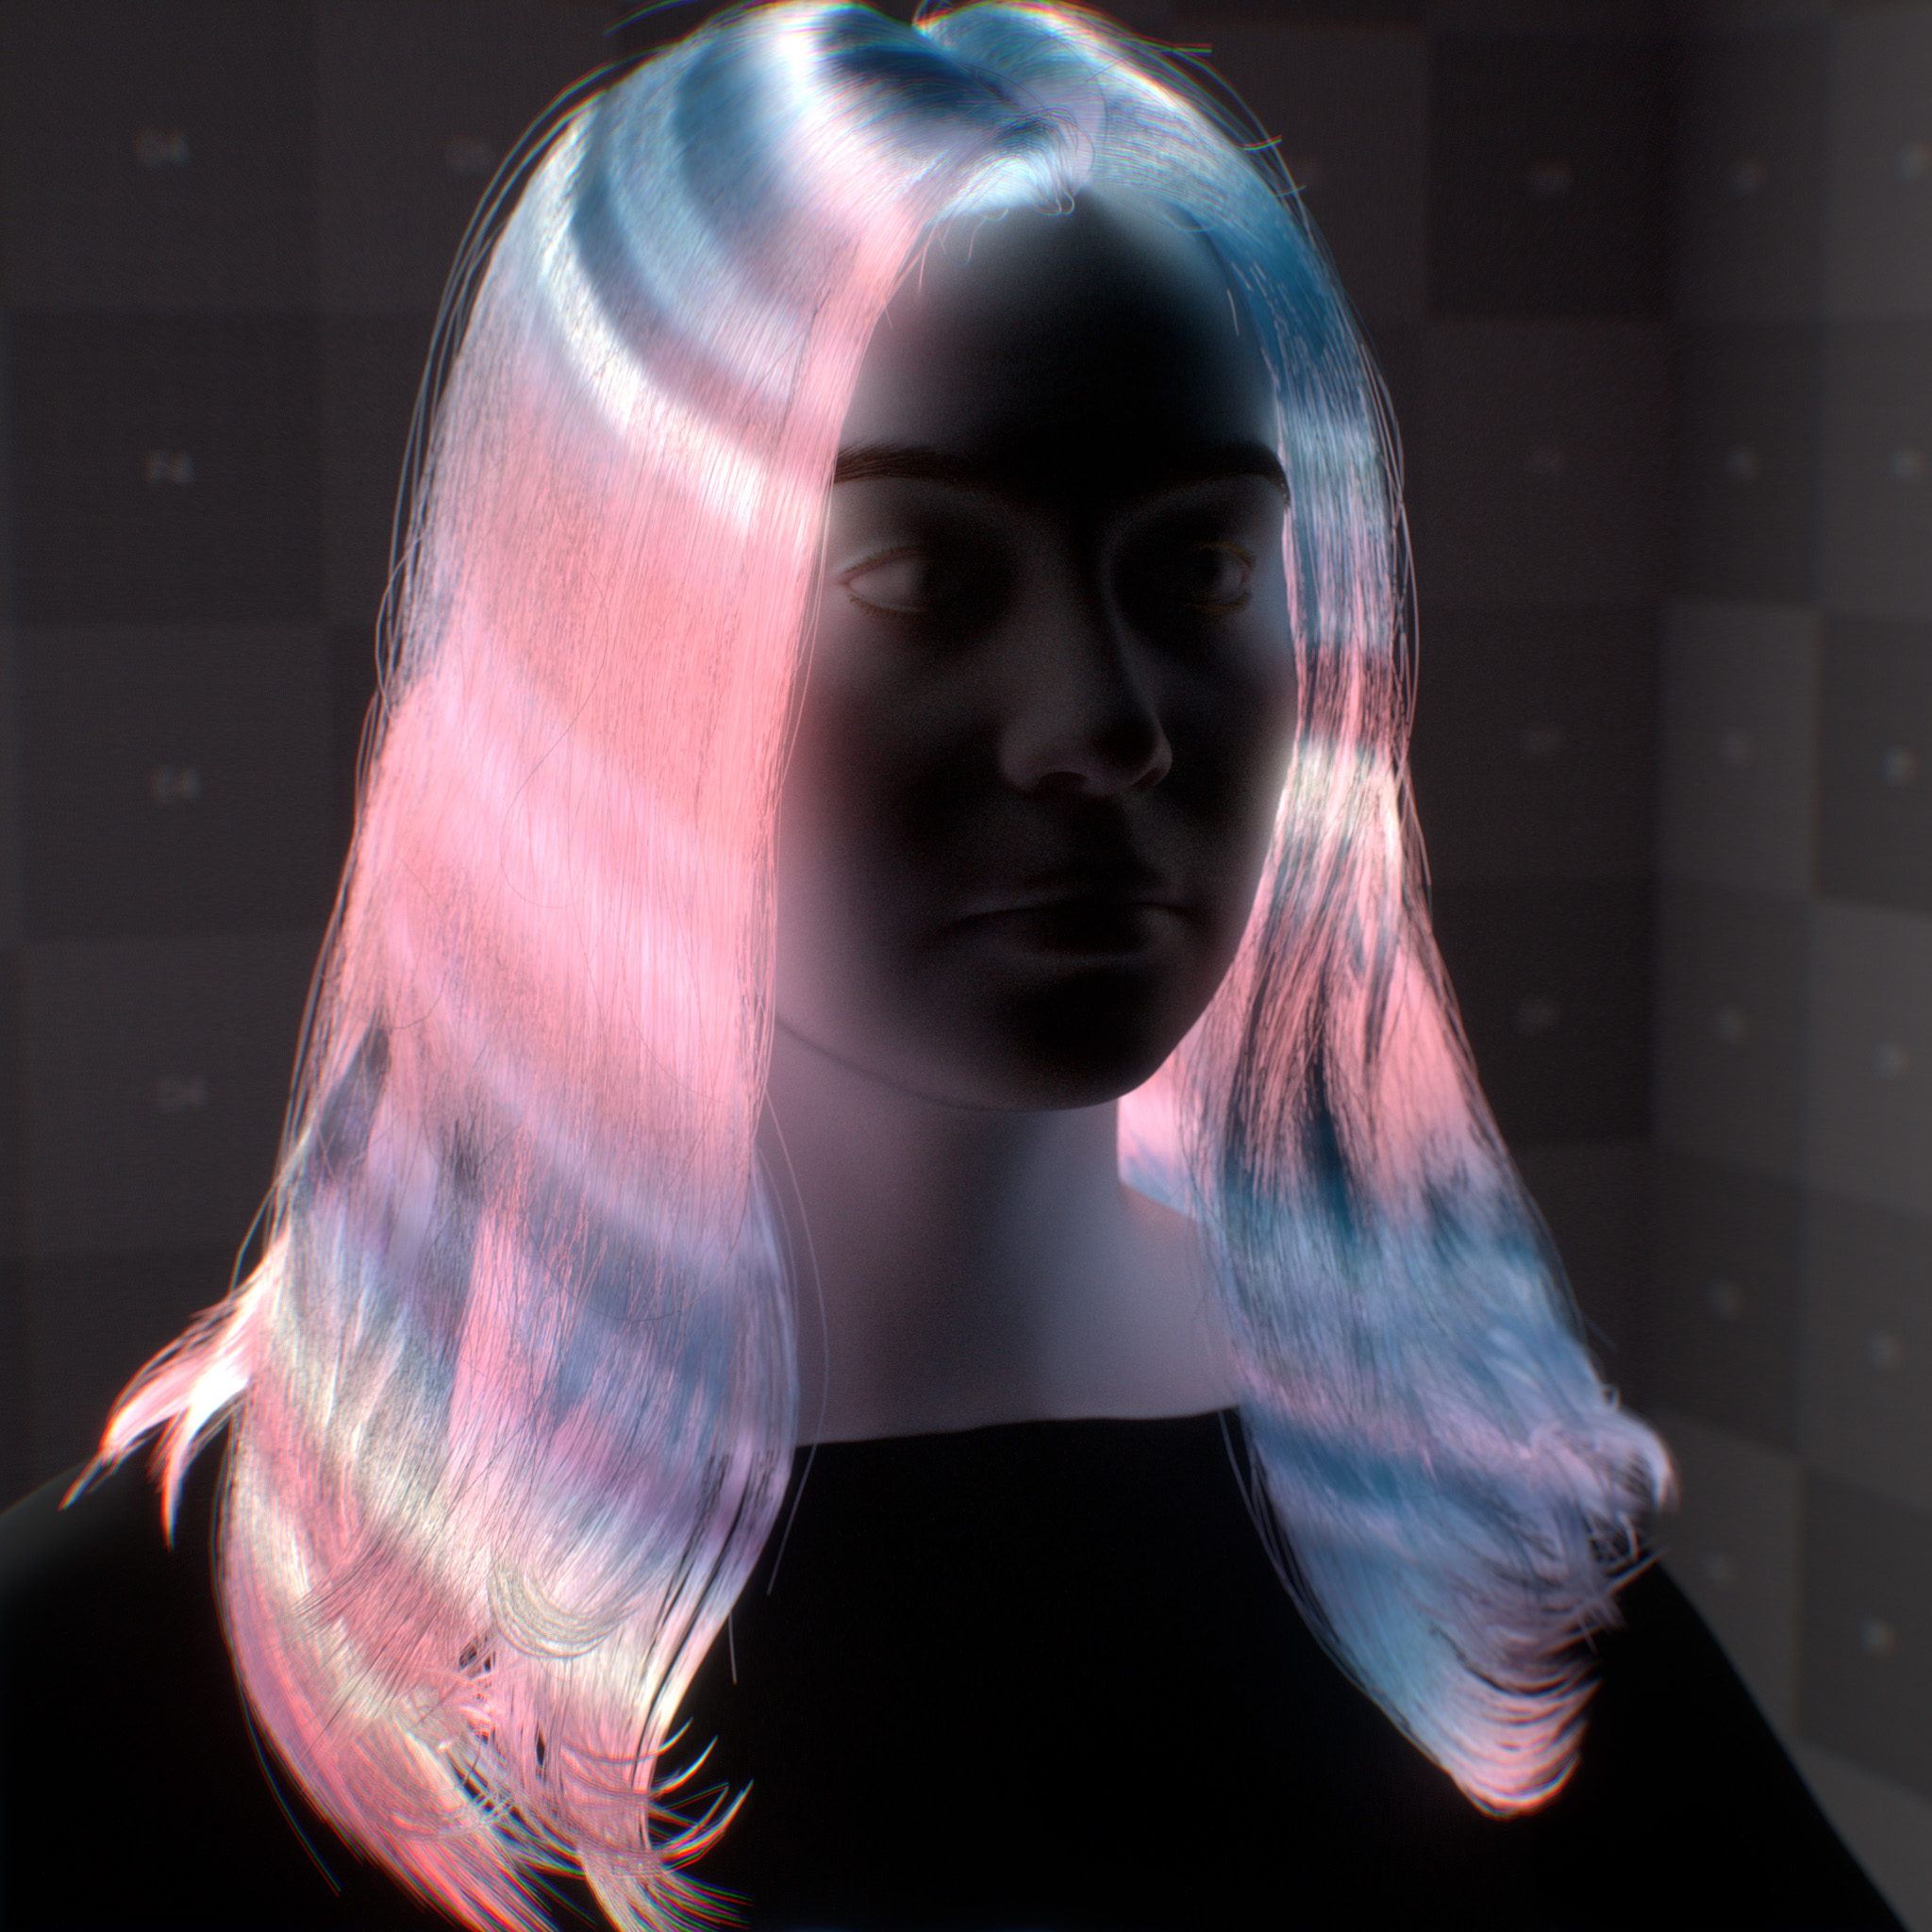
This parameter sets the emission color.

|
|
Use Temperature
Enable the use of color temperature value instead of color.
Note
This parameter will override the default emission color, including any textures assigned to the emission color parameter.
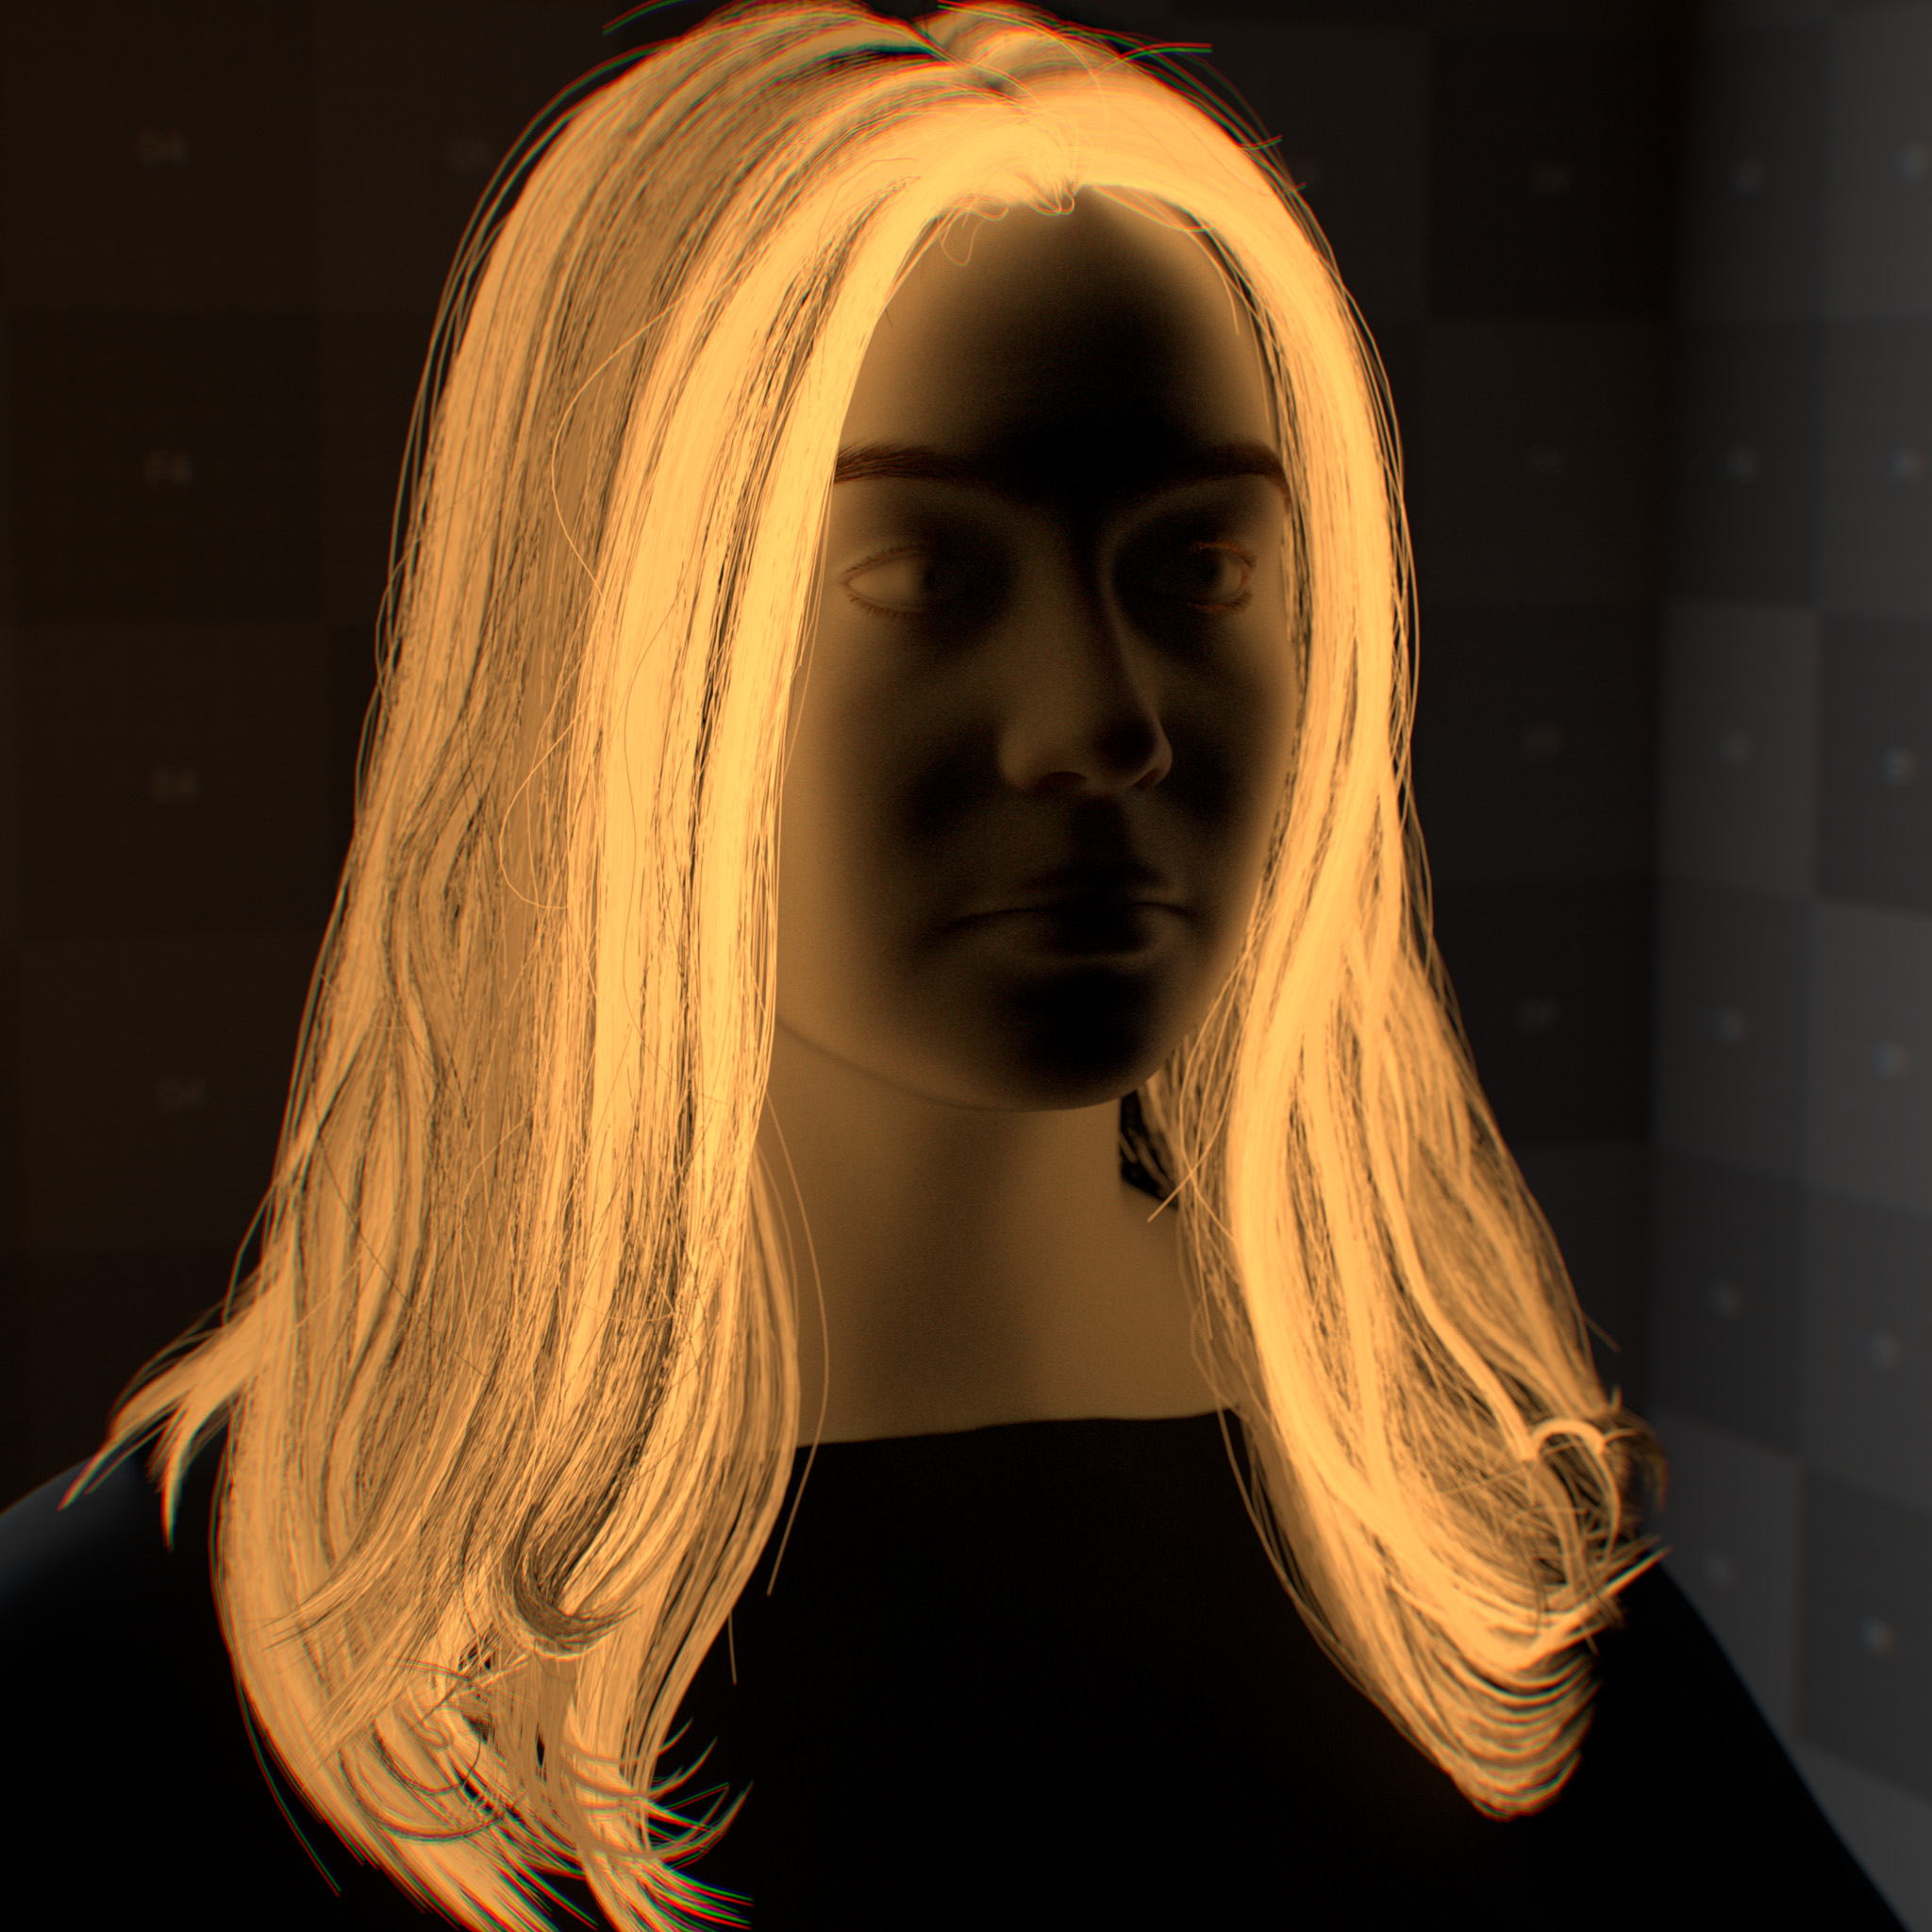
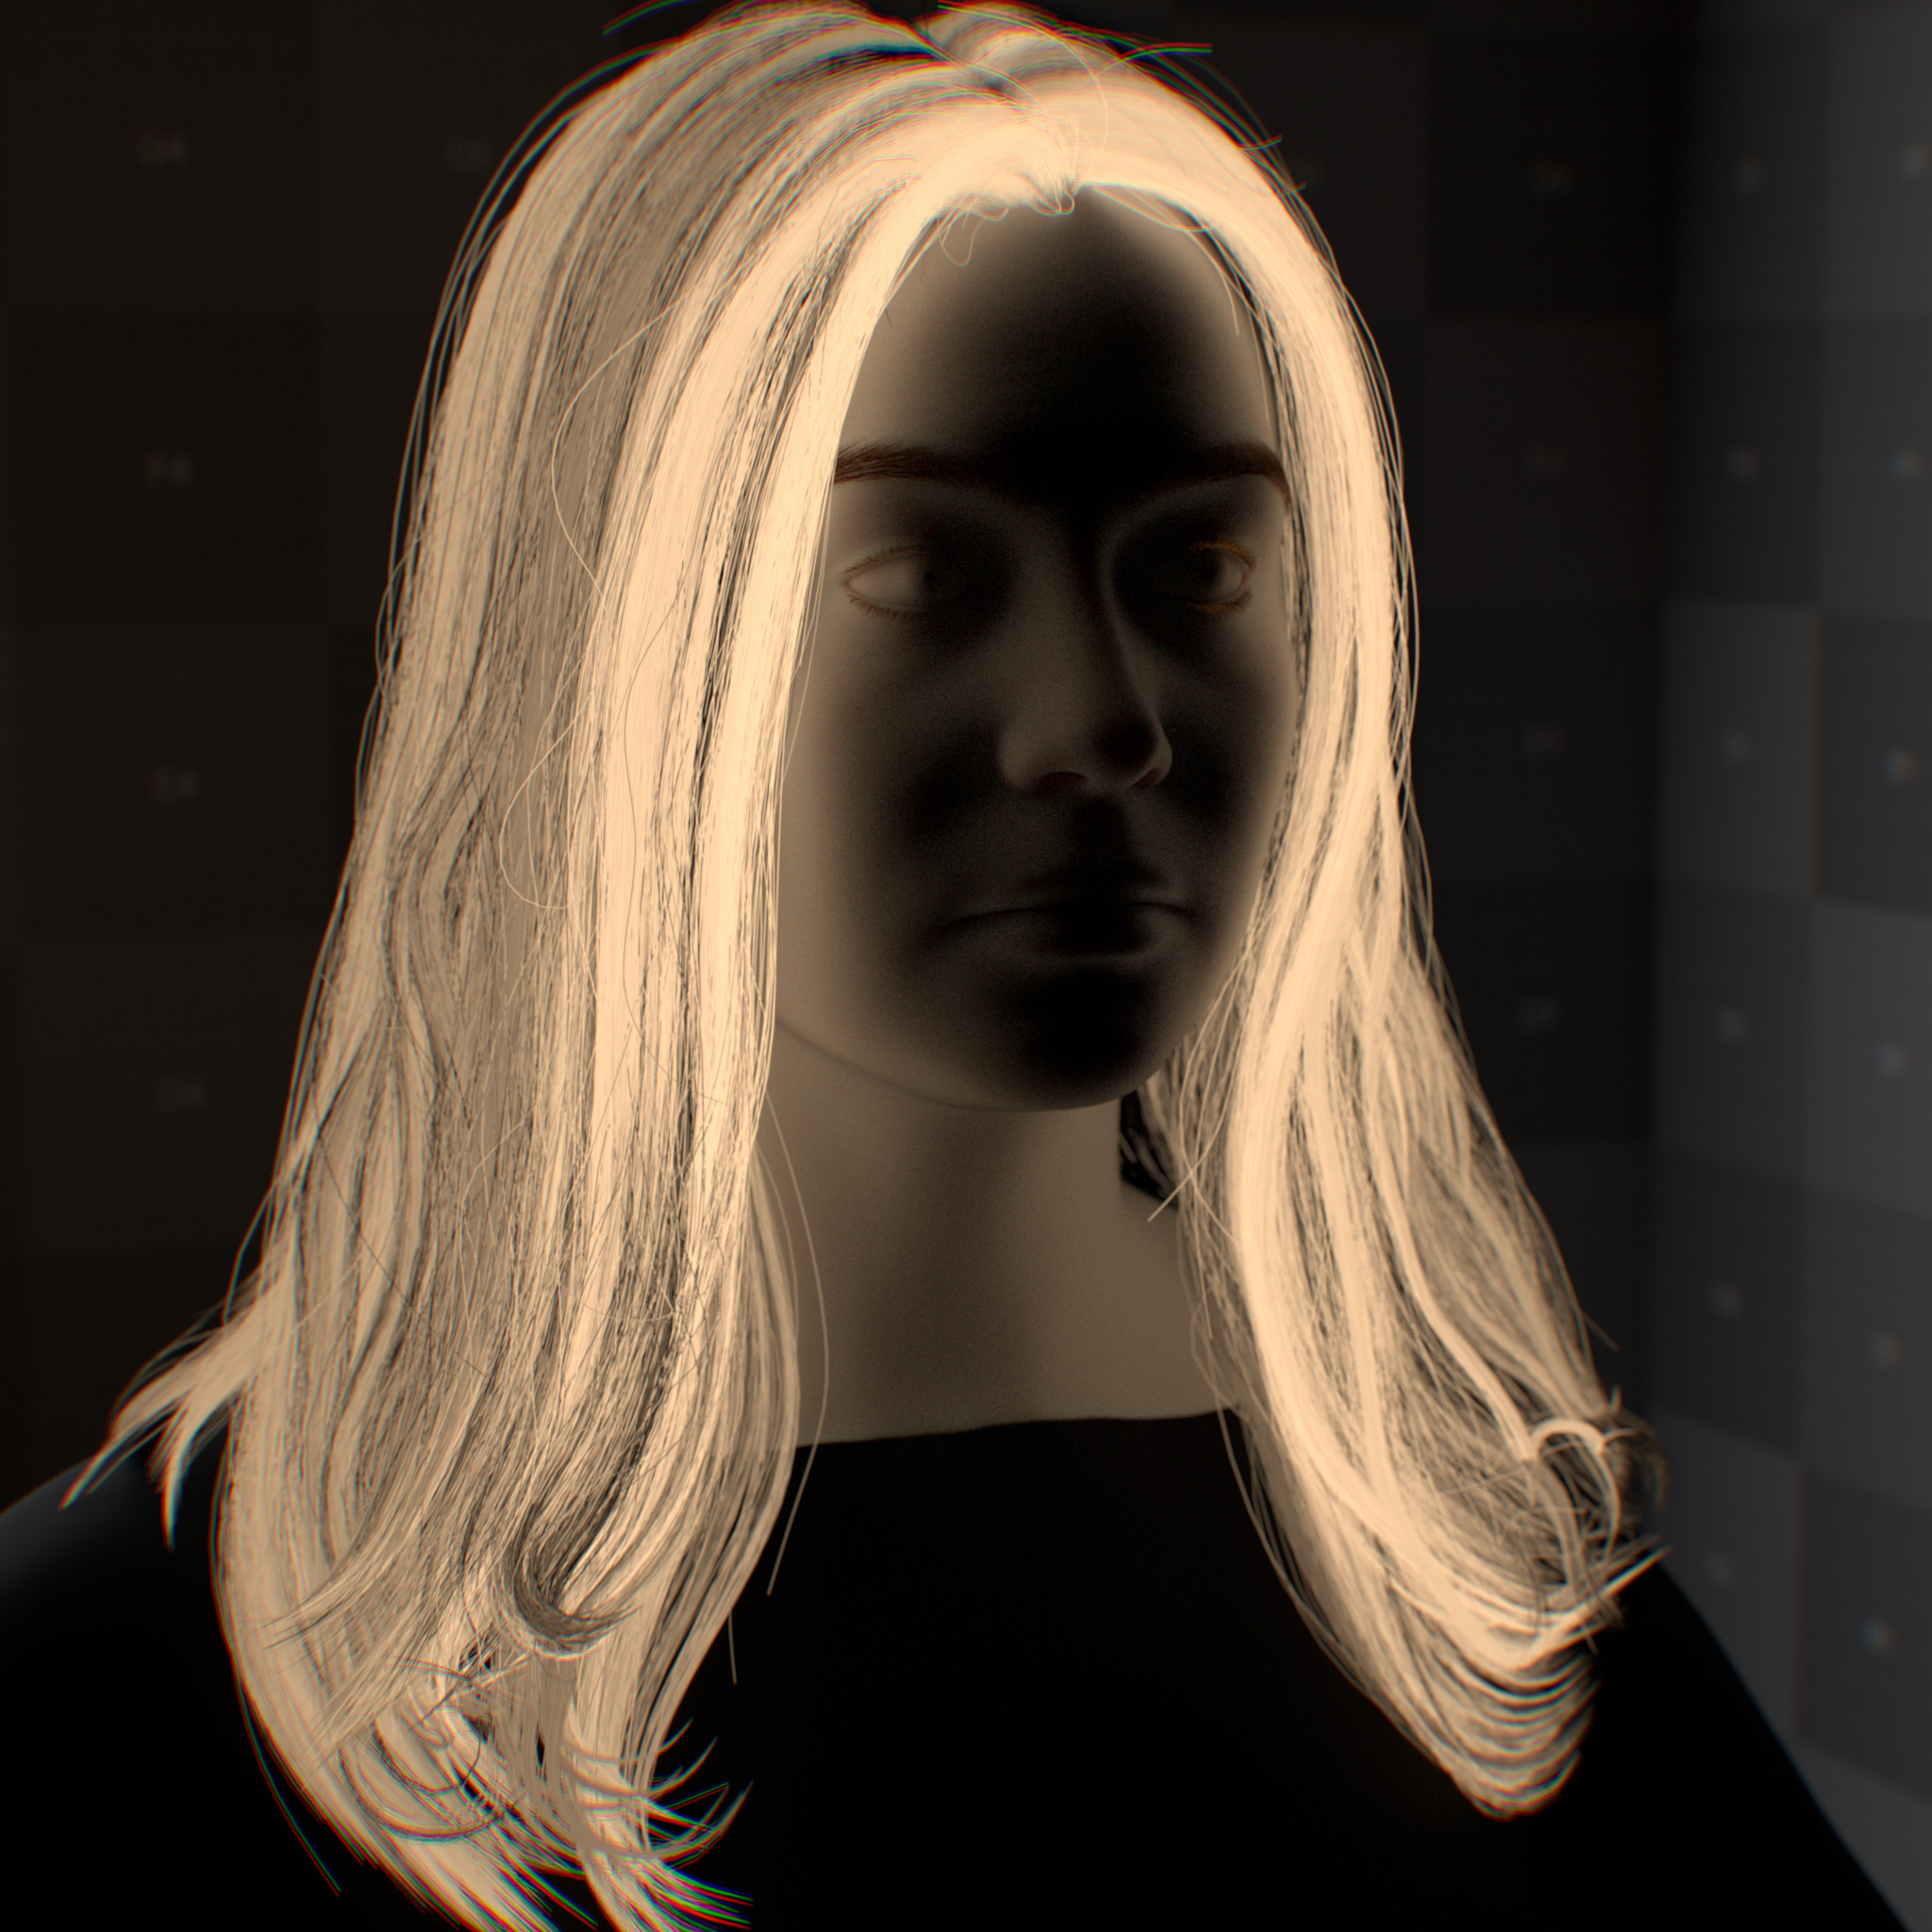
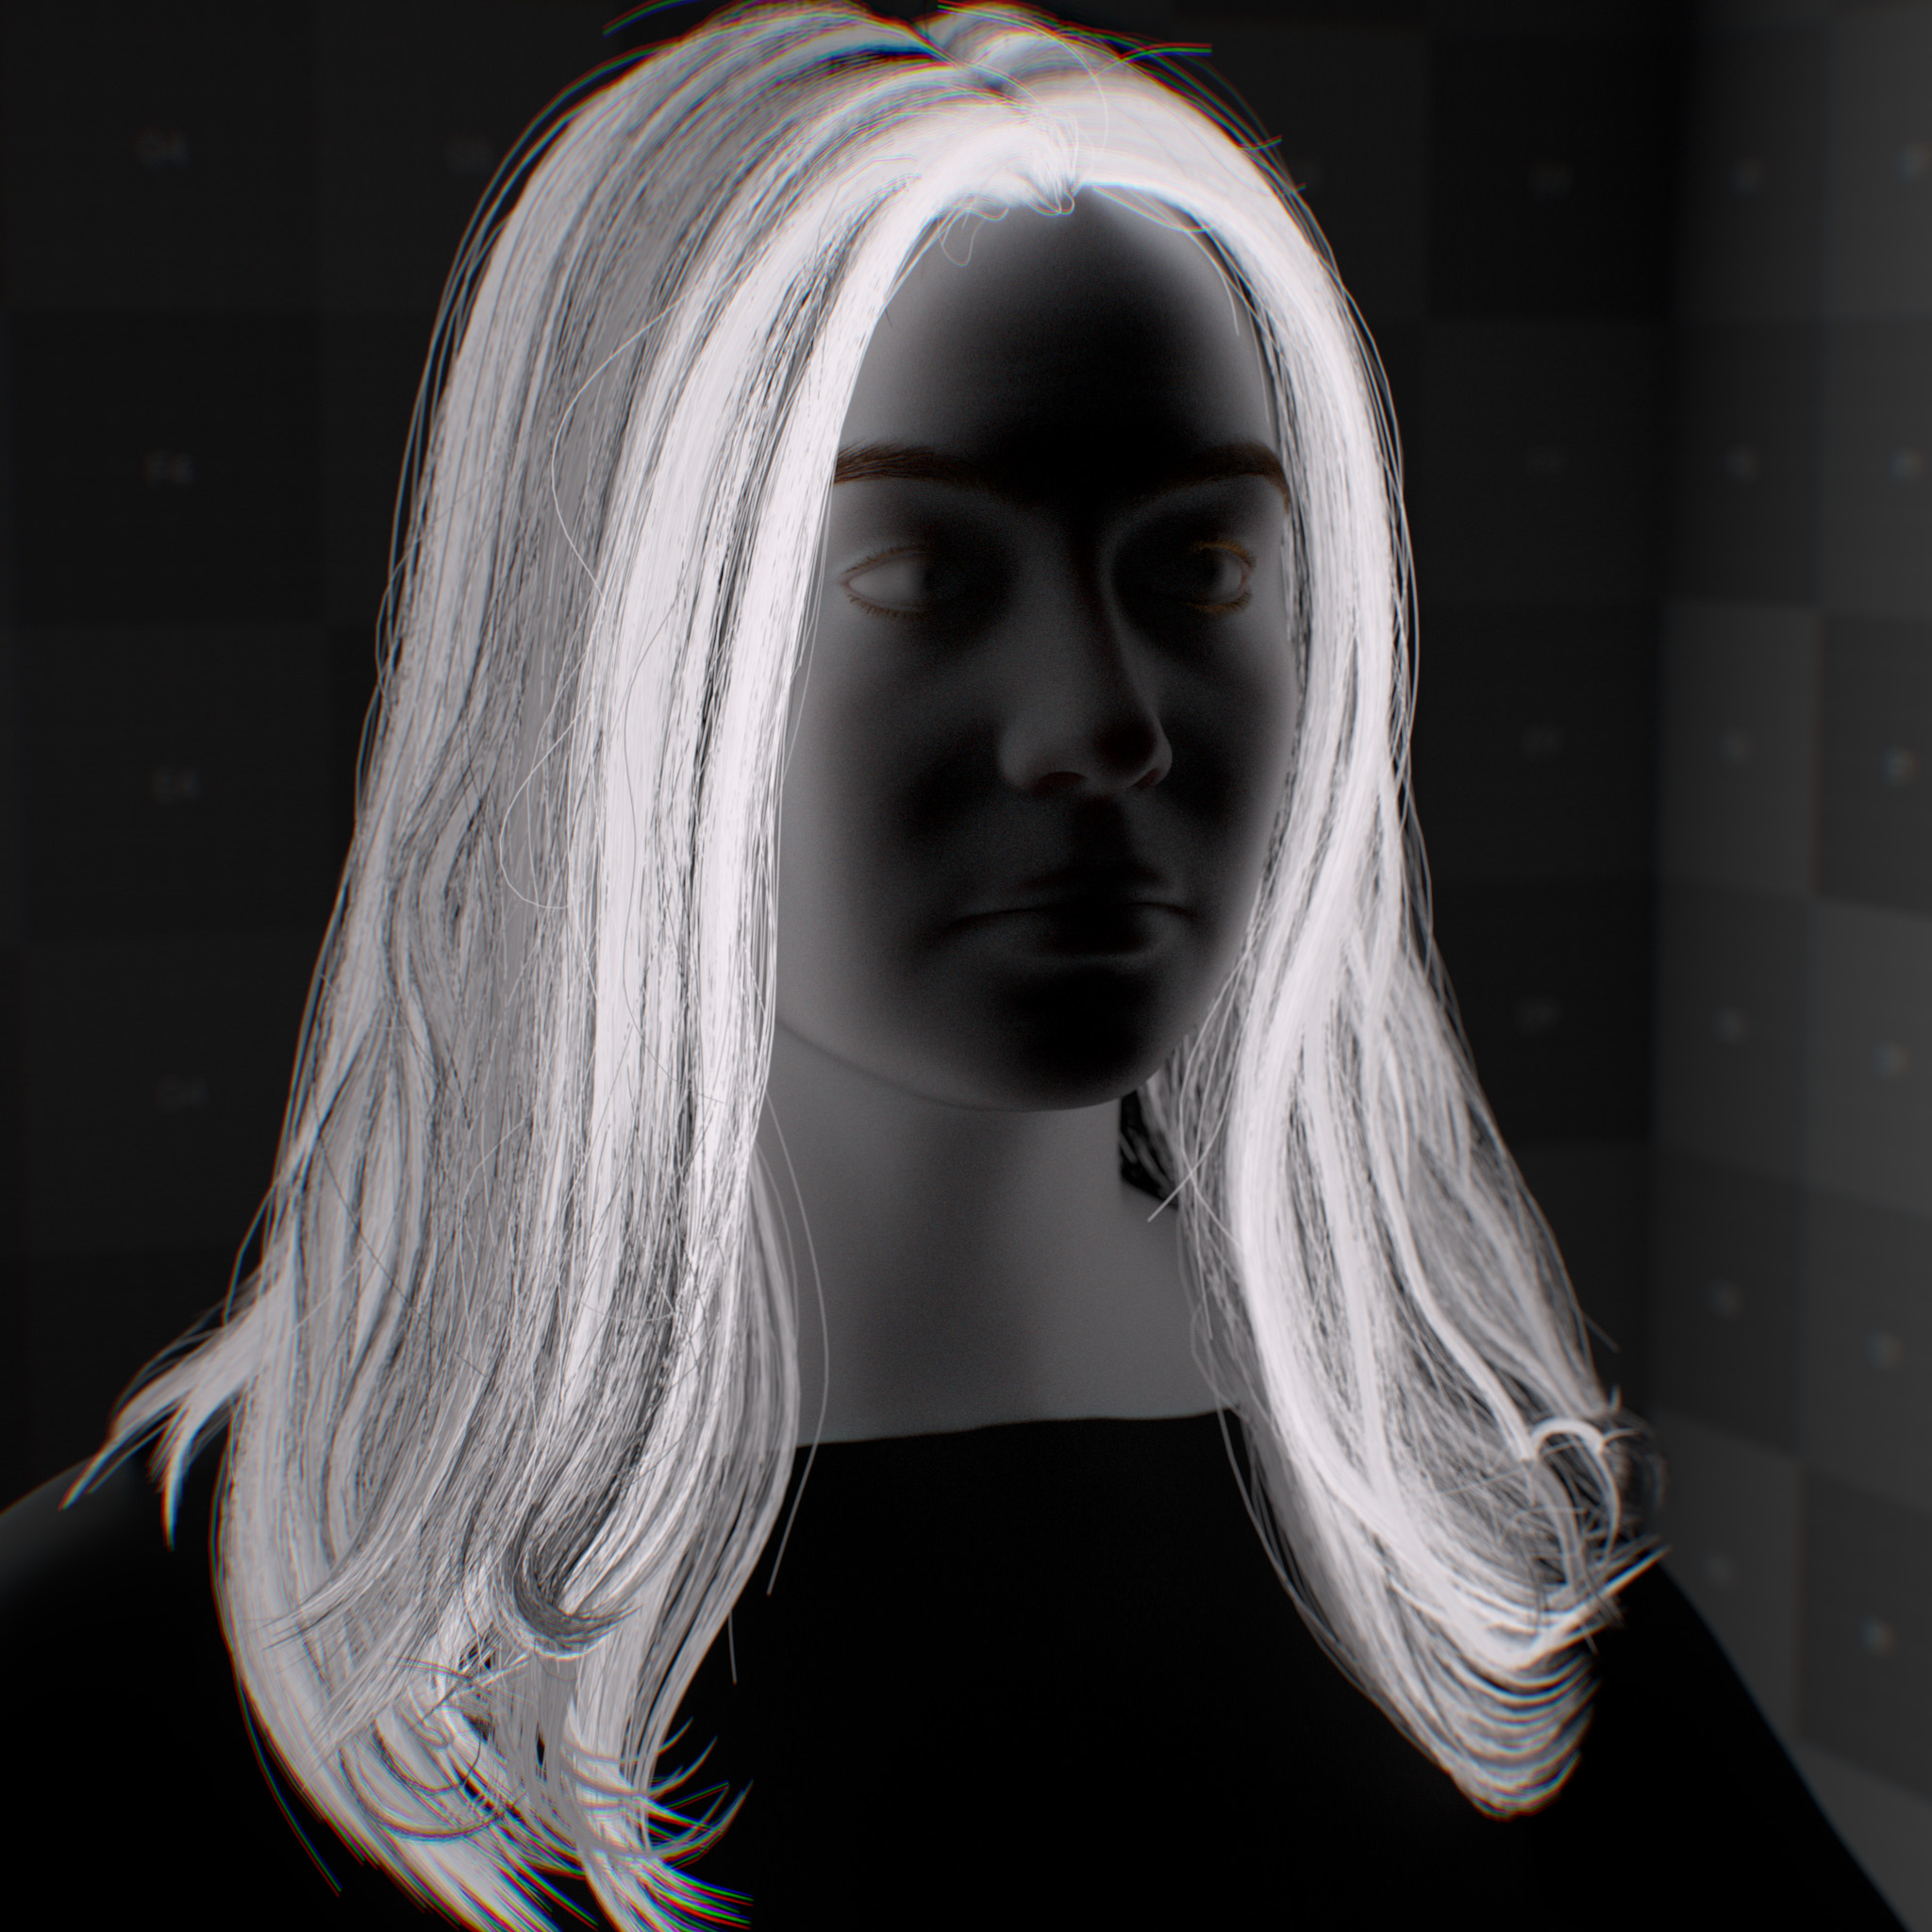
Temperature
This parameter specifies emission color using a color temperature in the Kelvin unit. Lower values are warmer, i.e., redder, while higher values are cooler, i.e., bluer. The default value of 6500K is close to D65 illuminant, the white point in sRGB and Rec. 709 color spaces.
|
|
|
Geometry
The geometry section defines how special surface effects are calculated relative to the underlying 3D geometry. These parameters control opacity thresholds, and depth-based adjustments like opacity attenuation.
Parameters
Display Name |
Name |
Type |
Default |
|---|---|---|---|
enable_opacity |
bool |
false |
|
geometry_opacity |
float |
1.0 |
|
geometry_opacity_threshold |
float |
0.0 |
|
geometry_normal |
float3 |
state::normal() |
|
geometry_displacement |
float3 |
0.0, 0.0, 0.0 |
Enable Opacity
Enables the use of opacity
Opacity
This parameter controls the travel of rays through the surface. At 0.0, the surface is invisible to the cameras, while at 1.0, it is completely opaque.
Note
Although it is not physically correct, one may reduce the opacity to create softer-looking hair fibers at the cost of increased render time.
Opacity Threshold
This parameter controls the opacity threshold. At a value lower or equal to the opacity map, the surface renders completely transparent. At a value greater than the opacity, the surface renders fully opaque.
Geometry Normal
This parameter replaces the surface geometric normal with the one evaluated from a map.
Displacement
This parameter sets the direction and distance of position modification of the surface.
Important
This feature is not supported yet.


