Virtual Workstation on AWS (Ubuntu Linux 20.04)#

Overview#
An Omniverse Virtual Workstation allows users the ability to create or provision a virtual machine with graphical capabilities with Amazon Web Services (AWS), eliminating the need to run Omniverse applications locally on an RTX enabled desktop or laptop computer.
Utilizing the power of an RTX enabled cloud hosted virtual machine, users of MacOS and non-RTX capable computers now have the ability use Omniverse applications in full fidelity.
The documentation below will provide instructions on how to quickly set up an Omniverse Virtual Workstation, connect to it from your computer, and further connect it to your Enterprise Nucleus Server.
Prerequisite components and requirements#
To provision your Omniverse Virtual Workstation, three essential components are required:
An Amazon Web Services (AWS) account - This account will require permissions to deploy EC2 instances (Virtual Machines) using CloudFormation templates.
A CloudFormation definition file - The CloudFormation definition file defines what we want to provision and is provided by NVIDIA. It provides the definitions of the components that are needed to create the virtual machine, including the Instance Type (VM capabilities), storage (disk capacity), and the regions that this VM can be created based on hardware and resource availability on the cloud provider.
Amazon Machine Image (AMI) for Omniverse - An Amazon Machine Image (AMI) is a supported and maintained image provided by NVIDIA that when combined with the CloudFormation definition file, provides the foundation required to launch an instance.
Note
Before you begin, please review the Important Notes and Known Issues at the bottom of this document.
Provisioning your instance#
Log into your AWS account and from the AWS console, change your view to the CloudFormation services dashboard.

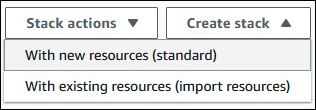
Click Create stack, then choose With new resources (standard).
Note
If there are no prior CloudFormation stacks within your AWS environment, this step may be automatically skipped.
On the Create Stack page, choose the following options:
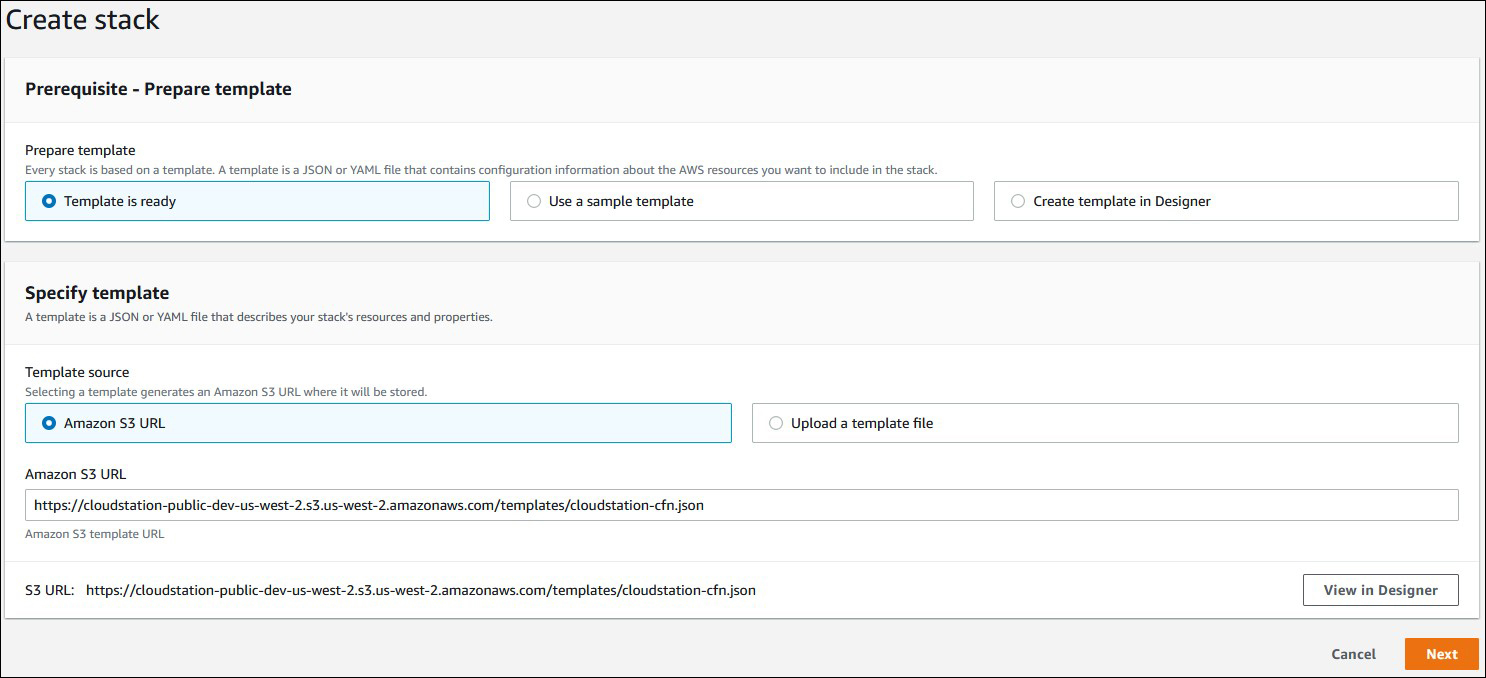
Under Prepare template, select Template is ready
Under Specify template, select Amazon S3 URL as the template source, and paste the following URL into the field:
https://cloudstation-public-dev-us-west-2.s3.us-west-2.amazonaws.com/templates/cloudstation-ubulinux-cfn.json
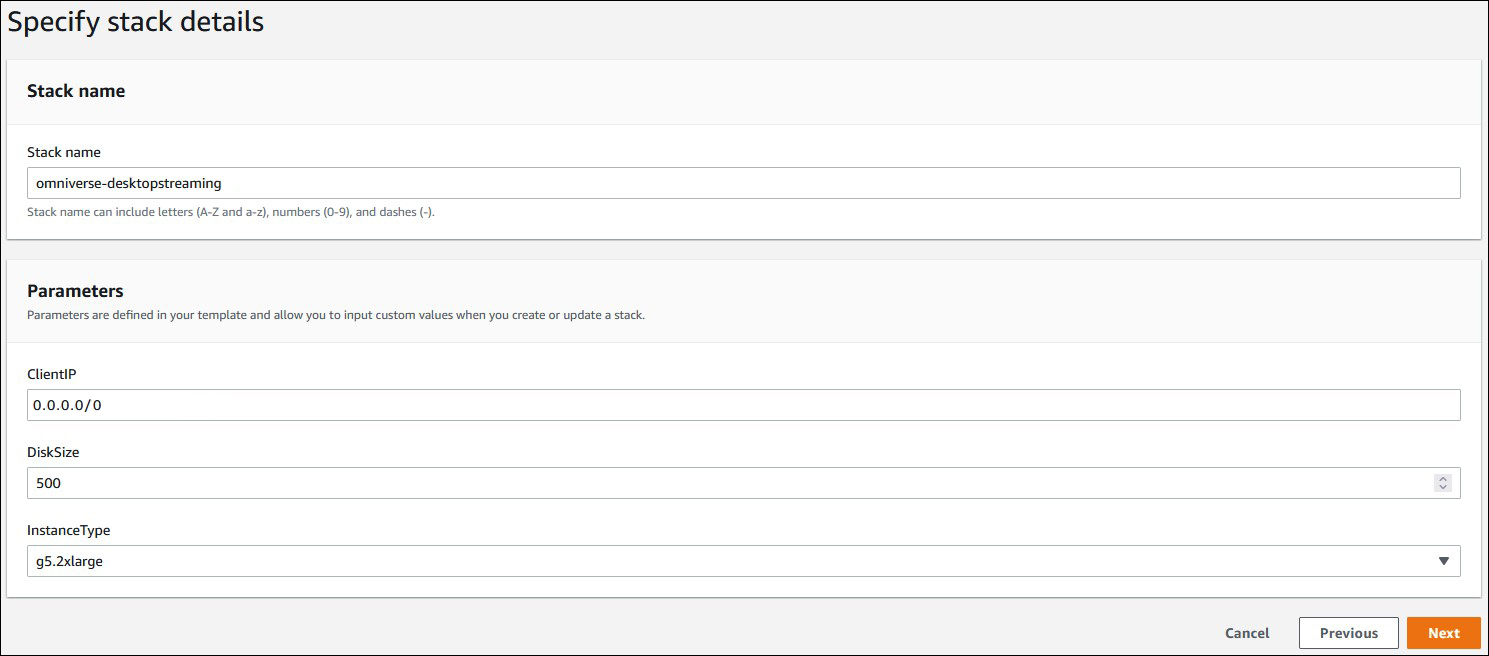
Provide the Stack name that you want to use. (The Stack name can include letters (A-Z and a-z), numbers (0-9), and dashes (-).)
Additionally provide the following information:
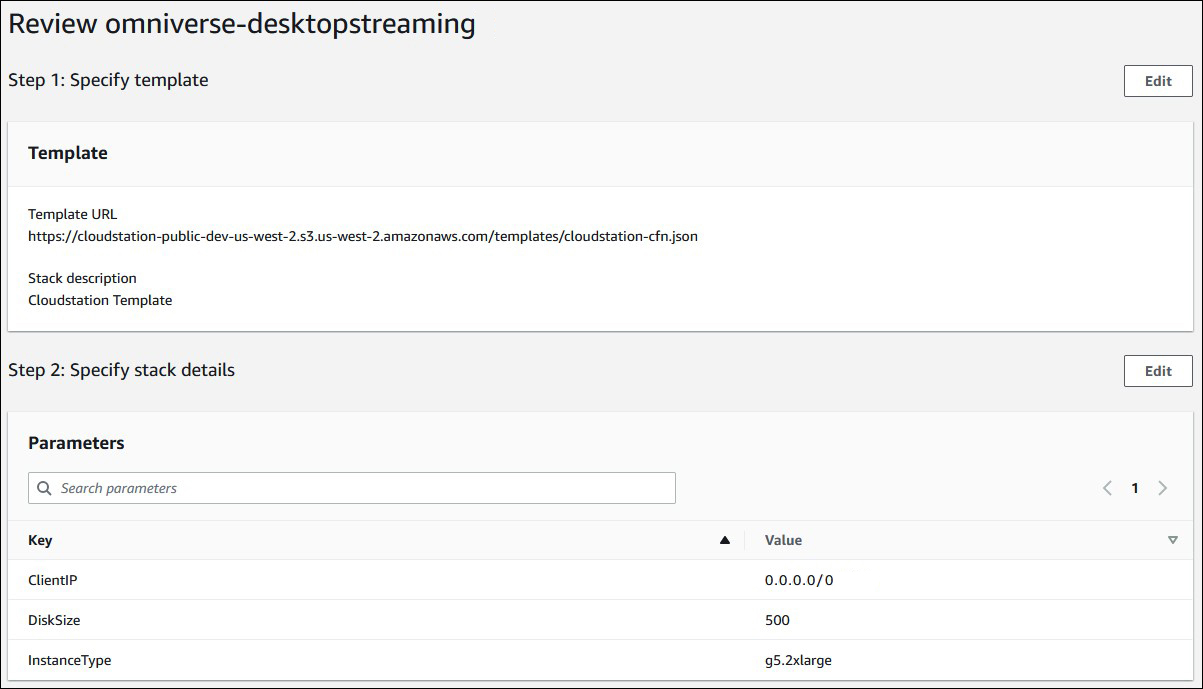
ClientIP - The IP Address that you are connecting from. The security group that is created allows this IP Address or CIDR range to connect to the instance.
DiskSize - The disk size for your VM – 500GB or larger is recommended.
InstanceType - For optimal performance, the g5.2xlarge instance type is recommended.
Click Next.
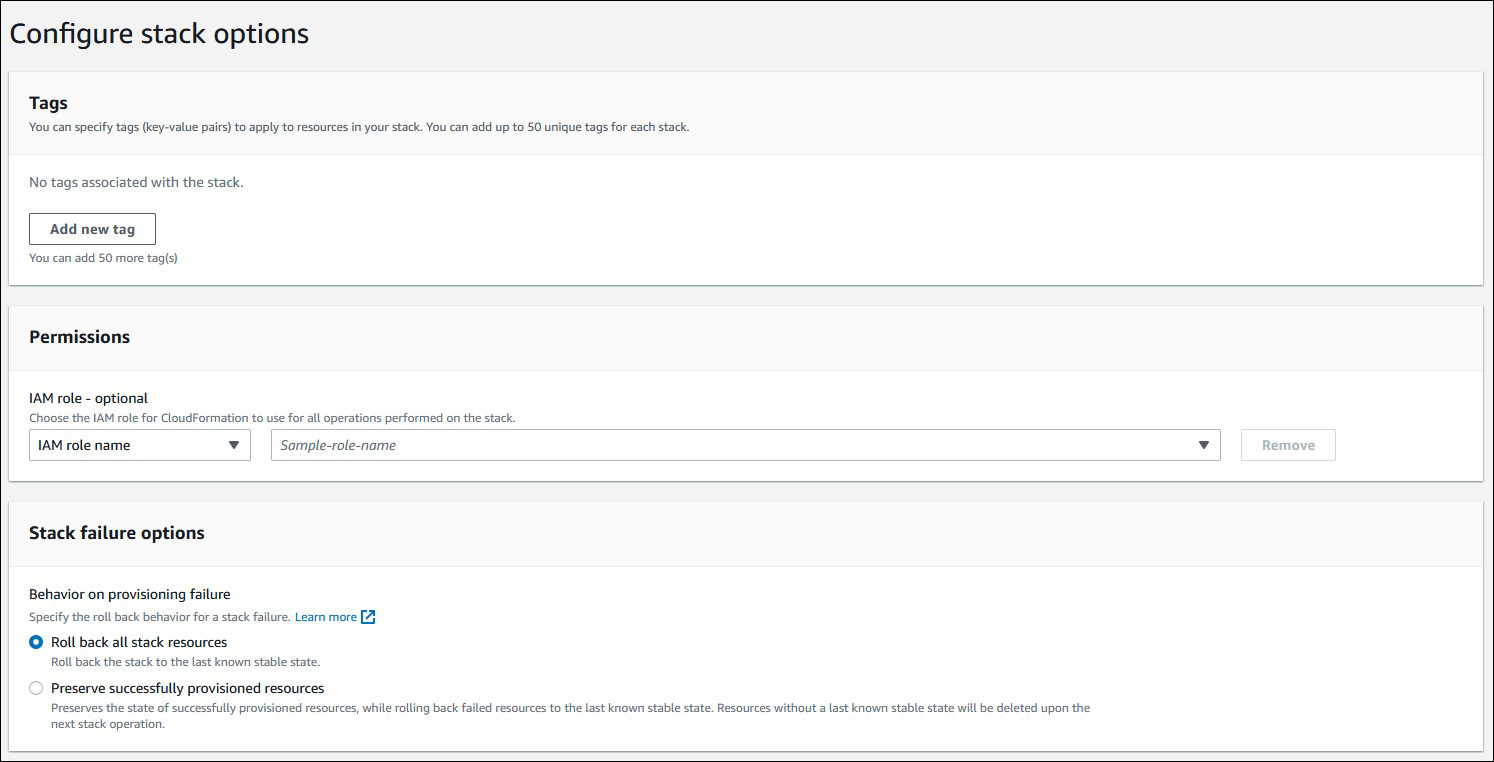
On the Configure stack options page, complete the following:
Tags – Specify a tag for this VM as it applies to your environment and/or tagging requirements. (Optional)
IAM role - Choose the IAM role for CloudFormation to use for all operations performed on the stack. (Optional)
Stack failure options – Choose the option that best suits your environment (Roll back all stack resources is the default and is recommended.)
Note
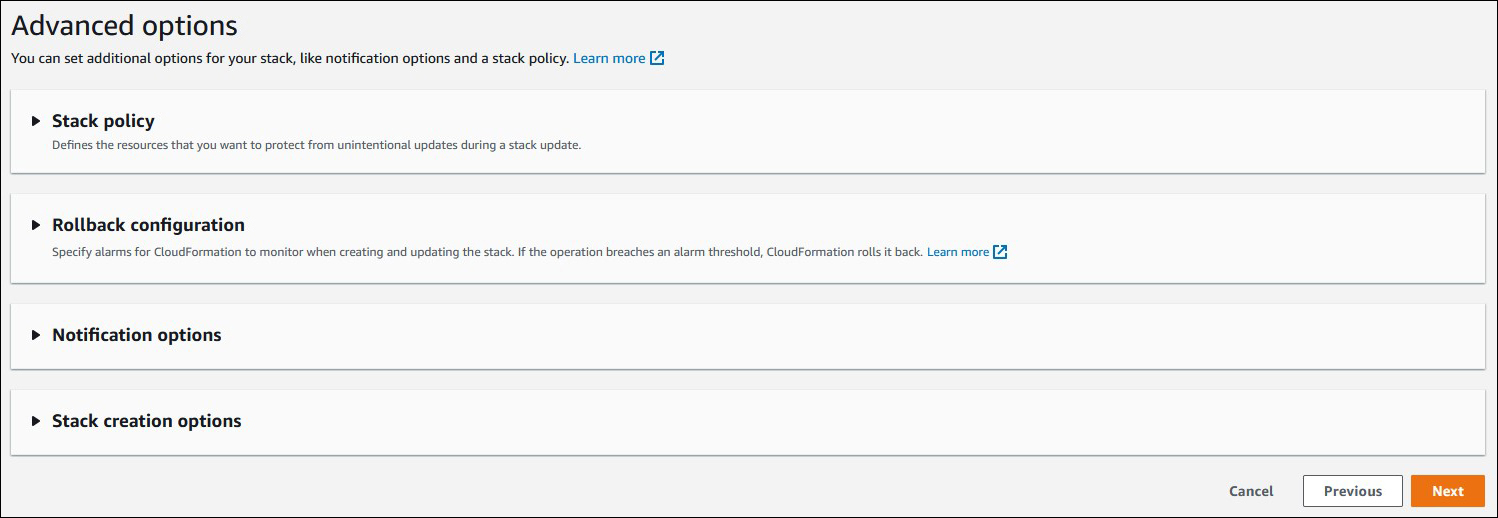
The Advanced options are optional, however may be required based on your policies.
Click Next.
Review your settings on this confirmation page to ensure they are correct. Make any changes as required by clicking Edit within each section. Once your settings are correct, click Submit.
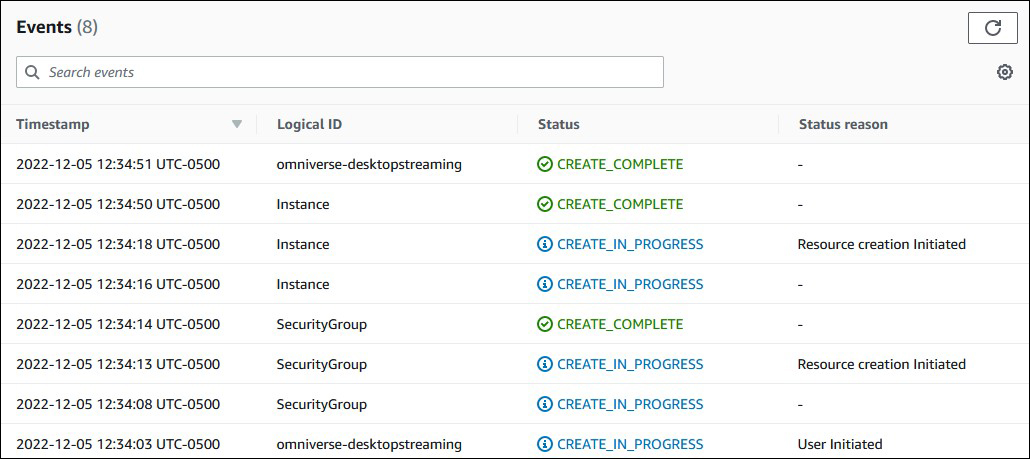
The Events tab with a status of the creation of your stack will now be displayed. Click the refresh icon to update the screen to show the latest progress.
If your instance/stack creation is successful, the following message will appear.
Attention
Common reasons for stack creation failures are that the requested instance type is not currently available for provisioning or the account that is used lacks the ability to spin up GPU-enabled instances. Please consult your IT team and/or Amazon technical support for proper advisement.
Verifying your instance#
From the AWS console, change your view to the EC2 services dashboard.
Under the Instances menu on the left, click Instances and locate your Desktop Streaming VM and click it.
On the details tab within the summary area, locate the Public and/or Private IP Addresses.
Attention
Depending on your security settings, adding or editing of security groups may be required before connecting to the VM. Please consult your IT/Information Security team for proper advisement.
Connecting to your instance#
The information below details how to install and connect to the instance via the NICE DCV client. Alternatively, you can connect to your instance using a web browser. Additional information for the Web browser client is available by clicking here.
Download and install the NICE DCV client application by clicking here.
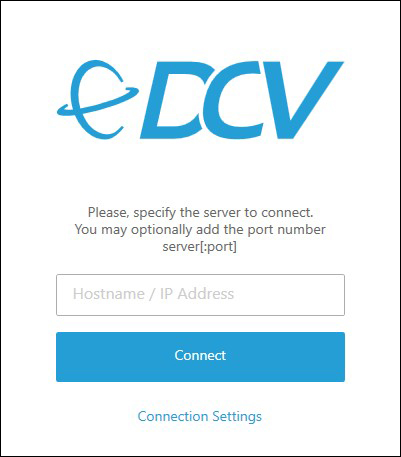
Once it’s installed, launch it. When prompted for the Hostname/IP Address, enter it into the field and click Connect. (In most cases, you will be connecting to the Public IP Address of the instance, however this is dependent on your environment and/or policies.)
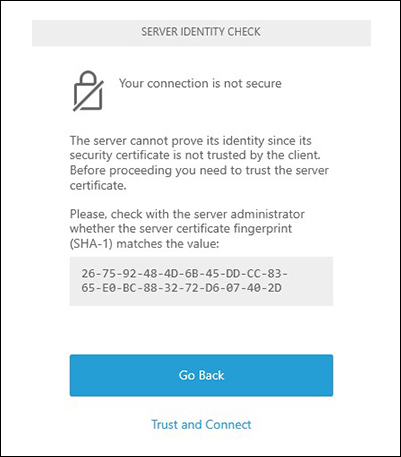
If the connection is successful, you will receive a Server Identity Check. On this dialog box, click Trust and Connect.
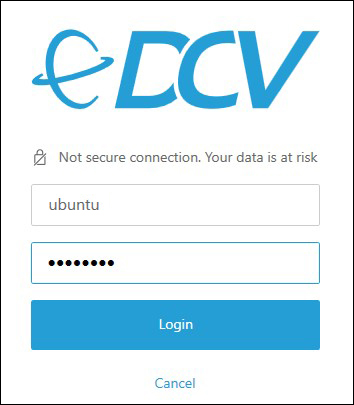
If the NICE DCV client can connect to the instance, you will be asked for your username and password. Enter in the information as shown below and click Login.
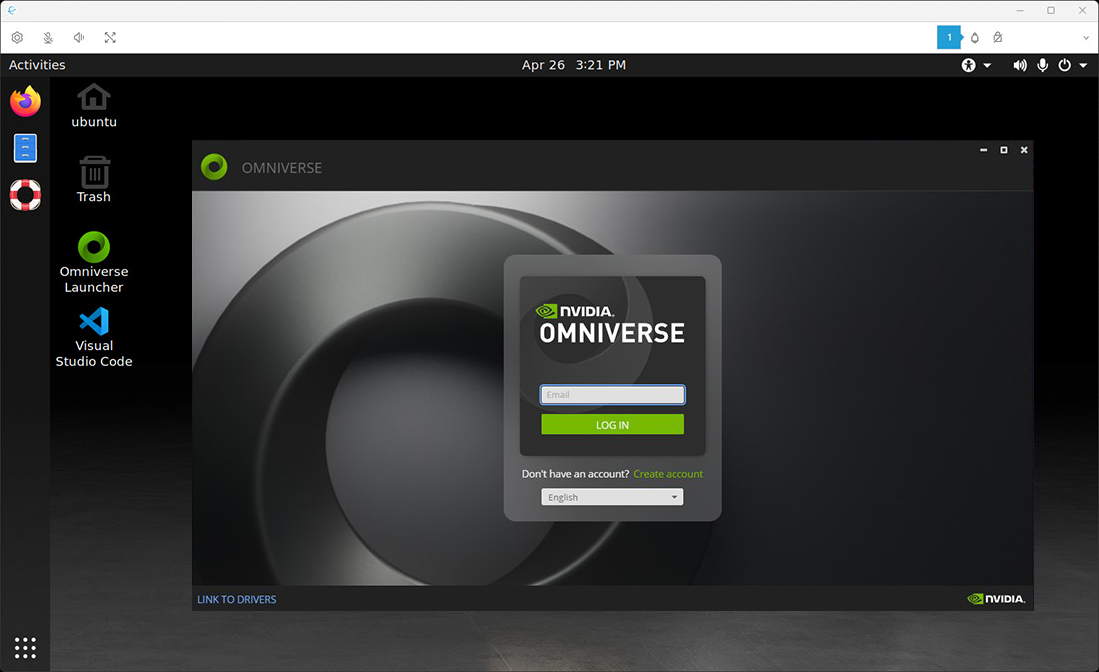
The connection will start, and if successful, an Ubuntu Linux desktop will appear.
Running Omniverse applications#
To run Omniverse applications, double-click the Omniverse Launcher icon on the desktop to get started. Visit this link and follow the steps to continue. While the linked documentation discusses the Omniverse Launcher running on Microsoft Windows, the instructions also apply to the Linux version.
Connecting to your Enterprise Nucleus Server#
To connect your Omniverse Virtual Workstation to a Enterprise Nucleus Server, follow these steps:
Omniverse USD Composer#
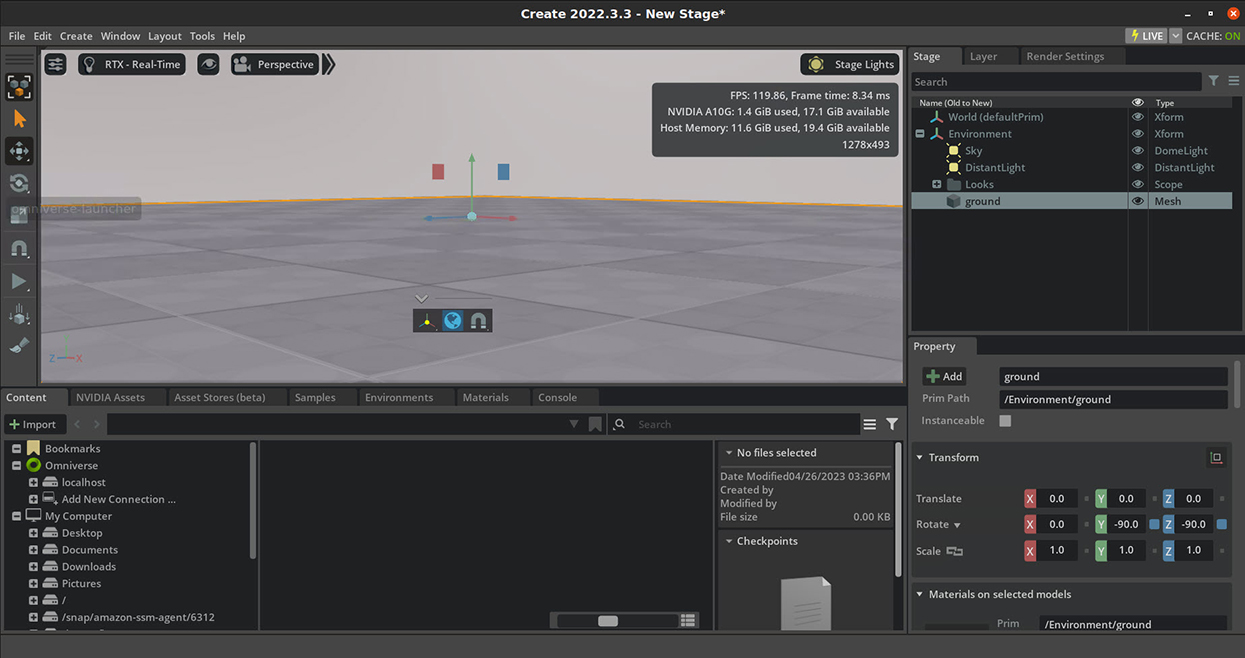
From within Omniverse USD Composer, click Add New Connection from within the content tab.
When prompted, enter the Hostname or IP Address of your Nucleus Server into the Omniverse:// field.
When prompted for credentials, enter your Username and Password.
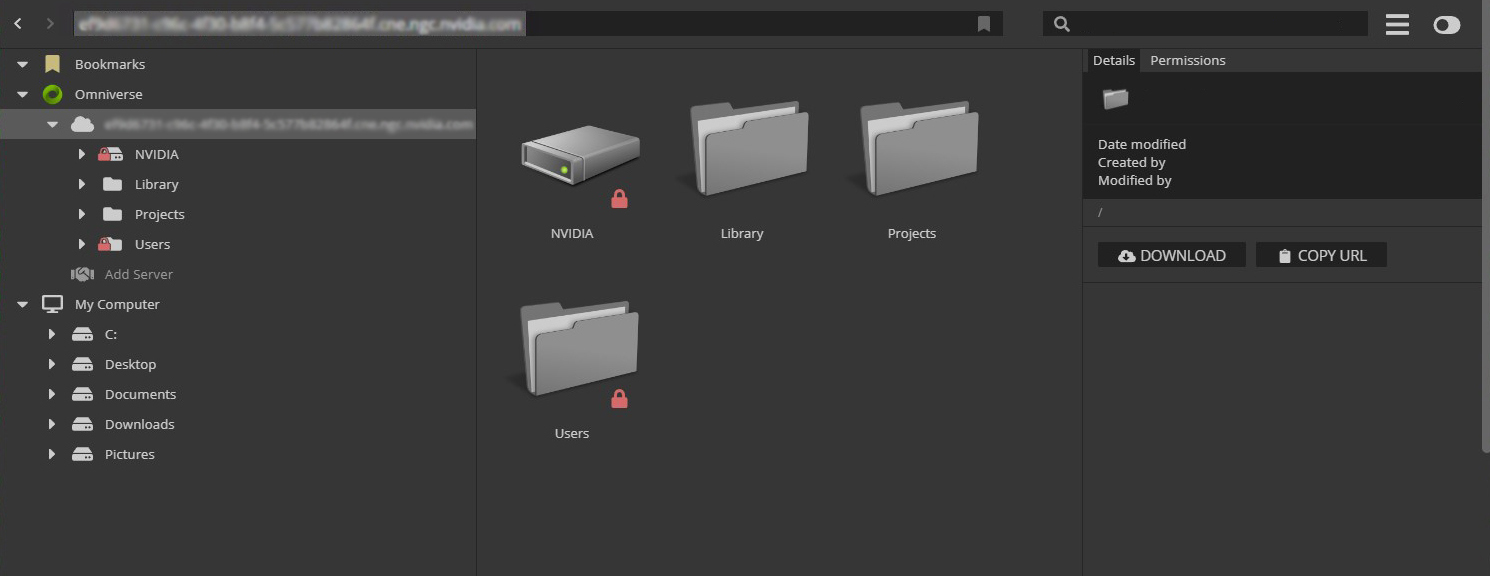
If the information was entered correctly, the Enterprise Nucleus Server will be connected and appear as shown below:
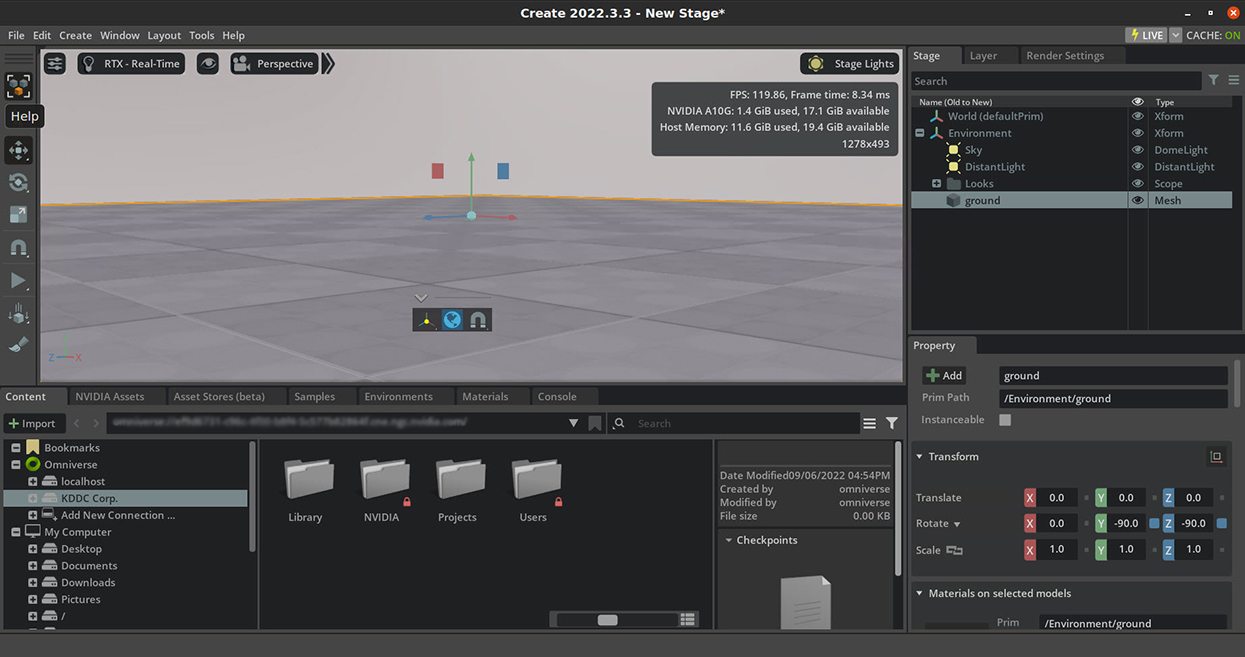
Attention
Connecting from an Omniverse Virtual Workstation to an on-premises Enterprise Nucleus Server may require network configuration changes (i.e., firewall changes) for the instance to connect. Please consult your IT/Information Security team for proper advisement.
Important Notes and Known Issues#
The NVIDIA driver version that is certified for the Omniverse Virtual Workstation is pre-installed. Using uncertified drivers may cause unexpected performance/resolution issues and/or crashes.
When using the NICE DCV client, you may receive a message saying No license available. See the Reference Link below for the steps to properly configure NICE DCV licensing.
NICE DCV session storage is not configured by default within the Omniverse Virtual Workstation for file transfers. See the Reference Link below for a solution to enable this functionality.
