Rendering Using Movie Capture#
Note
Please ensure that all Farm components are installed and running before continuing.
Rendering with Farm#
Omniverse USD Composer comes bundled with the ability to submit render jobs to Queue.
In this example, we will walk through the needed steps to distribute your renders across your local network on spare machines. Follow the steps below to create a (render) task that an Agent will pick up and process. You can use Omniverse USD Composer or any other Omniverse Kit-based App with Movie Capture enabled.
Requirements#
Farm Queue running locally or network accessible
One or more Farm Agents
Running on systems with an NVIDIA GPU
Connected to the Farm Queue
With access to:
a properly configured create-render job definition.
the Kit application to launch for rendering.
all data required by the USD scenes being rendered.
Note
The create-render job definition must be configured to use a Kit application accessible by Farm Agents. Any custom Kit applications, including those based on the Omniverse Kit Application Template, requires updating the create-render job definition. The Using Farm to Render Kit Applications guide explains how to do so.
Send a Render to the Queue#
Note
It is important to ensure the scene you wish to render is stored in a location that is accessible to all Farm Agents, along with all the assets it contains.
In Omniverse USD Composer, open the scene you wish to render using
File>Open.Select
Rendering>Movie Capture.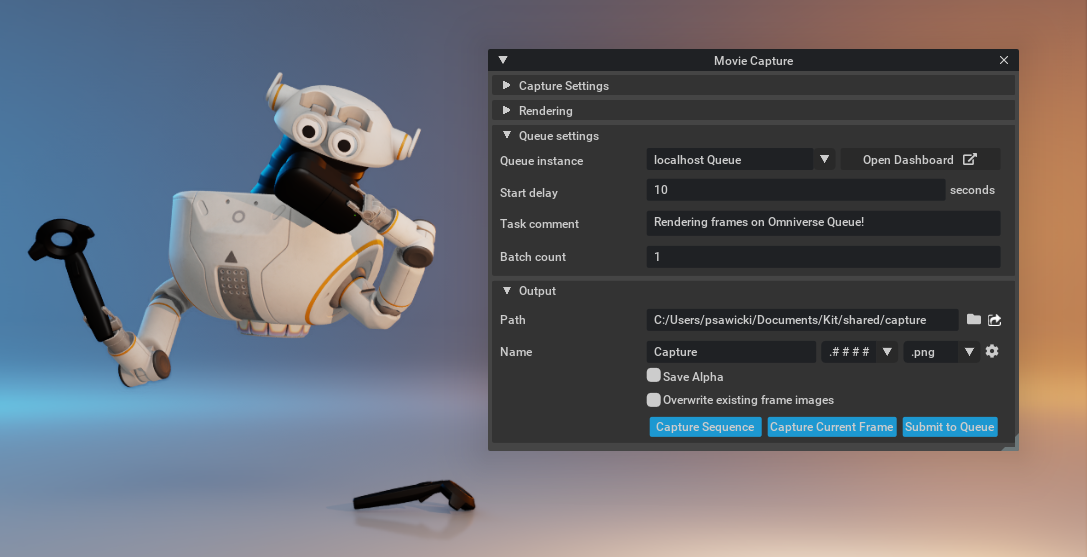
In the
Queue Settingssection, ensureQueue instanceis set to the host and port of your Farm Queue. The default for local installs islocalhost Queue.Optional: Add a description to the task so you can easily identify it later. This can be useful for task recognition when running several tasks or for historical context of the jobs executed.
Review and ensure all render settings and path locations are accurate.
Ensure the
Output: Pathis set correctly.Submit the task to Queue by clicking
Submit to Queueat the bottom of theMovie Capturepanel.
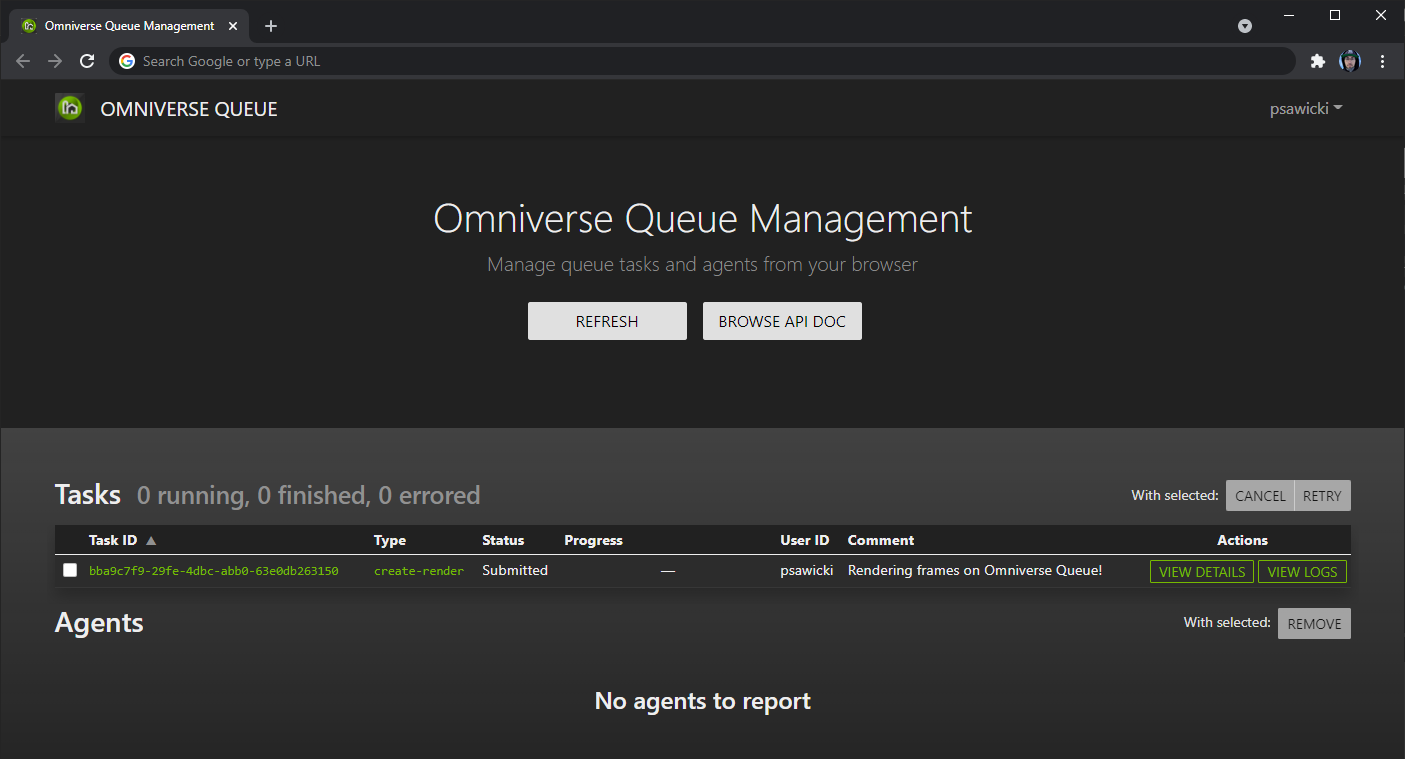
Once submitted, the Queue dashboard will update and show the created task(s) with a status of Submitted while awaiting a suitable Agent to begin processing.
Add Agents to Execute on the Render Task#
Agents are responsible for executing on tasks in Omniverse Farm. To render the task, you will need one or more agents.
Agent Requirements#
Access to any file locations (including network locations) referenced by Farm tasks.
Network Access to the Farm Queue services.
Omniverse Agent service(s) running.
Access to a properly conifgured
create-renderjob definition.Suitable hardware.
To get started, ensure that there are one or more Farm Agents running.
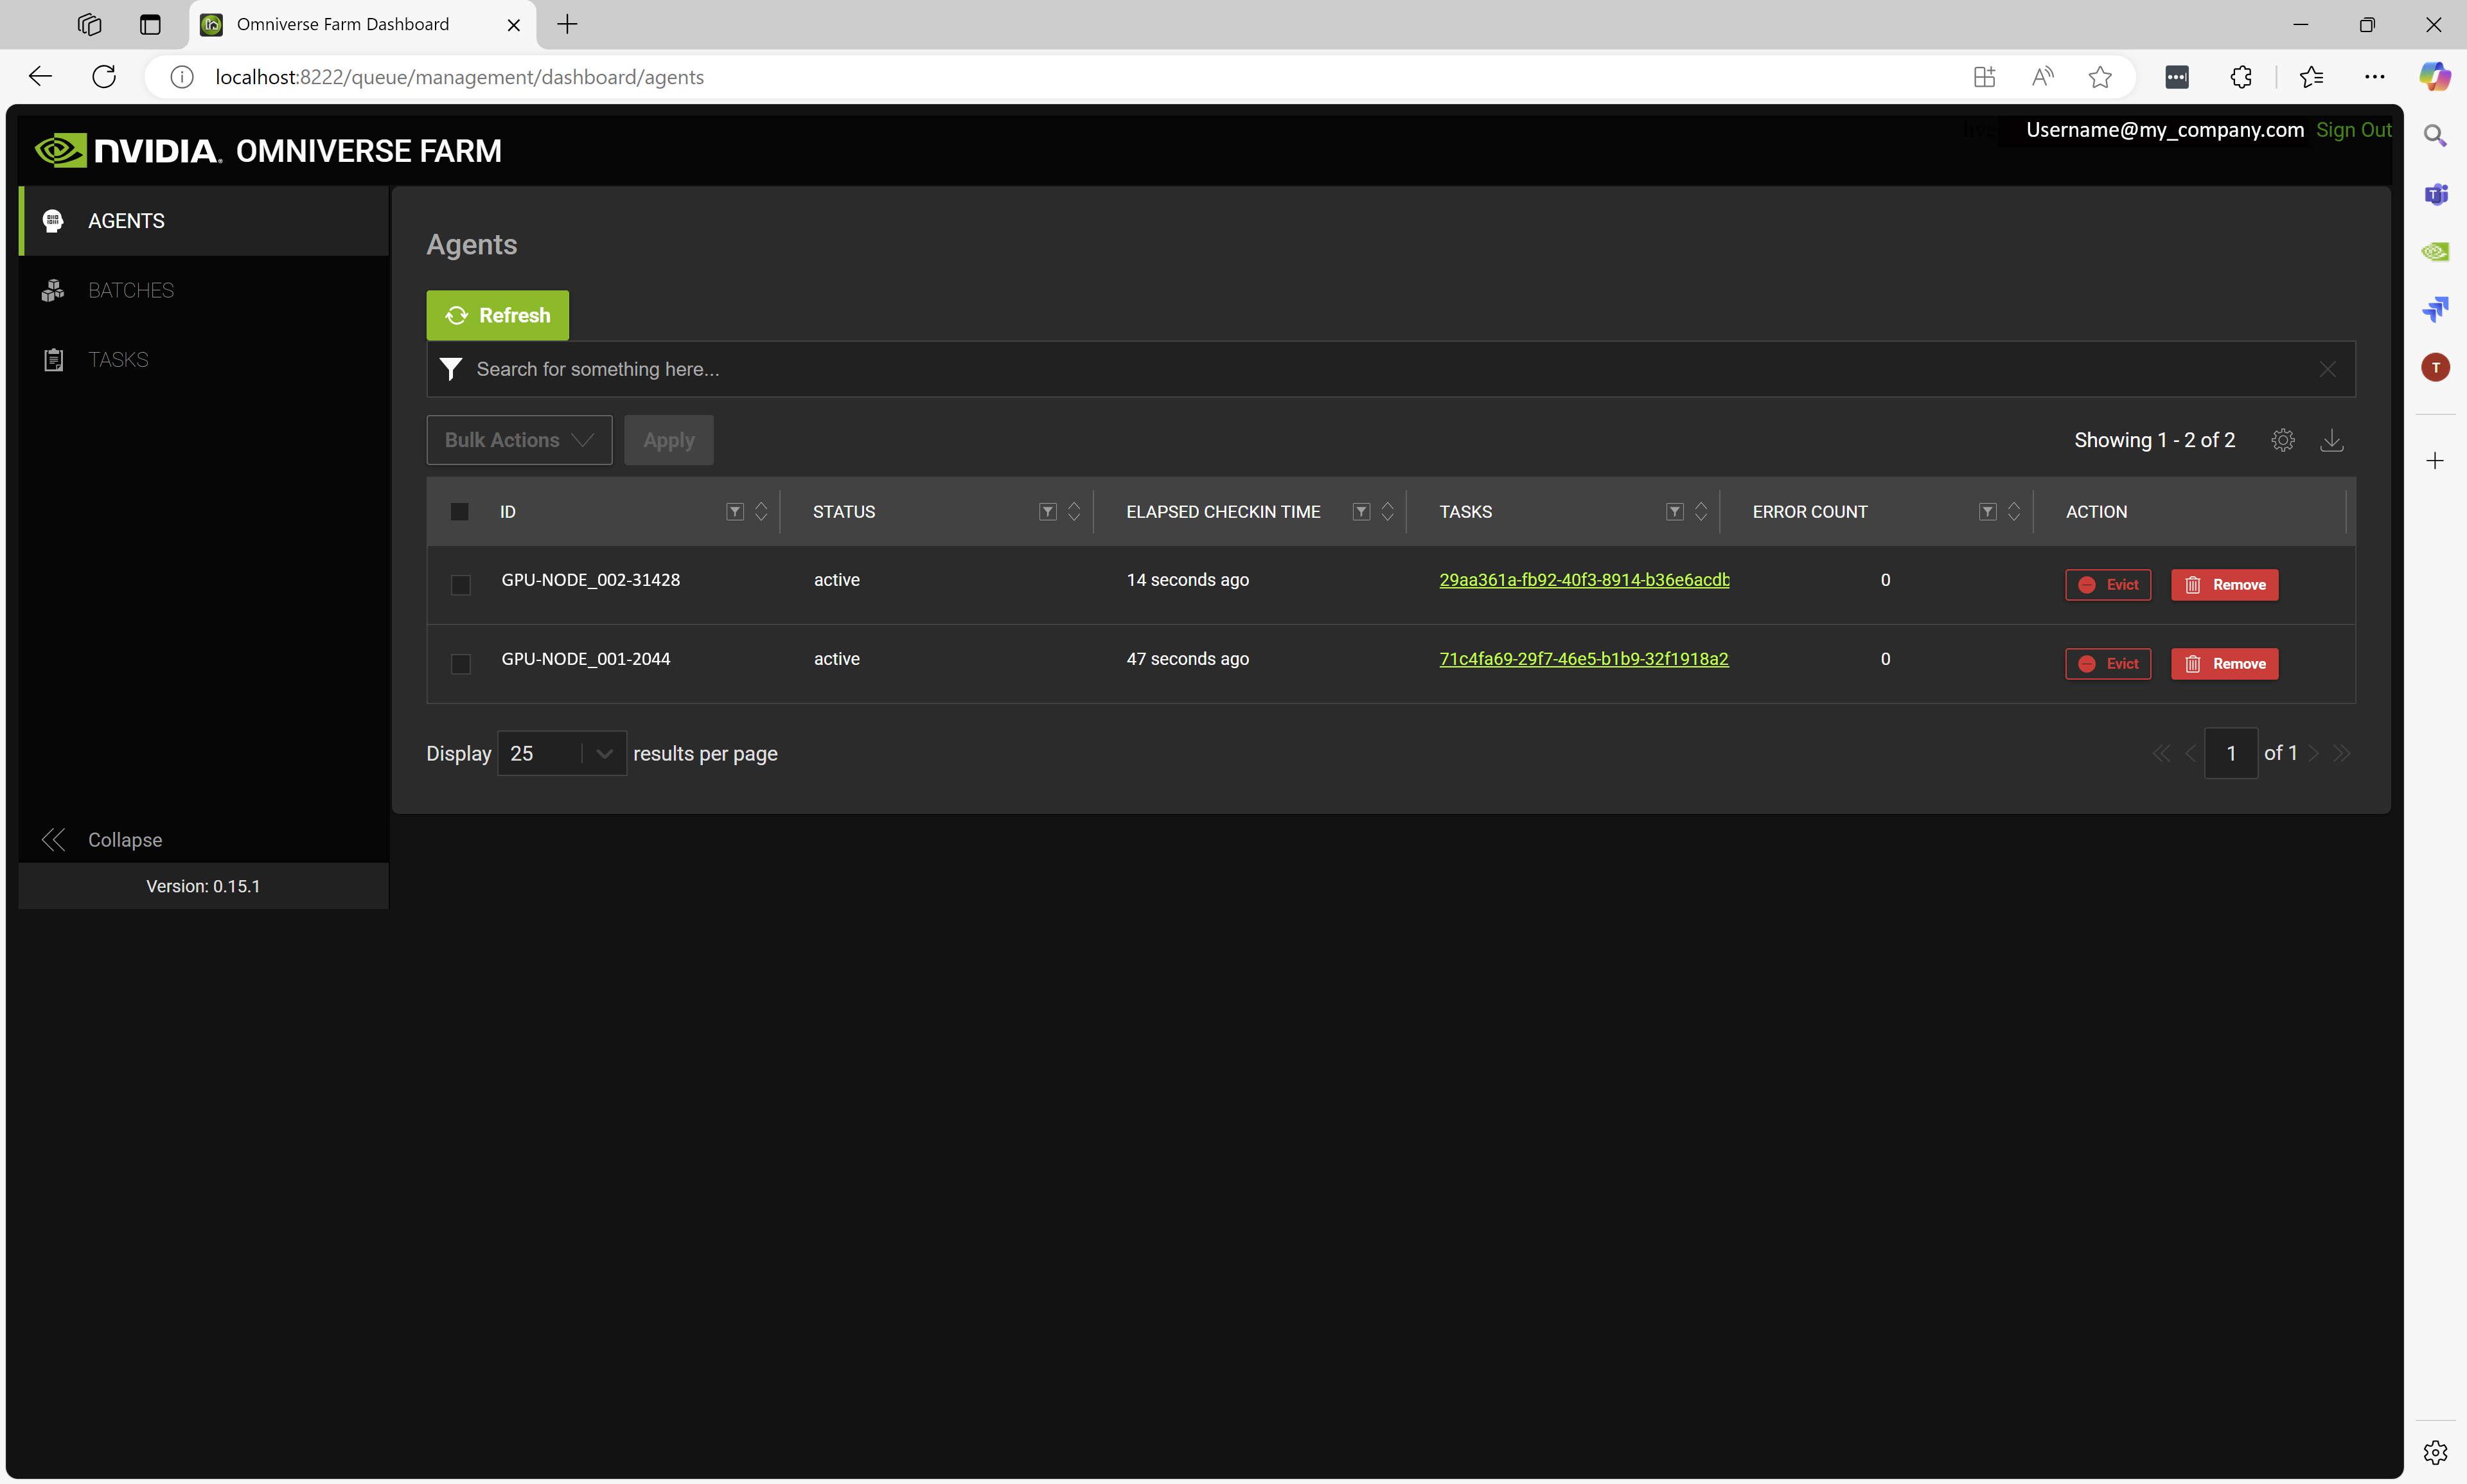
The default configuration assumes the Queue and Agent are both operating on
localhost. If you are not running Agent on the same machine as Queue, modify the Farm configuration queue address and confirm the Agent is able to reach the Queue.You can confirm which Agents are connected to the Farm Queue by going to the “Agents” tab of the Farm Dashboard.
Once connected, the Agent retrieves any suitable pending tasks from the Queue and will begin processing.
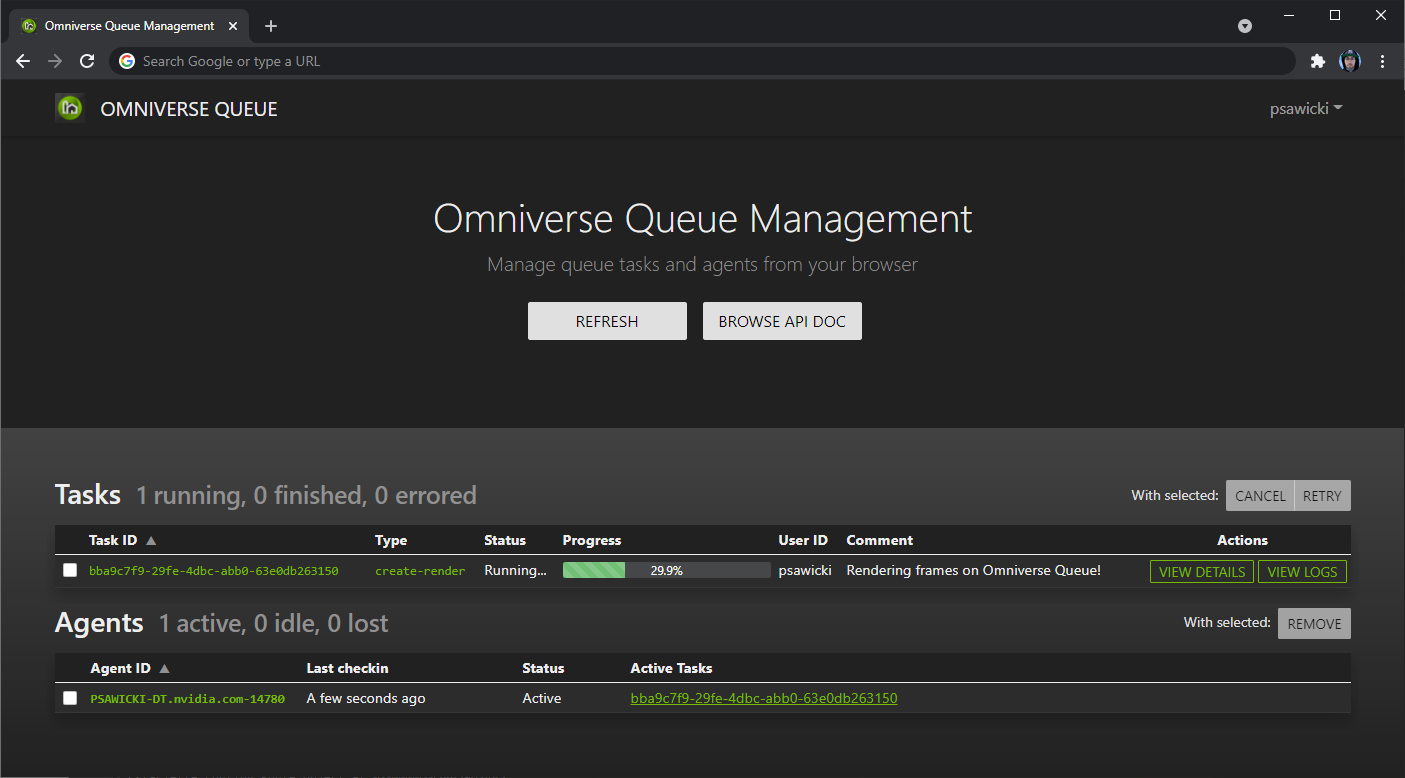
The
Taskssection of the Queue Dashboard will refresh after a few seconds and should reflect the new state of the system, where:The submitted task has transitioned to Running, which means processing is underway.
The ID of the active task matches the one submitted earlier.
Once the task has completed:
Agent will return to
Idlestate.Task status will change to
Finished.
In the Movie Capture panel, you can use the icon next to the Output: Path field, to open the output path and view the render results.