Creating a VM Template#
This chapter describes the following:
Creating a template from an existing virtual machine
Creating a Customization Specification
Provisioning a single vGPU-enabled virtual machine from a template
To create a pool, you must first convert an existing virtual machine into a template, which you can create a single virtual machine or virtual machines on demand.
Note
A complete demonstration of these features is beyond the scope of this document; however, converting a virtual machine to a template and then deploying virtual machines from that template is a fundamental operation that can reduce evaluation time.
Creating a Template#
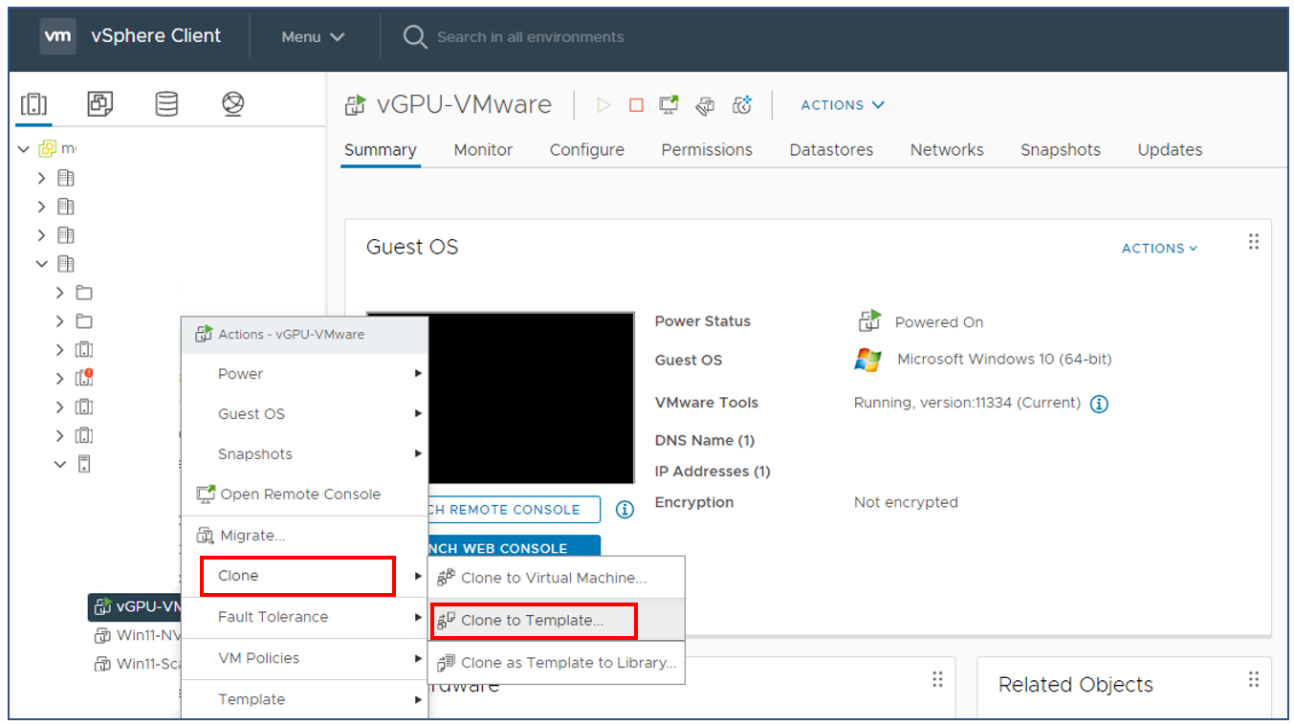
To create a template from an existing virtual machine:
Open the vSphere Web Client:
vSphere displays the Clone Virtual Machine To Template window. With the Select a name and folder tab selected.
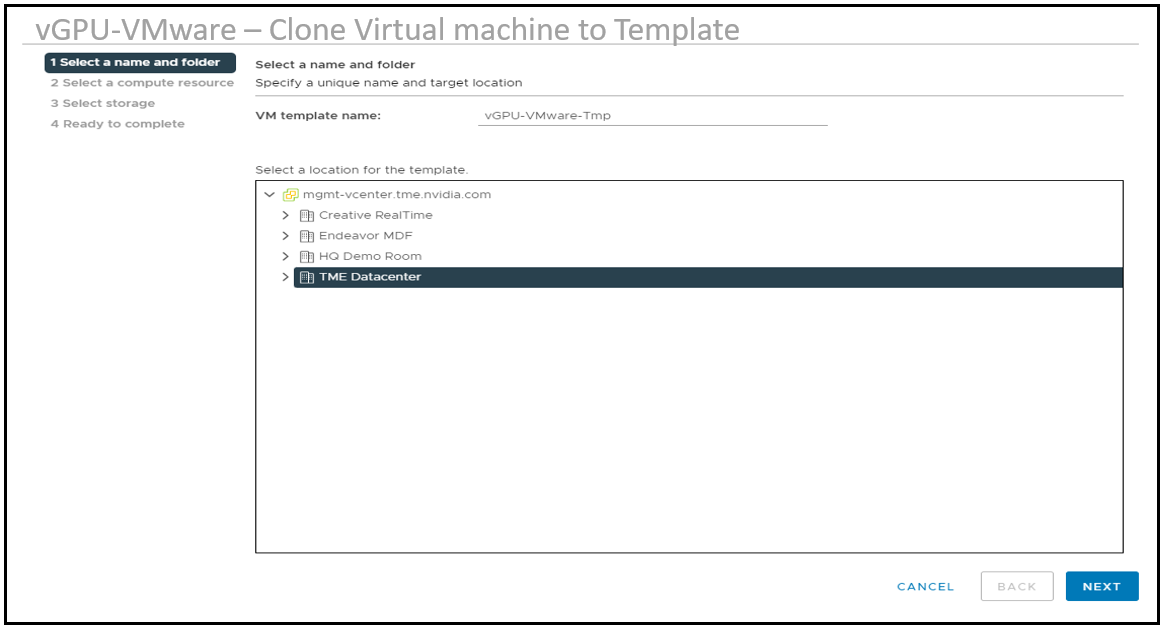
In the VM template name field, enter a name for the template.
Select a location to create the template. Click Next.
Select a compute resource for the template. Click Next.
Select the target datastore. Click Next.
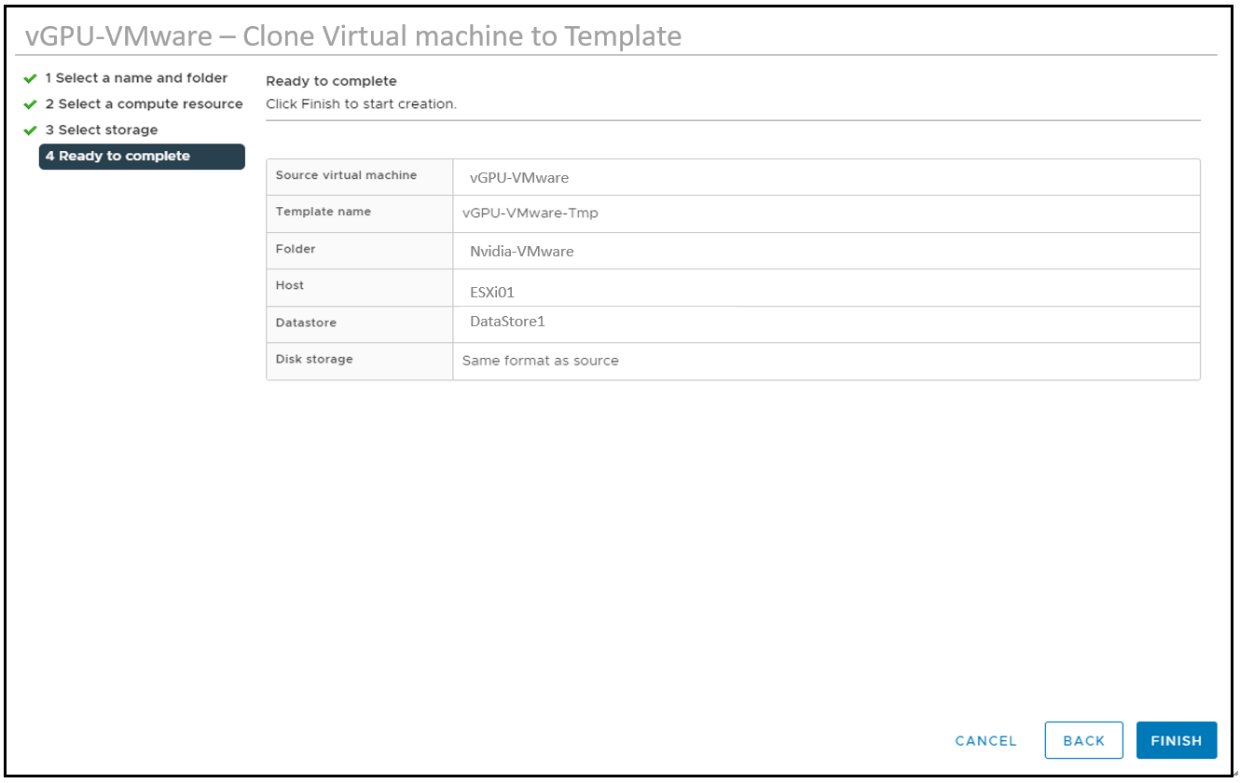
Review the Ready to Complete window settings and click Finish to start cloning the virtual machine to a template.
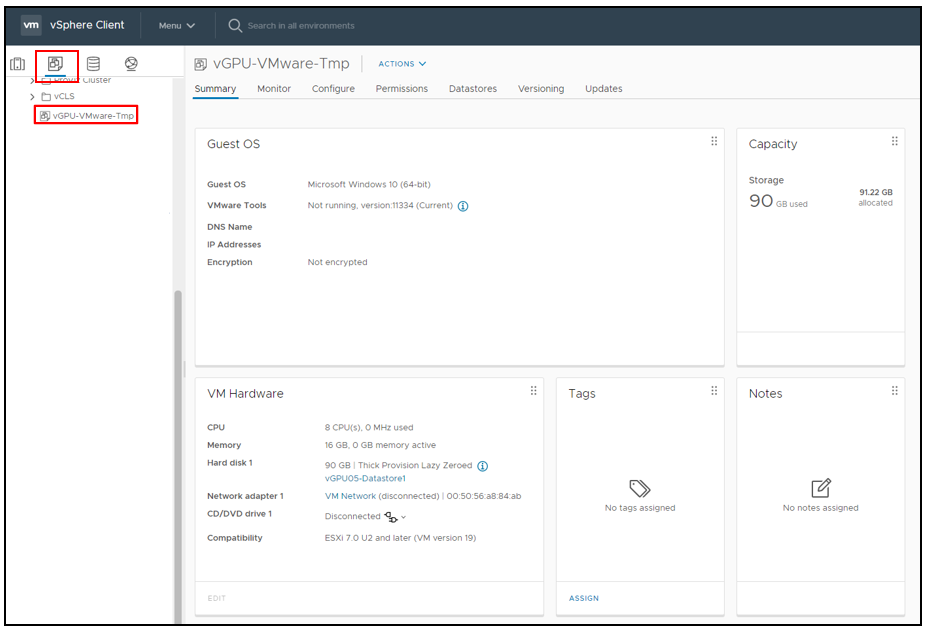
When the cloning process is complete, the VM template is displayed at the end of the list in the VMs and Templates section.
Creating a Customization Specification#
Before you can provision a virtual machine from a template, you must create a VM Customization Specification. This will handle actions such as joining the domain and renaming the machine.
To create a VM Customization Specification:
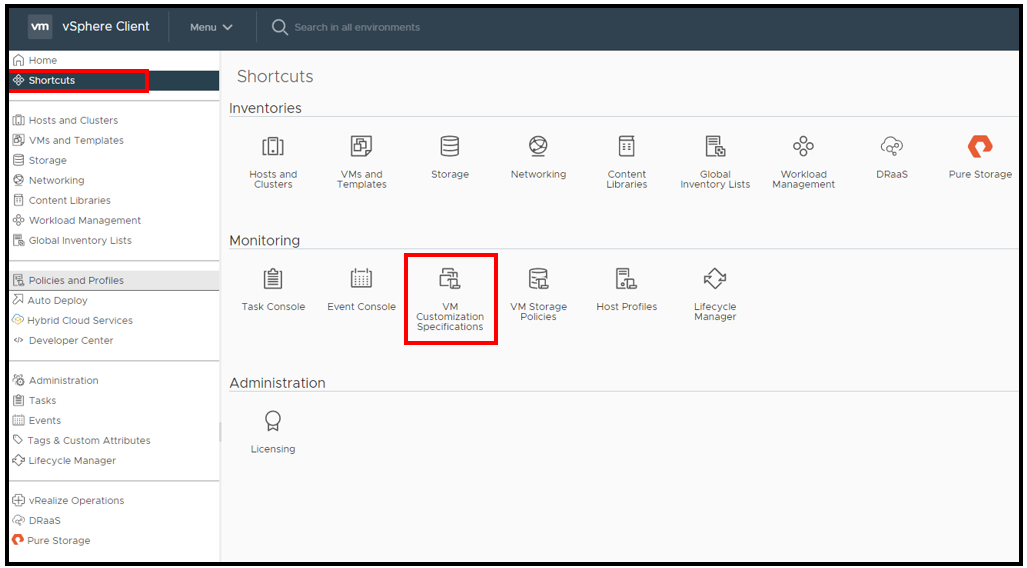
From the left-hand pane of the vSphere Client Shortcuts view, select VM Customization Specifications in the Monitoring section.
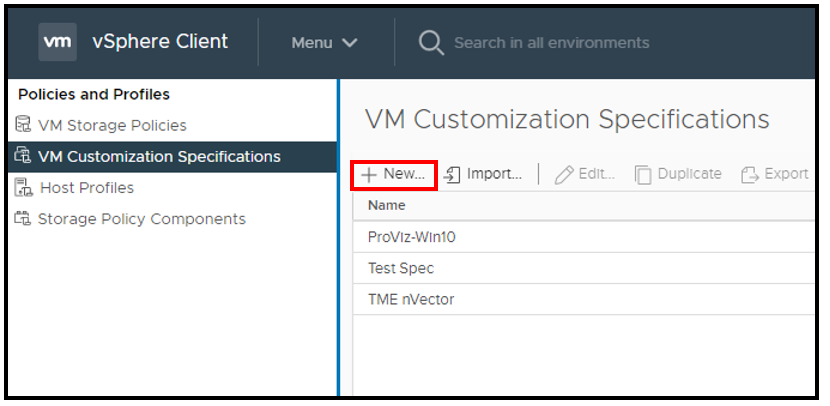
In the VM Customization Specifications window, click New.
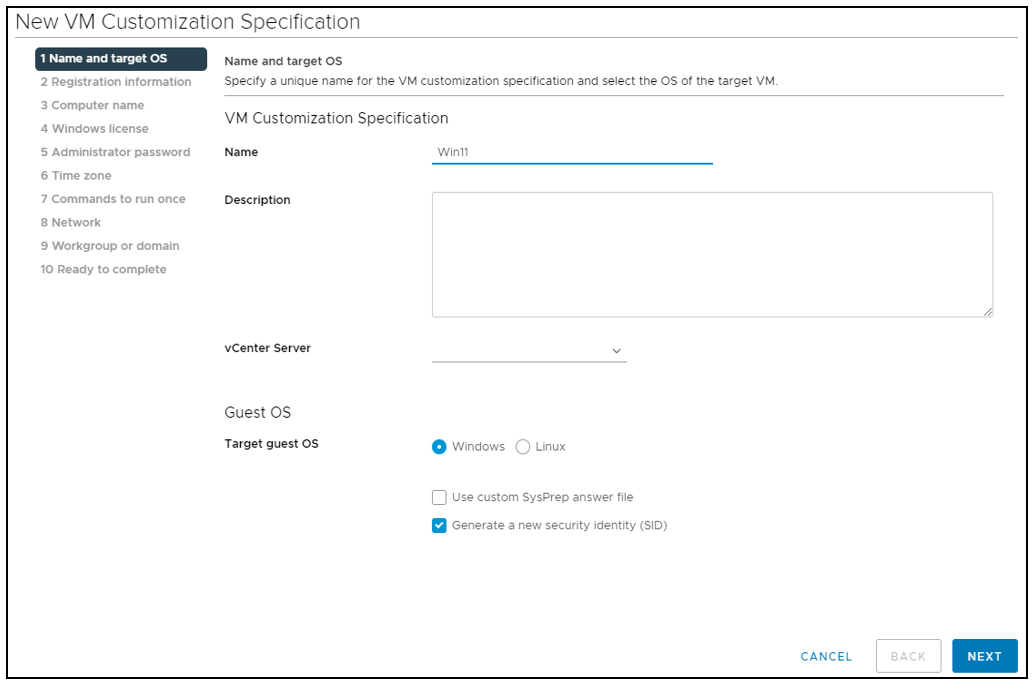
For Target guest OS, select Windows.
Check the Generate New Security ID (SID) checkbox.
If your organization uses an answer file, you can load that file by checking the Use custom SysPrep answer file checkbox.
If your organization does not use this functionality, leave the checkbox cleared. Enter a name for the new specification in the Customization Specification Name field. Click Next
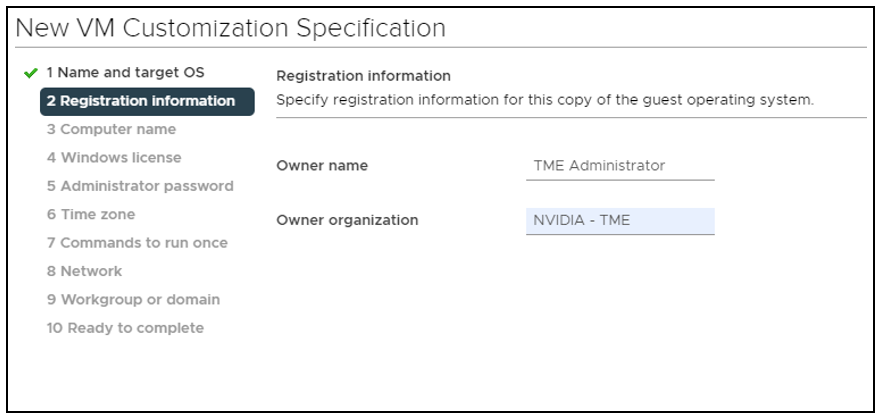
Enter the VM owner’s name in the Name field and the owner’s organization’s name in the Organization field, then click Next
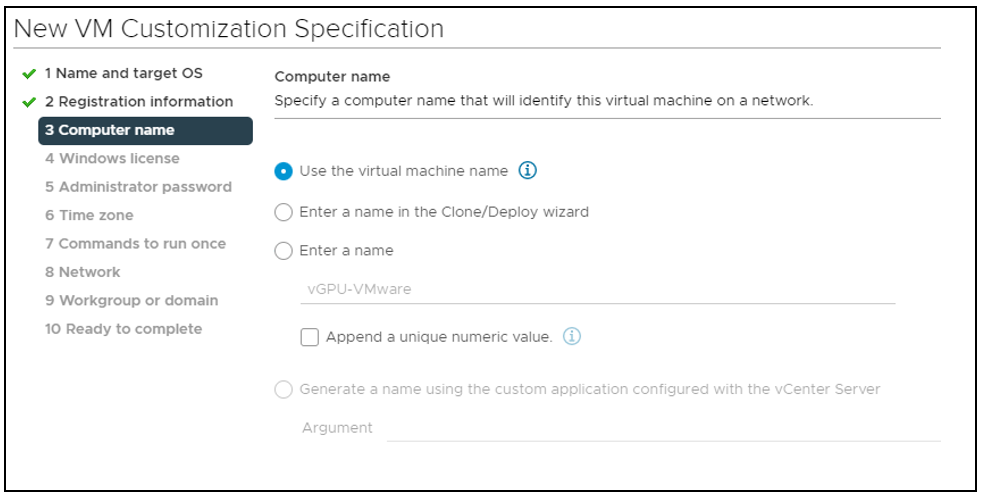
Enter a computer name for the VM, then click Next.
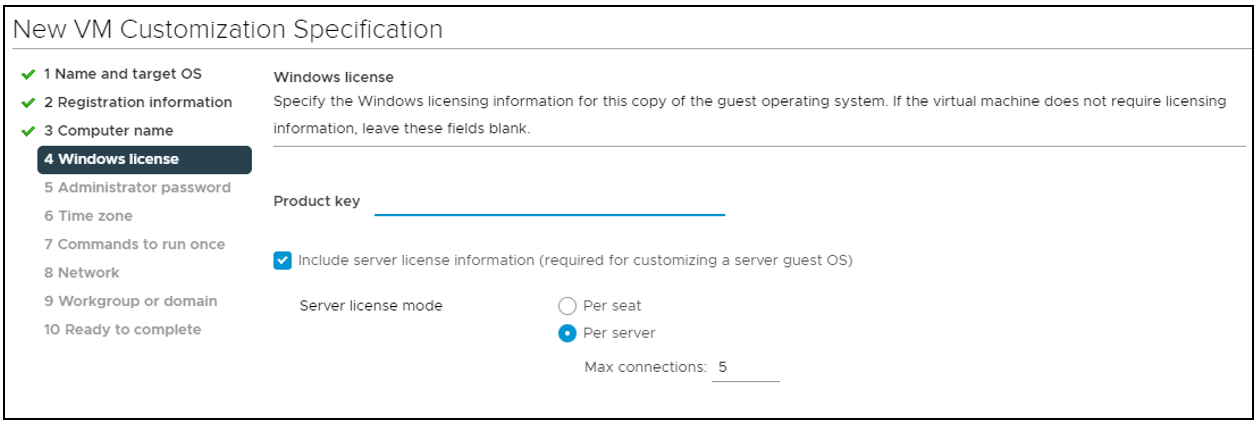
Enter your Windows product key information or leave this field blank. Then click Next
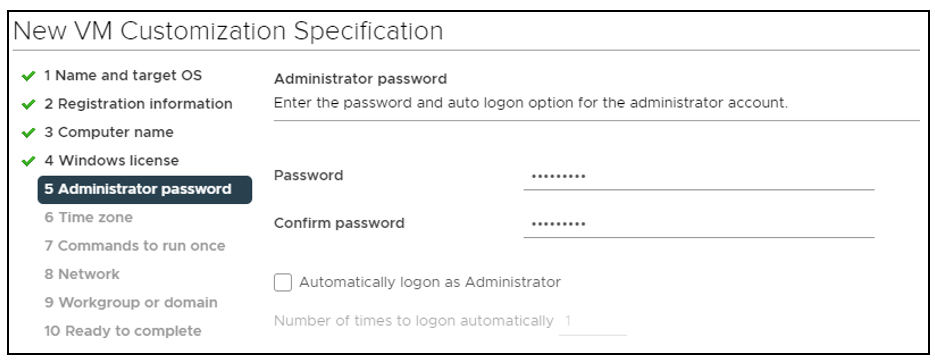
Enter and confirm the administrator password (it is case sensitive) in the Password and Confirm Password fields, then click Next
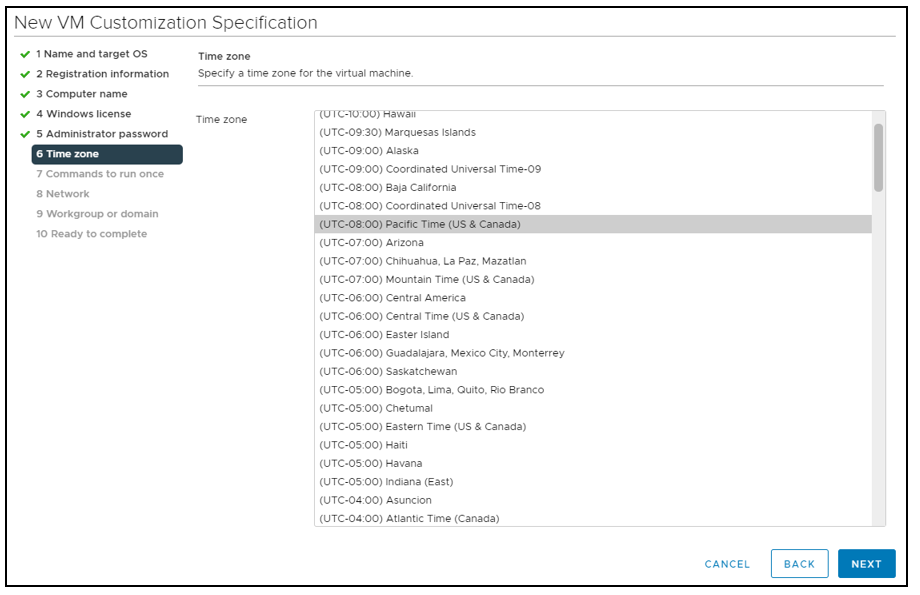
Select your time zone from the Time Zone pulldown menu, then click Next
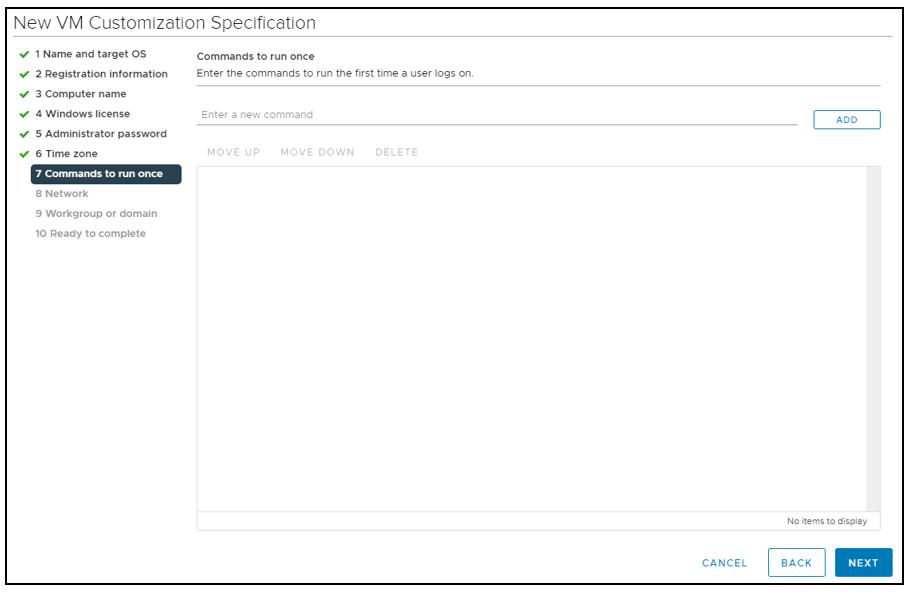
Enter any required one-time commands in this tab, then click Next
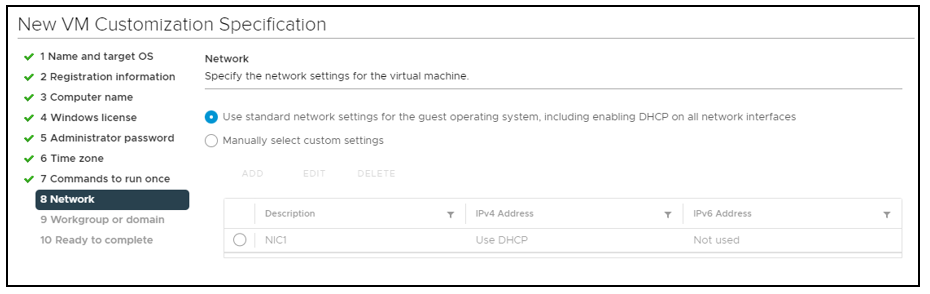
Click the appropriate radio button to either:
Use standard network settings: Automatically selects network settings.
Use manual network settings: Enter the network description, IPv4 address, and/or IPv6 address in the respective fields.
Click Next.
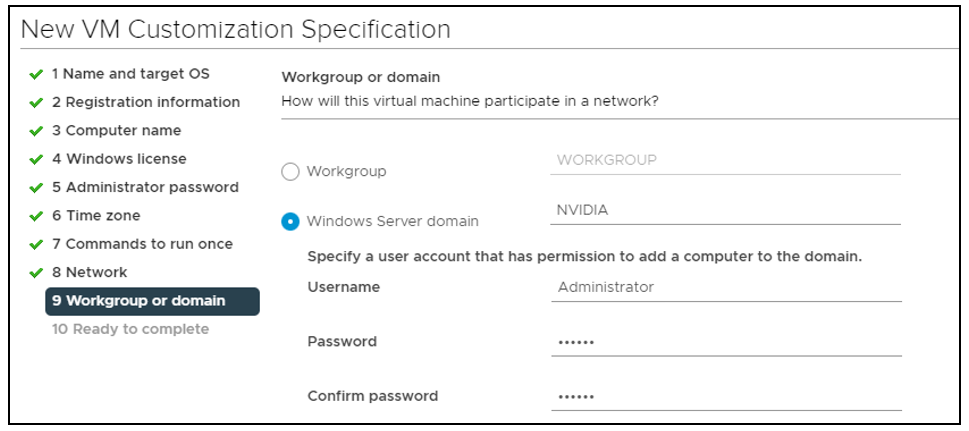
Select the appropriate radio button to make the VM a member of either a workgroup or a domain. Enter the VM’s workgroup or domain information in the appropriate fields. Then click. Next
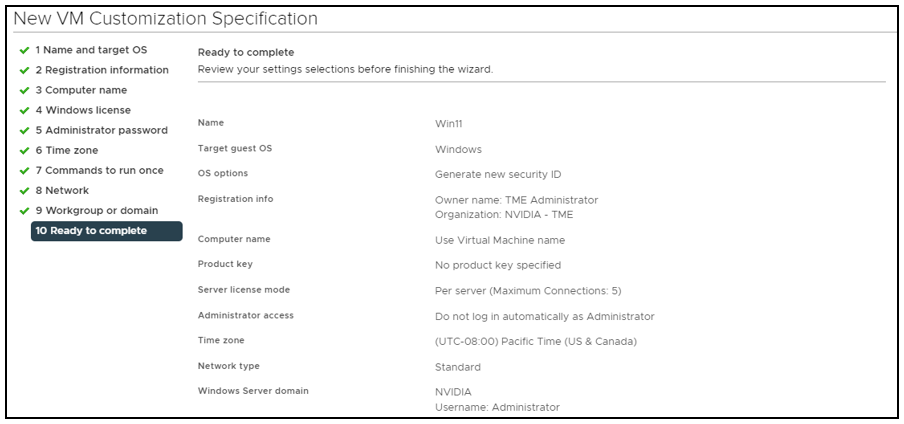
Review your settings. If any are incorrect, click Back to correct them. When all of the settings are correct, click Finish to view the new customization specification from the template.
Note
You do not need to create a virtual machine guest customization specification every time you clone a virtual machine from a template.
Provisioning a Single Virtual Machine#
To provision a single vGPU-enabled virtual machine from a template:
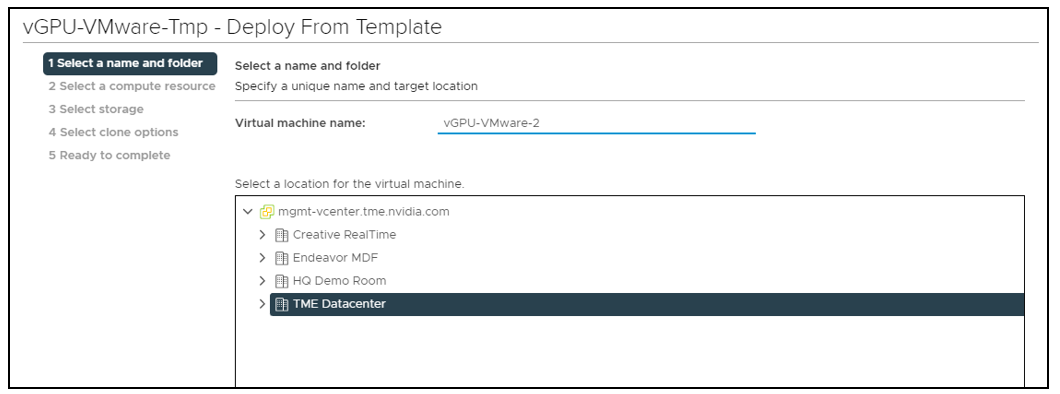
From vSphere Client, right-click the template and select New VM from this Template. vSphere displays the Deploy From Template window with the Select a name and folder tab selected.
Enter a name for the new VM in the Virtual machine name field and select a location. Click Next.
Select the Compute Resource, click Next.
Select the target storage type and datastore, click Next.
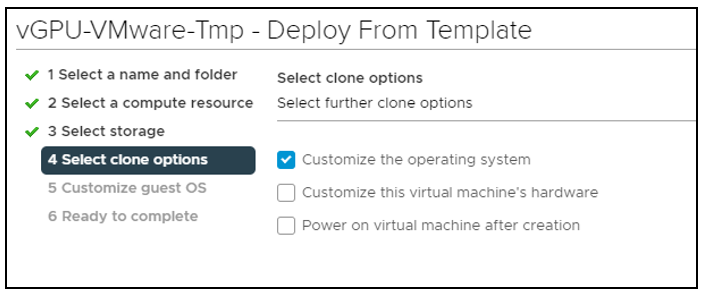
Check the Customize the operating system checkbox In the Select clone options window. Click Next.
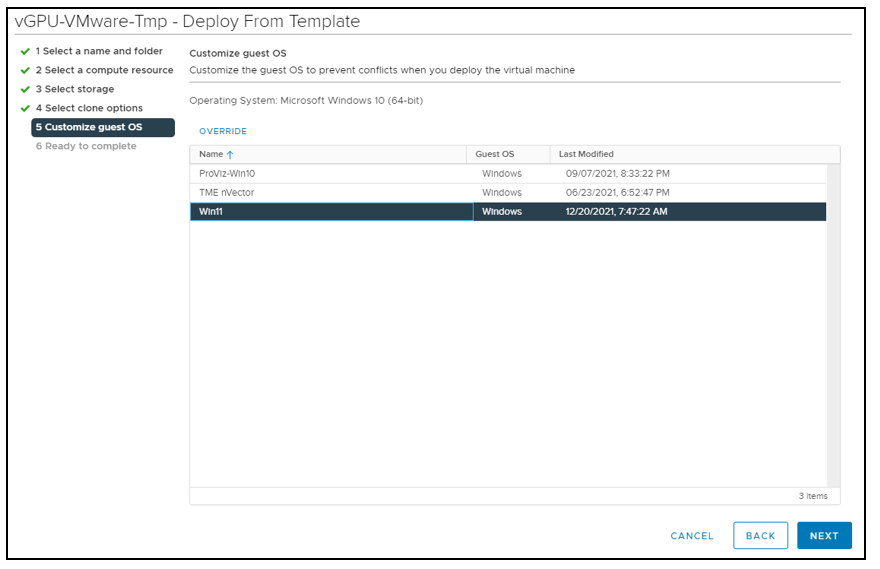
Select the Guest OS used to create the VM. Click Next.
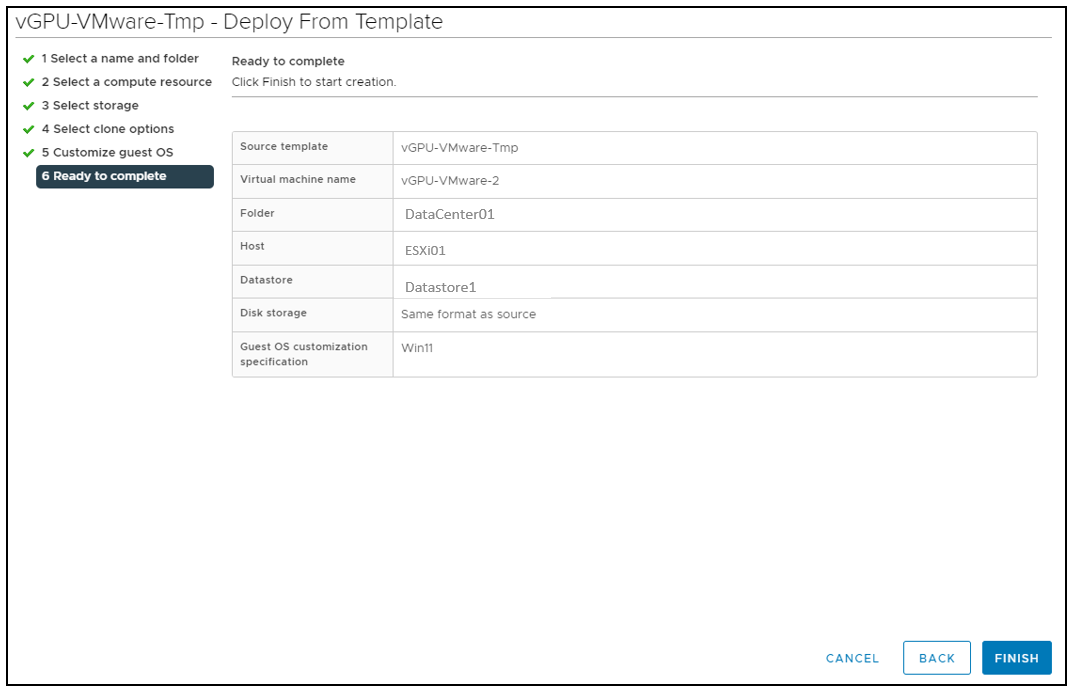
vSphere displays the Ready to complete tab of the Deploy From Template window, displaying the “Win11” Guest OS Customization specification properties.
Review the settings. If any are incorrect, click the Back button to make corrections. Click Finish to begin creating the virtual machine from the template.
Once the VM is created, it becomes visible in the data center on its cloned host.