Installing VMware ESXi#
This section covers the following VMware ESXi installation topics:
Choosing the Installation Method
Preparing USB Boot Media
Installing VMware ESXi
Initial Host Configuration
Note
This deployment guide assumes you are building an environment as a proof of concept and is not meant to be a production deployment. As a result, choices made are intended to speed up and ease the process. See the corresponding guides for each technology, and make choices appropriate for your needs before building your production environment.
Choosing the Installation Method#
VMware vSphere offers several methods to install the ESXi hypervisor. These installation methods include CD/DVD (burning the ESXi Installer ISO), USB Flash drive (formatting a USB flash drive to Boot the ESXi Installation), and PXE Boot Installation (Booting from a location on the network). The ESXi Installer must be accessible to the system you are installing ESXi. See the vSphere documentation regarding best practices for logs when booting from a USB flash drive or similar device. This guide uses an IPMI and virtual media to boot from an ISO file and install local storage.
Preparing USB Boot Media#
Note
Booting vSphere from a USB flash drive is useful if your host has an existing vSphere Version or earlier installation that you want to retain. Installing ESXi on a supported USB flash drive or SD flash card (2004784).
Use the following procedure to prepare a USB drive for booting:
Download UNetbootin from http://unetbootin.sourceforge.net/.
The Windows version of the application does not include an installer; however, the OSX version is packaged in a .DMG file that you must mount. You must also copy the application to the Applications folder before launching.
Alternatively, you can use YUMI, which allows booting multiple installation images on one USB device, plus the option to load the entire installation into RAM. You can download YUMI from here.
Start the application, select Diskimage, and then click the … icon to browse for the installation .ISO file.
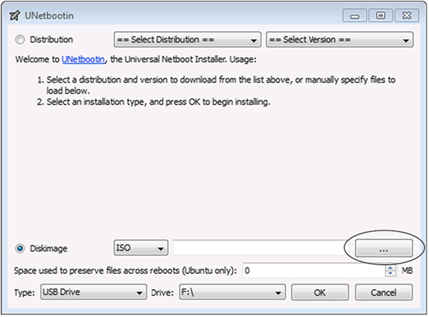
Navigate to the location that contains the installation .ISO file and then select Open.
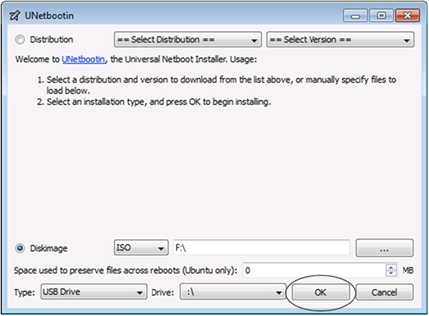
Select the mounted USB drive on which to perform the installation and then select OK. The copying process begins, and UNetootin displays series of progress bars are displayed.
When the copying process is complete, click Exit and then remove the USB drive.
To install from this USB drive, insert into the host using either an internal or motherboard USB port, then set that as the primary boot source or select from the boot menu on power-up.
Installing VMware ESXi#
Important
For this guide, VMware ESXi 7.0 Update 3 is used to capture content. Text, images, and screen layout may differ from version to version.
Use the following procedure to install VMWare ESXi regardless of boot source. Select the boot media with the ESXi ISO on your host’s boot menu.
Apply power to start the host.
Select the installer using the arrow keys and press [ENTER] to begin booting the ESXi installer. A compatibility warning is displayed.
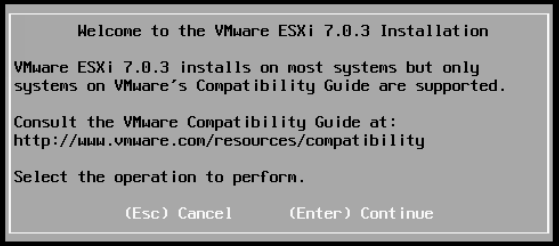
Press [ENTER] to proceed. The End User License Agreement (EULA) displays.
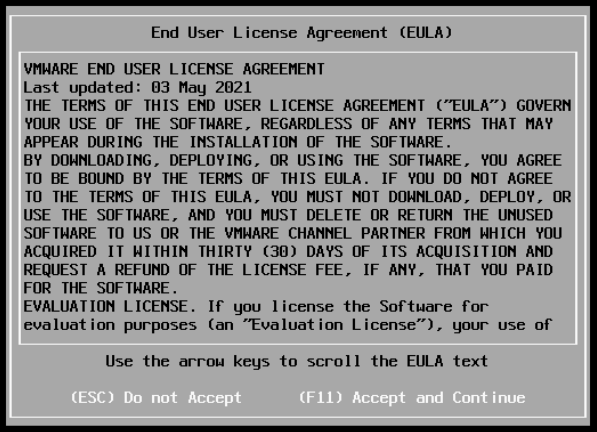
Read the EULA and then press [F11] to accept it and continue the installation. The installer scans the host to locate a suitable installation drive.

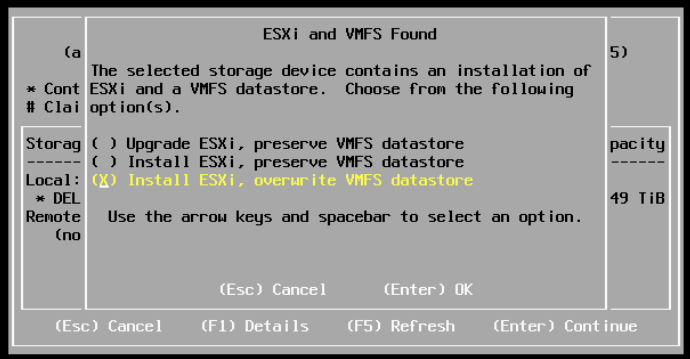
It should display all drives available for install.

Use the arrow keys to select the drive you want to install ESXi, and then press [ENTER] to continue.
Note
You can install ESXi to a USB drive and then boot and run the system from that USB drive. This sample installation shows ESXi being installed on a local hard drive.
The installer scans the chosen drive to determine suitability for install.
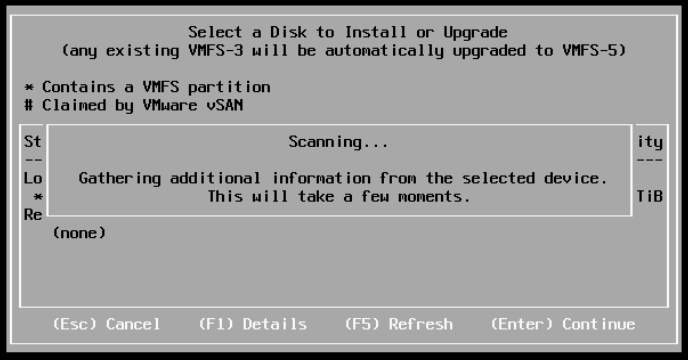
The Confirm Disk Selection window displays.
Press [ENTER] to accept your selection and continue.
Please select a keyboard layout window displays.

Select your desired keyboard layout using the arrow keys and then press [ENTER]. The Enter a root password window displays.
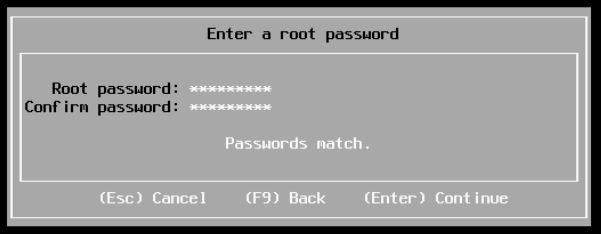
Enter a root password in the Root password field.
Important
To prevent unauthorized access, your selected root password should contain at least eight (8) characters and consist of a mix of lowercase and capital letters, digits, and special characters.
Confirm the password in the Confirm password field and then press [ENTER] to proceed. The installer rescans the system.

It then displays the Confirm Install window.
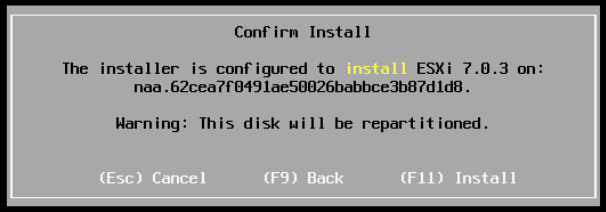
Press [F11] to proceed with the installation.
Important
The installer will repartition the selected disk. All data on the selected disk will be destroyed.
The ESXi installation proceeds.

The Complete Installation window displays when the installation process is completed.
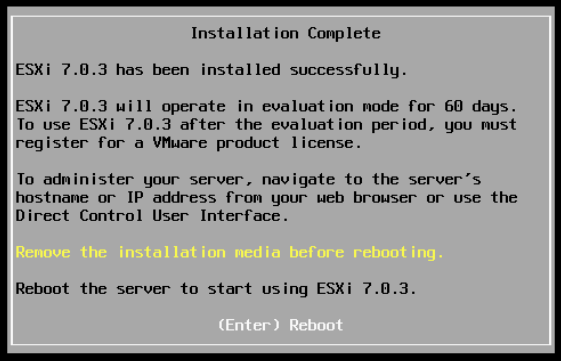
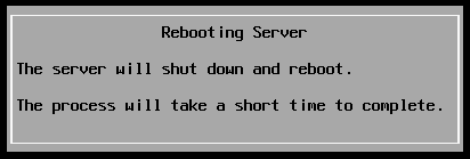
Press [ENTER] to reboot the system. (Make sure your installation media has been ejected and your bios set to the boot disk.)
VMWare ESXi has been installed successfully.
Initial Host Configuration#
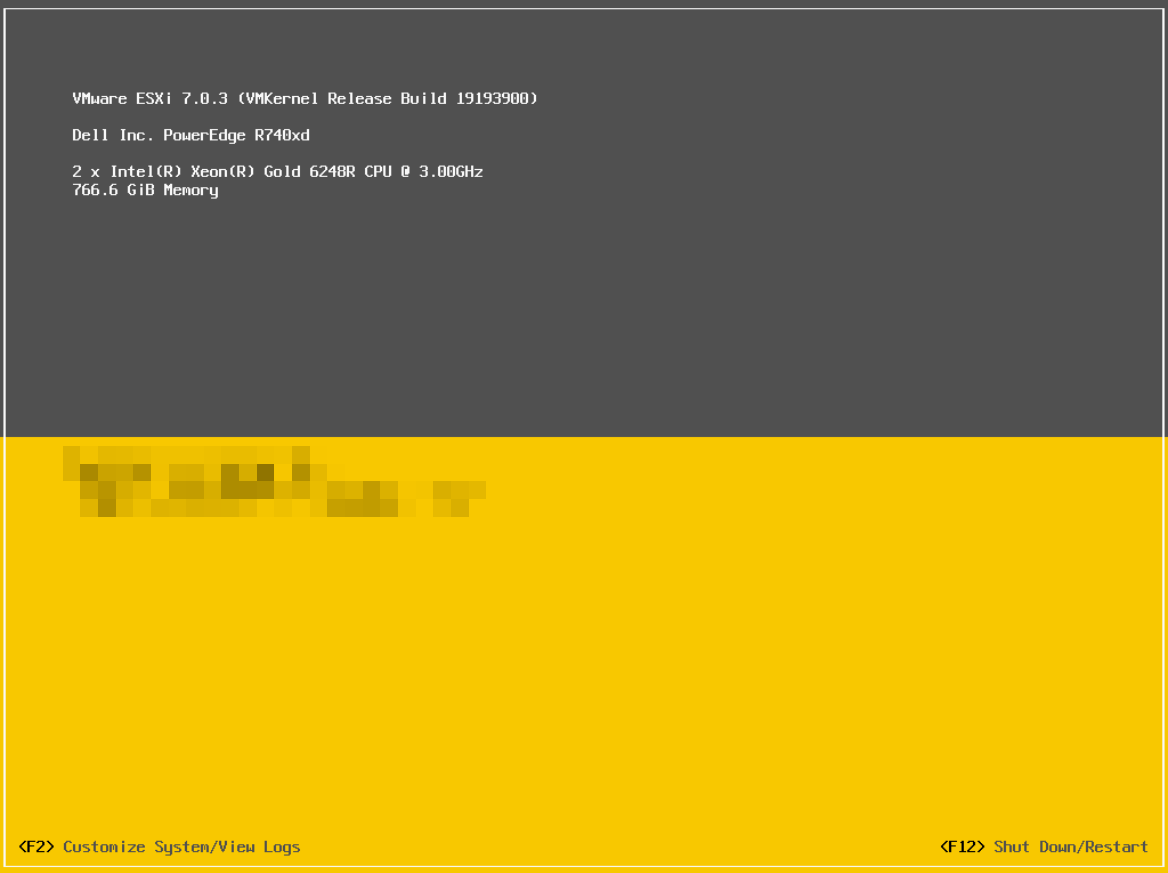
A countdown timer displays when you first boot ESXi. You can wait for the countdown to expire or press [ENTER] to proceed with booting. A series of notifications displays during boot, which can take several minutes to complete. The VMware ESXi screen displays when the boot completes. VMware ESXi displays the DCUI Splash screen.
Use the following procedure to configure the host:
Press [F2] to Customize the System.
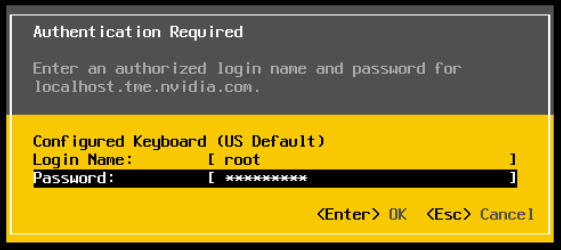
ESXi displays the Authentication Required window. Enter the root account credentials you created during the installation process and press [ENTER]. The System Customization screen displays.
ESXi displays the System Customization screen. Select Configure Management Network and then press [ENTER]. The Configure Management Network window appears.
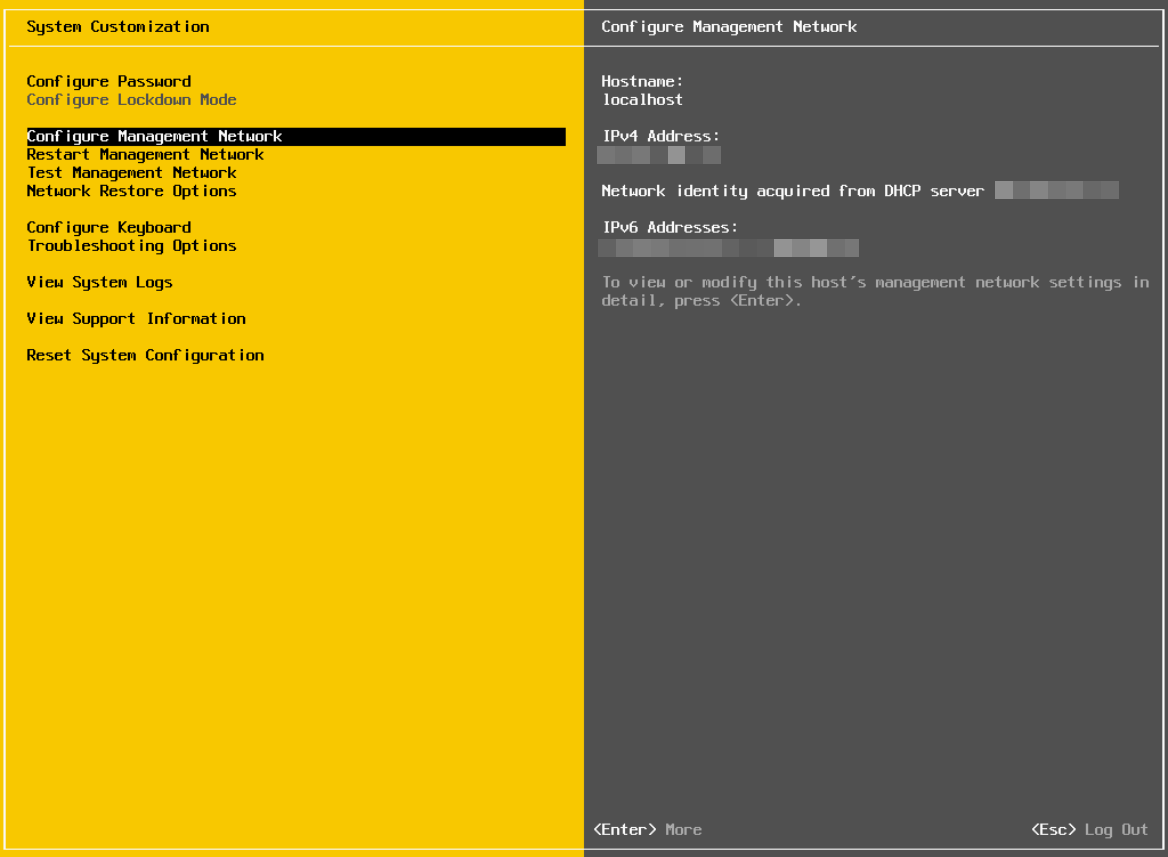
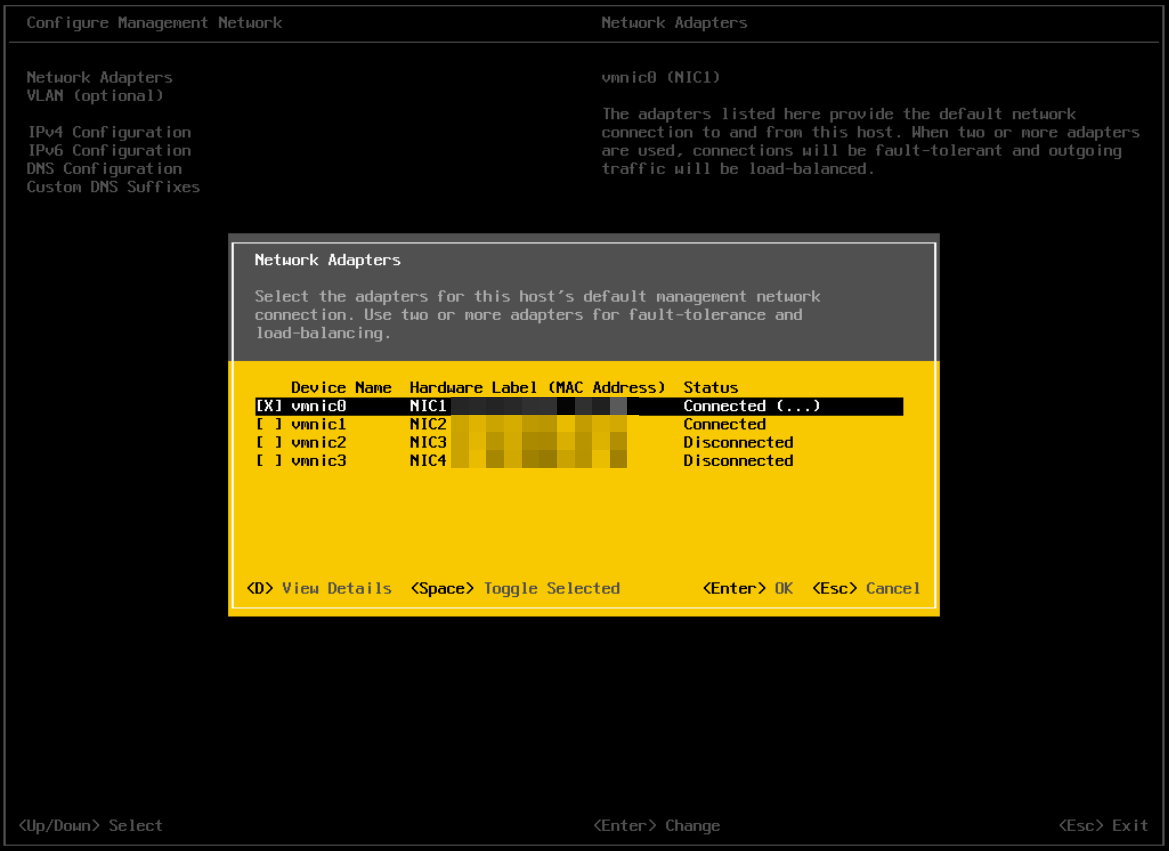
ESXi displays the Configure Management Network window. Press Enter to select the Network Adapters.

In the Network adapters window, select the adapter as the default management network with the arrow keys, then press Enter.
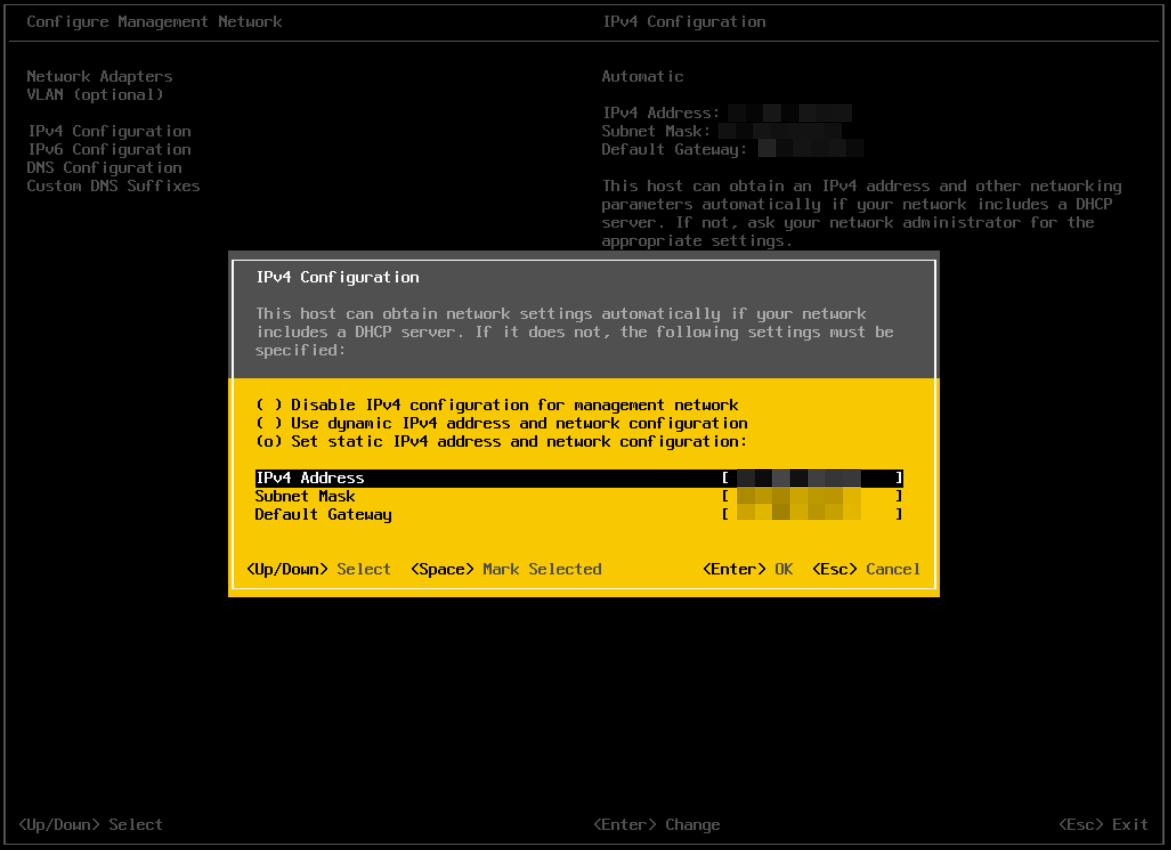
Exit the menu with [ESC] and select the IPv4 Configuration window. In the IPv4 Configuration window. Select Set static IPv4 address and network configuration with the arrow keys.
Ether IPv4 address, subnet mask, and default gateway in their respective fields.
Press Enter when finished reviewing to apply the new management network settings.
Navigate to and select the DNS Configuration window. Add the primary and (if available) secondary DNS server address(es) in the respective fields. Enter the vSphere host’s hostname in the Hostname field, then press Enter.
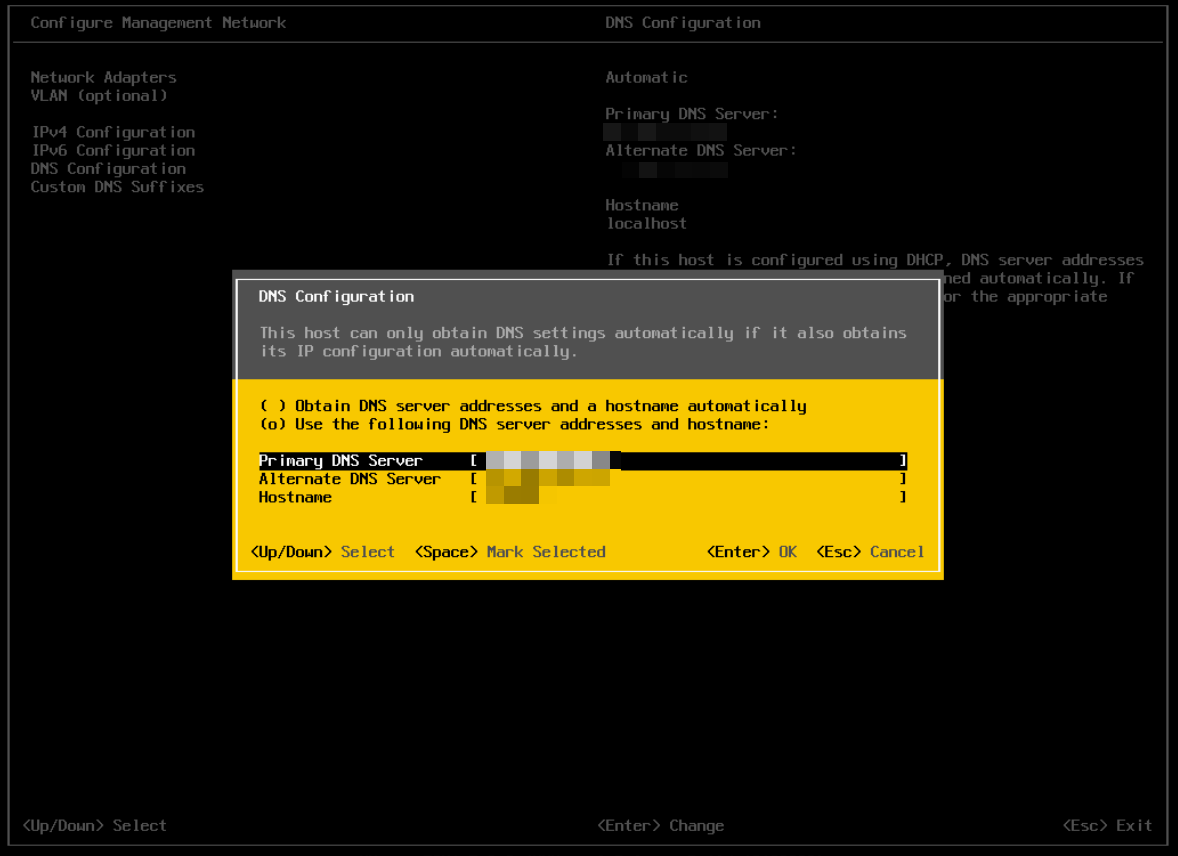
Press [ENTER] to apply the new DNS settings and return to the Configure Management Network menu..
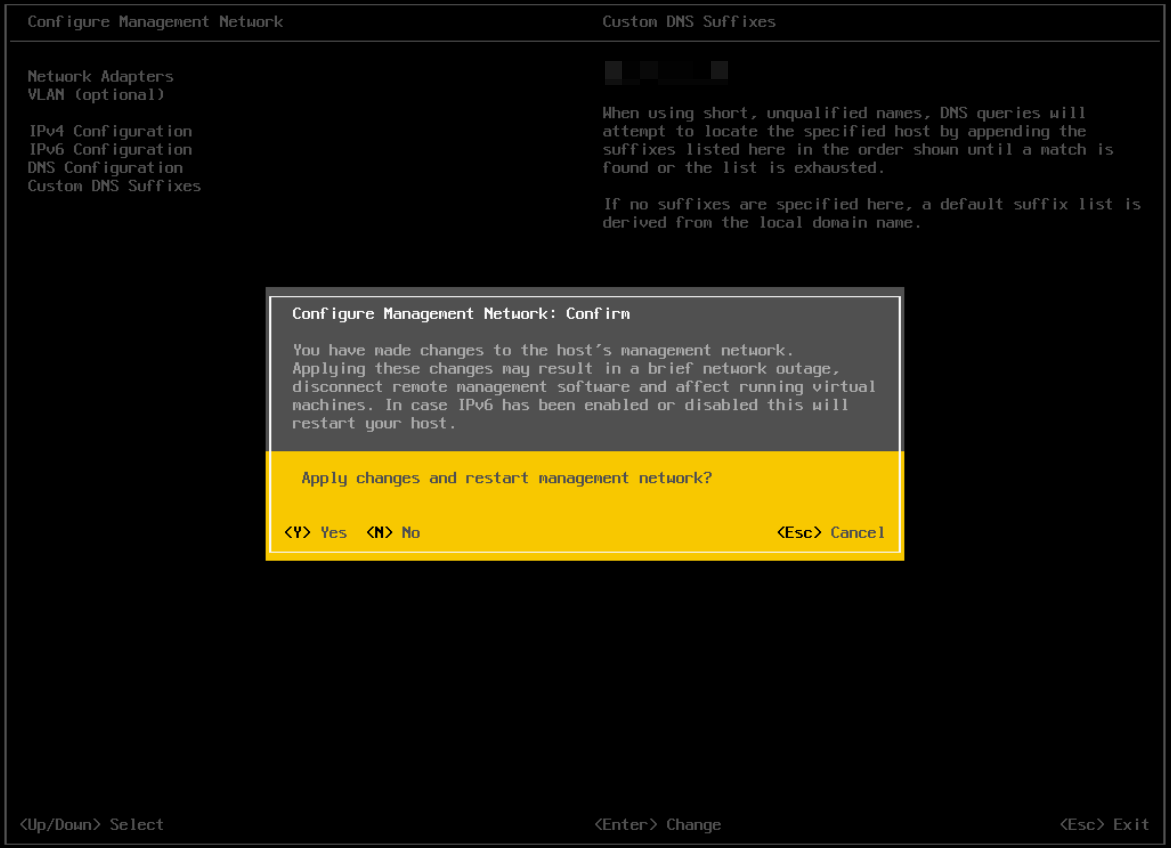
Press [ESC] to exit the Configure Management Network menu. The Confirm Management Network popup window displays. Press [Y] to confirm your selection.
Select Test Management Network on the main ESXi screen to open the Test Management Network window.
Perform the following tests:
Ping the default gateway.
Ping the DNS server.
Resolve a known address.
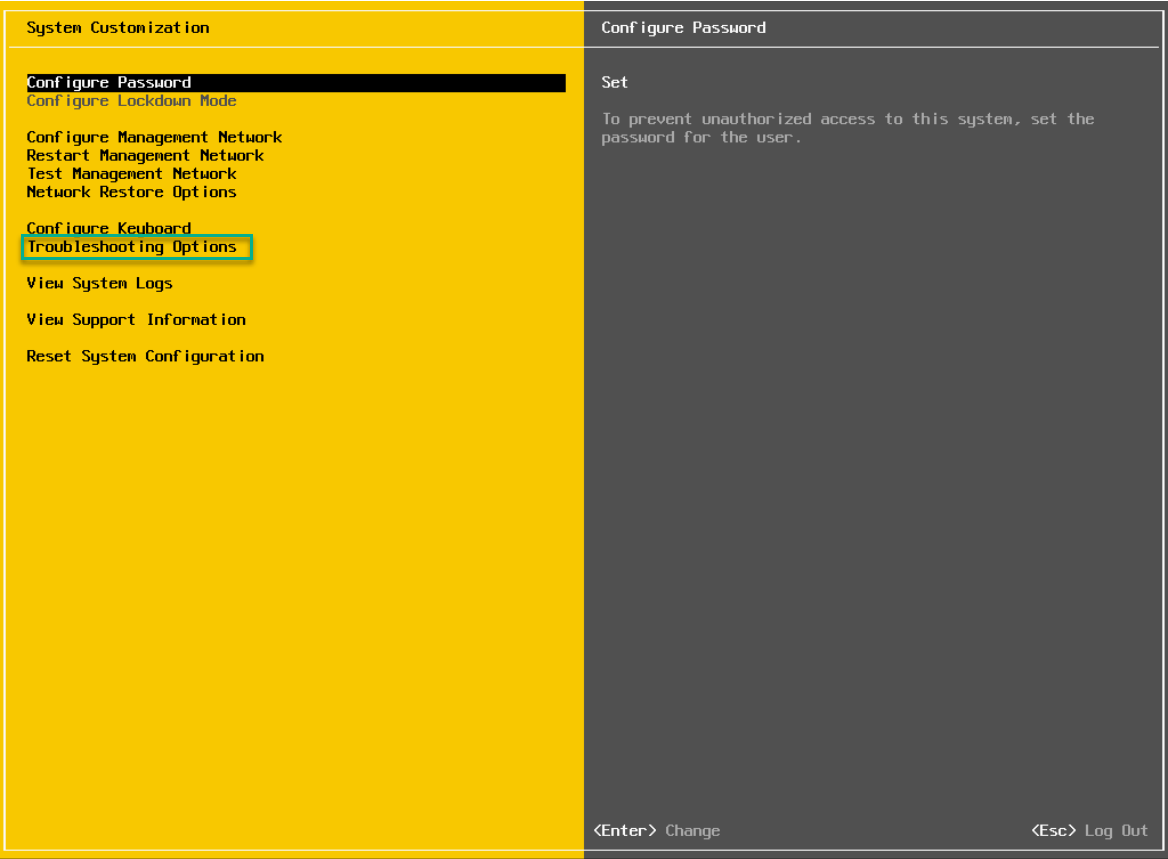
Return to the main ESXi screen when you have completed testing, and then select Troubleshooting Options. The Troubleshooting Mode Options window displays.
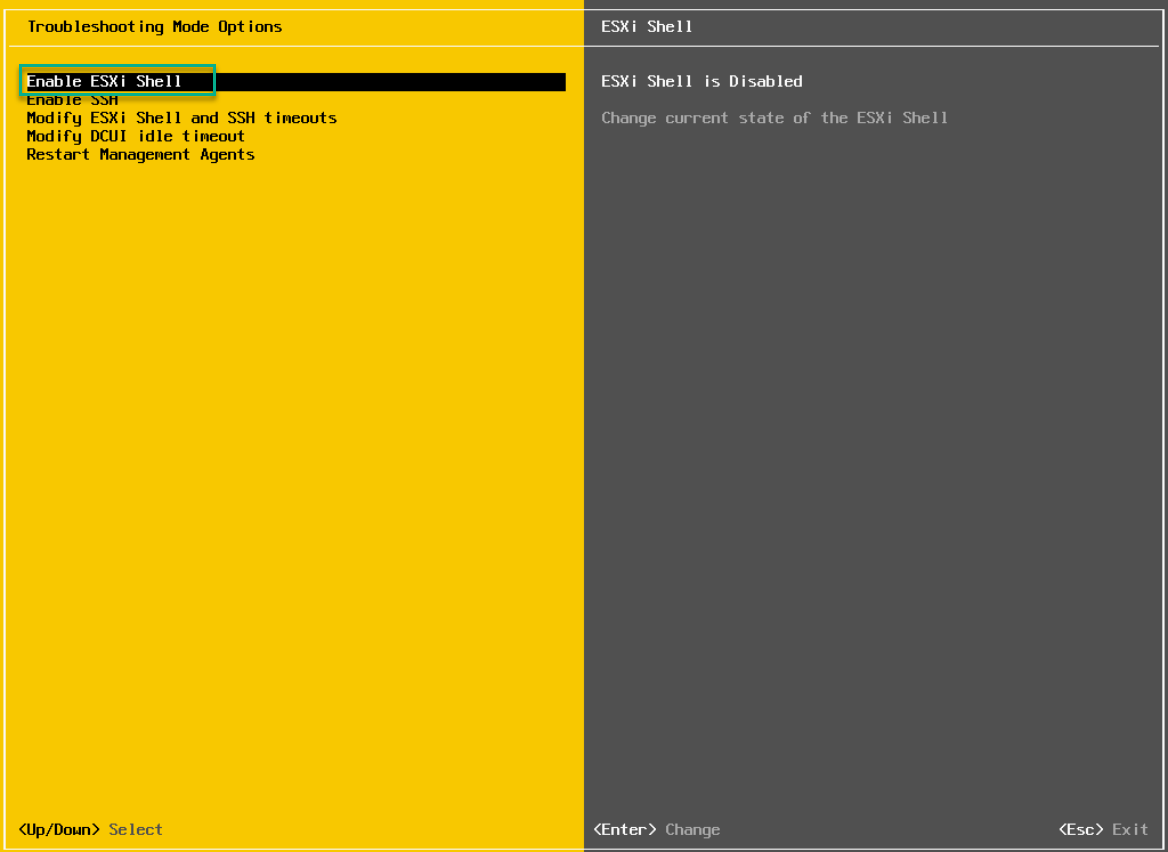
To install the NVIDIA VIB in a later step, you will need to enable the ESXi shell. This can be accomplished by selecting Enable ESXi Shell.
The window on the right displays the status: ESXi Shell is Disabled. Press [ENTER] to toggle Enable ESXi Shell on.
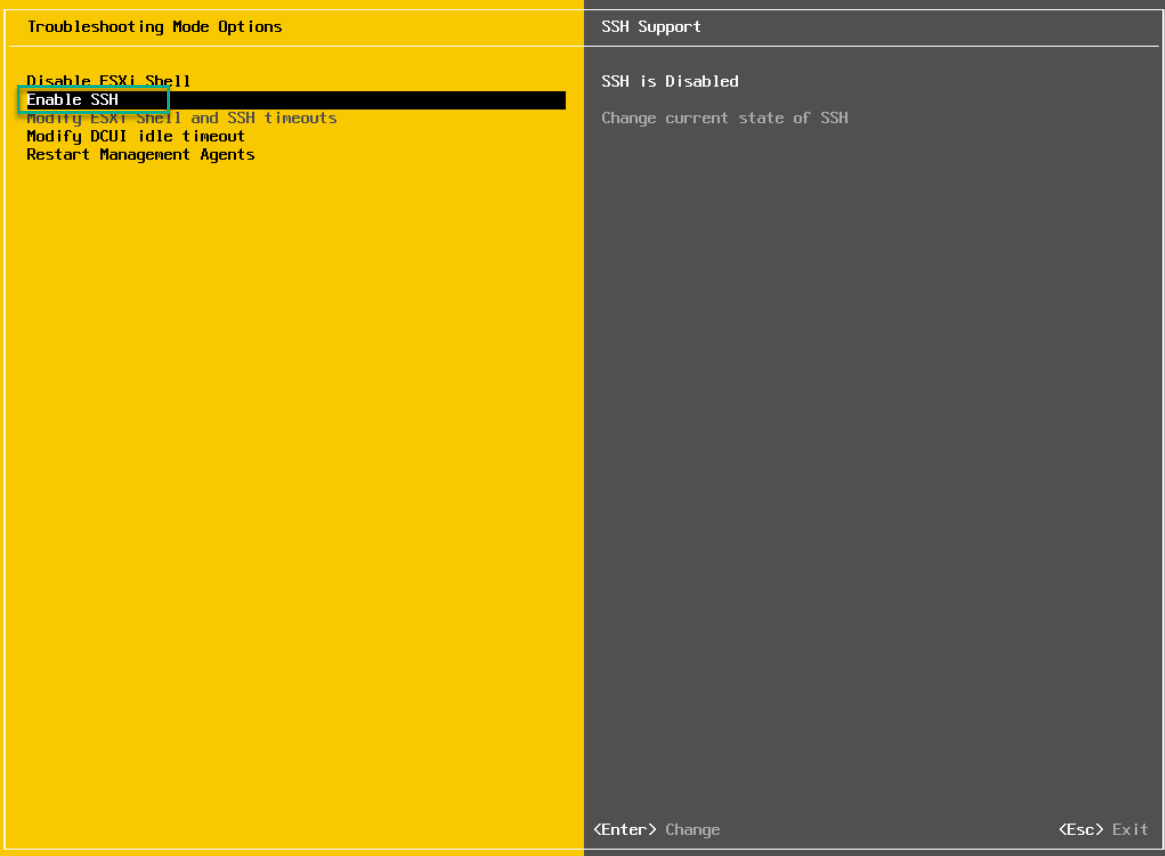
The window on the right displays the status: SSH is Disabled. Enable SSH by selecting Enable SSH and press [ENTER] to toggle this option on.
This concludes the ESXi configuration. The ESXi host is accessible by the IP set in the Management Network in this section.