SimReady 3D Art Asset Creation#
Building 3D assets to the SimReady specification involves not only being able to create a 3D asset that is photoreal in its visual appearance, but also ensuring that it is set up with proper metadata so that it has immediate value for anyone who wants to use that 3D asset within their chosen USD simulation platform like Omniverse.

The principles of good 3D modeling, UV layout and material creation all need to be adhered to in order to create a successful SimReady 3D asset. Most of these requirements are standard, common sense practices that a 3D artist or designer should already follow to produce great looking results in the most efficient way possible. For new users, here’s a quick overview of the various things to consider when building a new 3D asset for SimReady.
Modeling Best Practices#
There are a small number of basic 3D modeling practices all 3D artists should stick to when creating assets that will eventually be made SimReady. These should not be ignored as they affect everything else a creator does beyond this point and can impact whether an asset can be considered SimReady. At a high level, ensure you consider the following:
All 3D assets need to be built to real-world scale
Orientation for an exported 3D model should always be Z-up and it should always be placed at the origin
Required unit scale for export is always set to meters
The 3D asset must face Front in the “front” viewport of the chosen DCC or CAD app
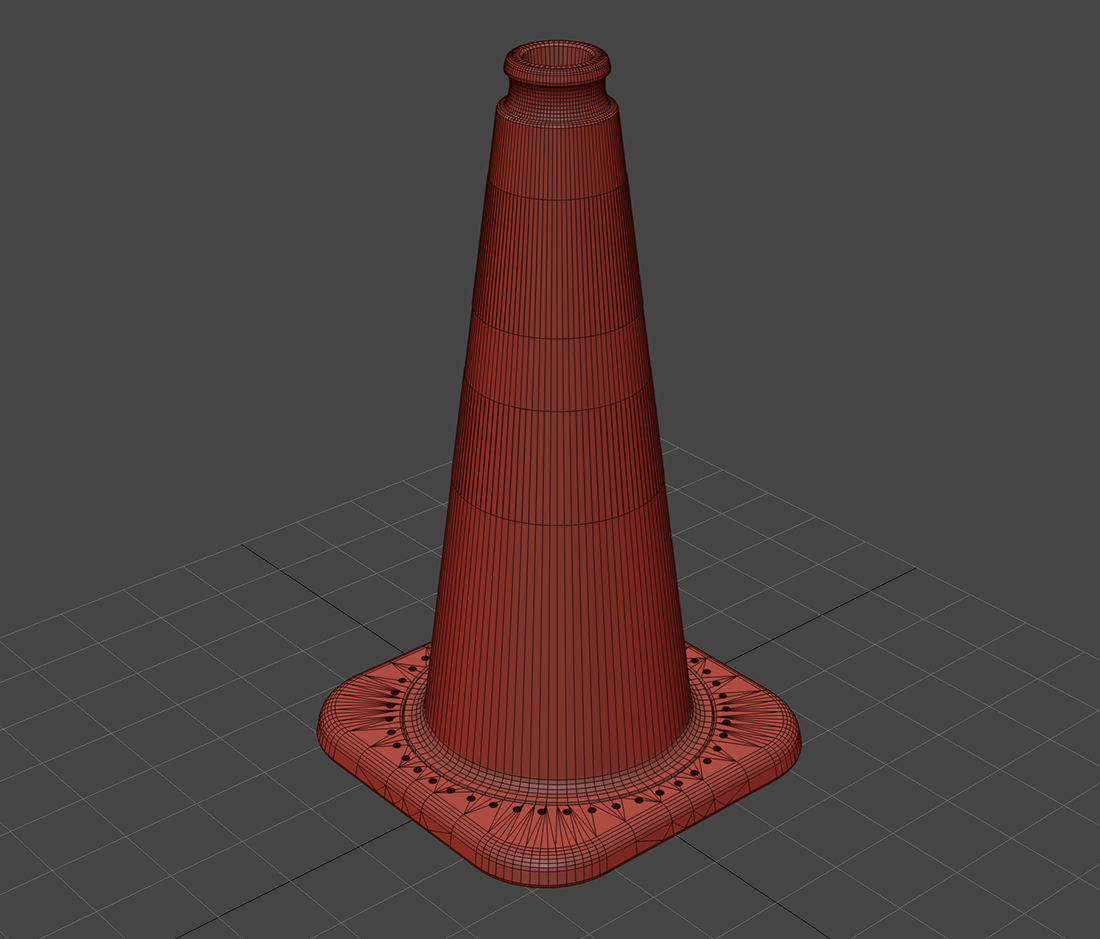
When working in a DCC app, create assets with optimal geometry for curvature without wasting polygons
Name all elements within your asset cleanly so they are easily identifiable (no Box01 or pSphere27)
Pivot points must be placed and aligned so the asset “sits” properly with respect to the ground plane
Any custom created physics collision meshes should avoid convex hulls and can contain multiple component meshes

Each of these requirements will be covered in more detail in the next sections within the documentation.
UV Layout Best Practices#
When you begin to think about how to unwrap a 3D asset for texturing and material application, there are some fundamental considerations to make in regard to SimReady. Before generating UV islands for assets, put some thought into the following requirements:
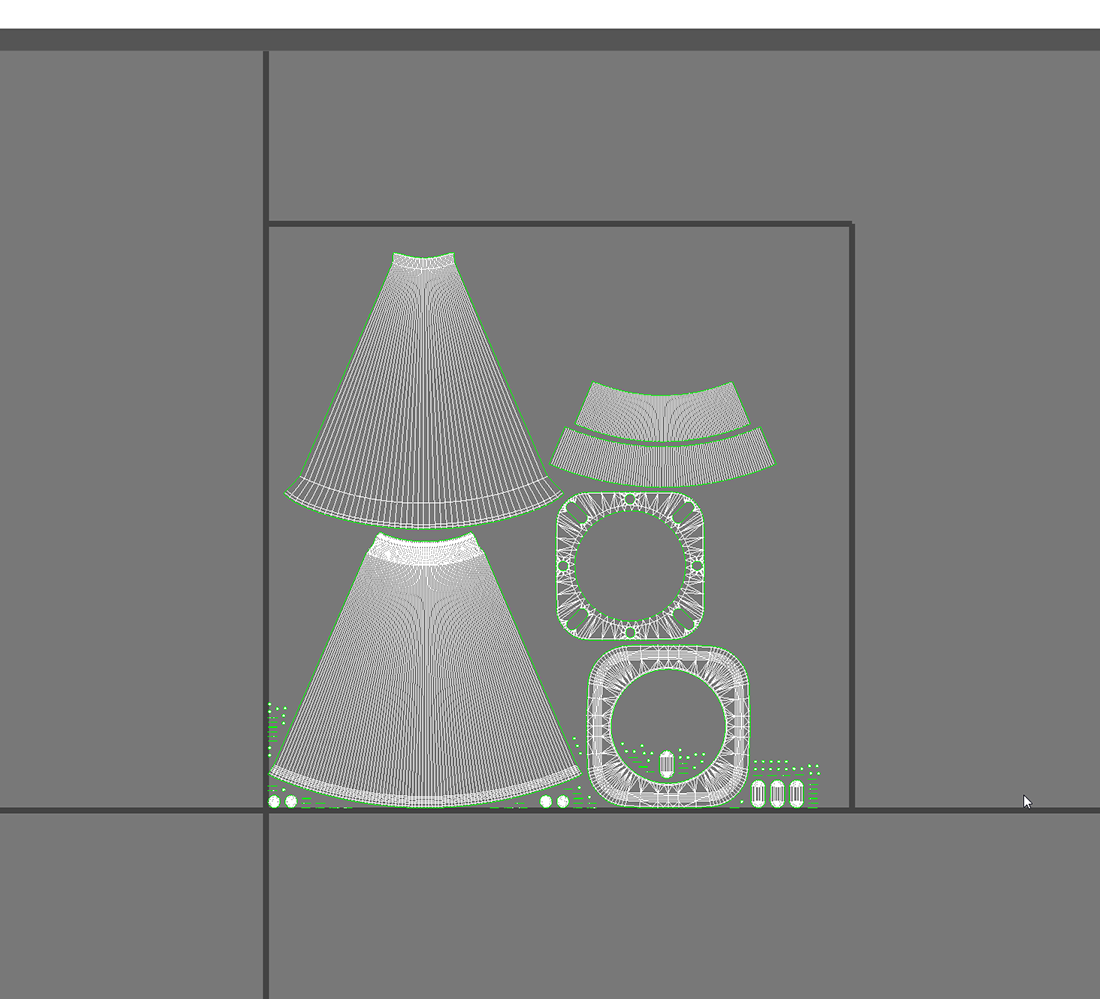
Ensure all UVs are non-overlapping
Use only UV Channel 1 when generating UVs for a 3D art asset
The minimum Texel density for your UVs should be 512 pixels per meter (higher density is okay for complex patterns)
UVs should live within 0-1 UV space
Before packing UVs, consider the material being assigned and align the UV orientation to make materials easier to apply based on the texturing pattern (e.g. wood grain direction)
If an asset has originated as a CAD/CAM part or assembly, it won’t likely have clean UVs and the user should export that model as a STEP or STL file and create UVs in another package (e.g. Rizom, UV Layout, etc.) to make sure they adhere to the SimReady spec points above

Each of these requirements will be covered in more detail in the next section within the documentation.
Materials Best Practices#
Building materials for SimReady 3D assets follow many existing common-sense practices in use today, and further tune their creation for simulation specific end-uses. Remember that you’re trying to match the real-world aspects of a material, so be sure to gather visual reference materials to assist as needed. It doesn’t matter which 3D application or package an creator chooses to generate the materials, but please make sure that the guidelines below are followed:
PBR Metal - Rough workflow is required for all 3D art assets (albedo / roughness / metallic / normal maps are encouraged)
Individual PBR texture maps should be provided at a maximum resolution of 4K or 8K pixels
Build materials using UsdPreviewSurface for maximum flexibility and portability whenever possible. If creating materials inside of the Omniverse platform, using OmniPBR, OmniGlass or SimPBR MDLs as the baseline is recommended.
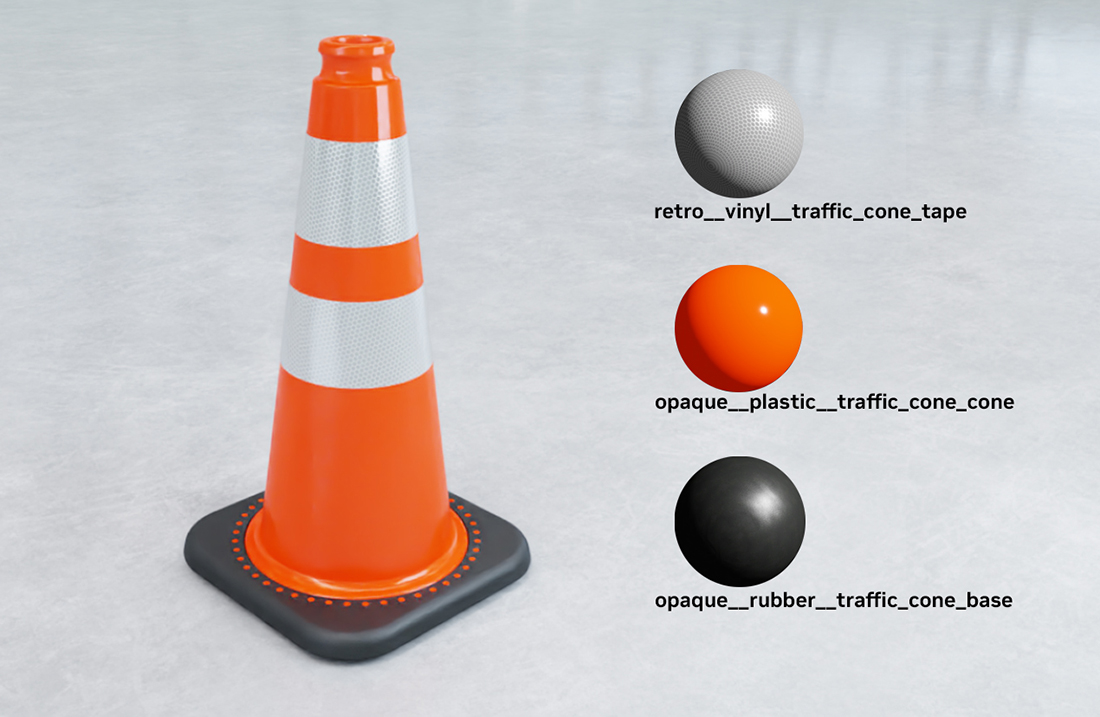
Limit one material per object for SimReady 3D assets

Each of these requirements will be covered in more detail in the next section within the documentation.
Physics Best Practices#
SimReady 3D assets take advantage of the USDPhysics schema to apply rigid-body colliders, mass and materials so that the objects behave as they would in the real world.
Each of these requirements will be covered in more detail in the next section within the documentation.